LabVIEW software is commonly used for data acquisition, instrument control, and industrial automation.
In certain applications, it is even used for testing purposes because of its accuracy during the simulation. LabVIEW is so Versatile and powerful It is even used in Data Science Domain.
Create a Project in LabVIEW
Creating our first project,
Click on the LabVIEW software.
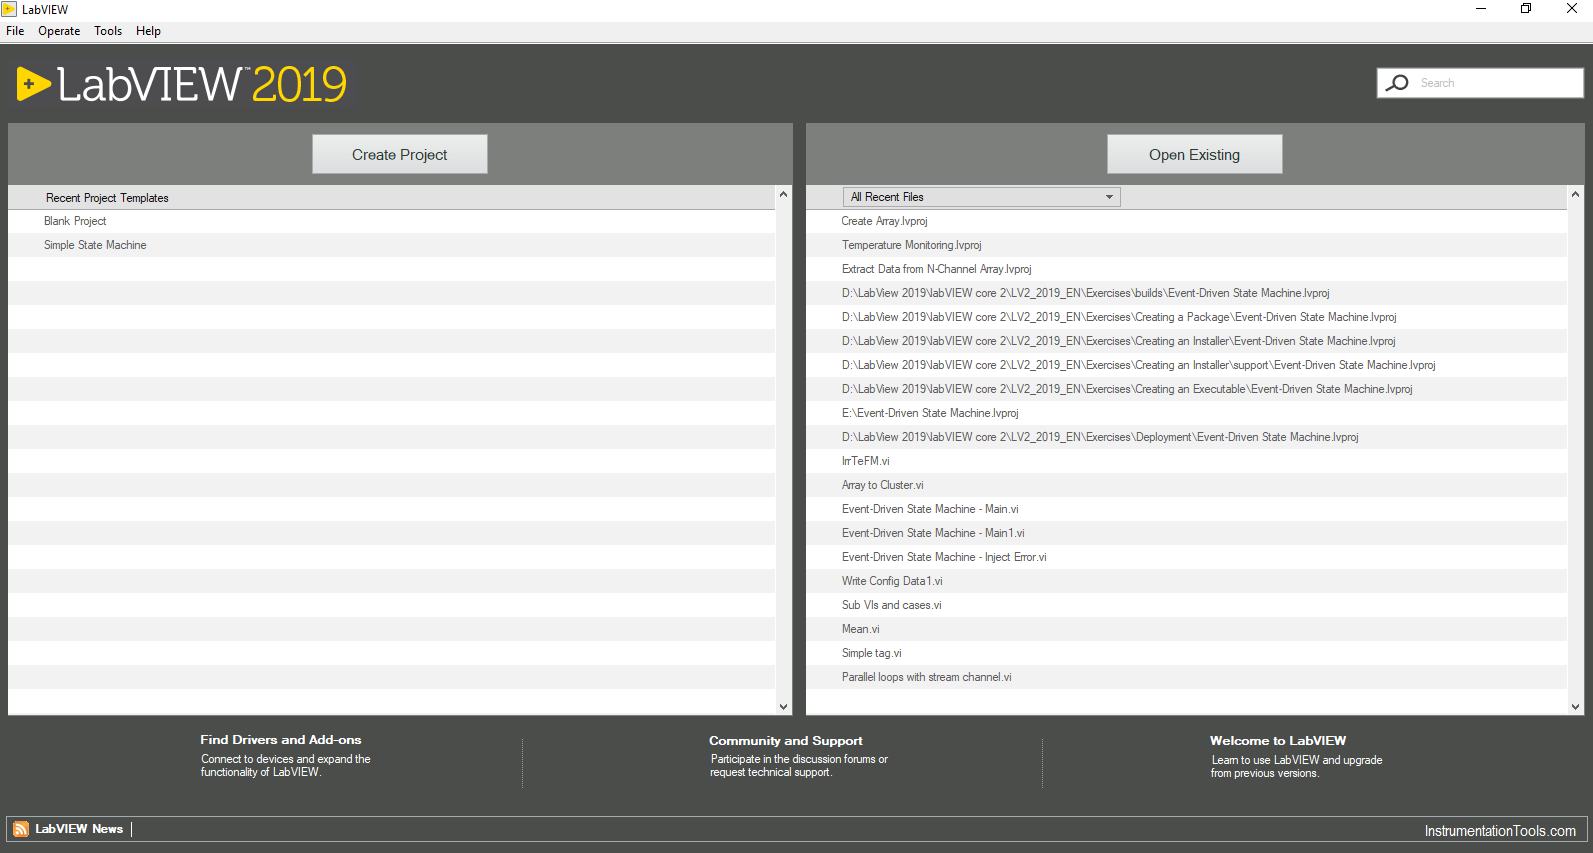
Click on the Create project button. The project dialog box appears(Fig 2).
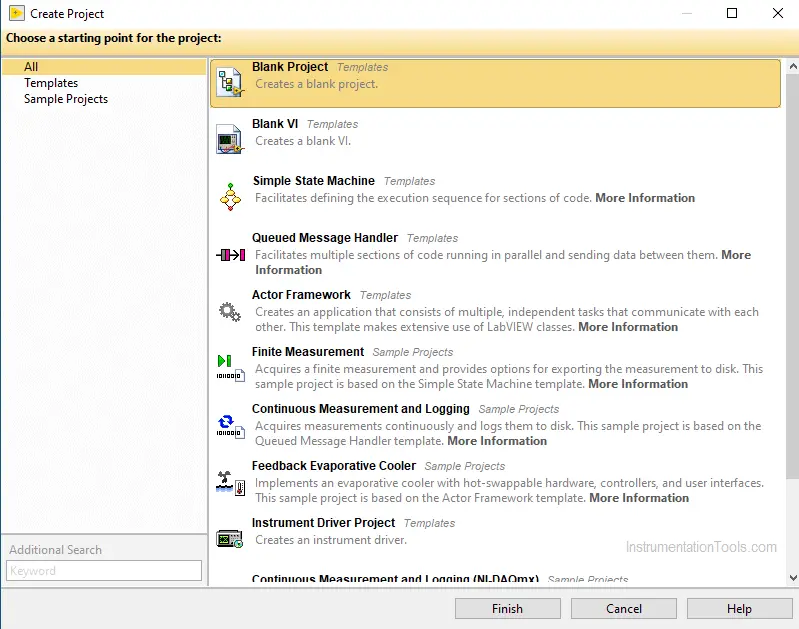
You can see from the above image that there are many predefined templates available, you can use those templates based on the application you are going to create. For now, click on the blank project and click Finish.
The new project will be created.
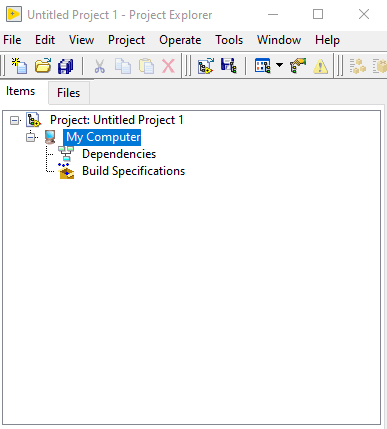
You can save the project from the appeared window by clicking on File – Save.
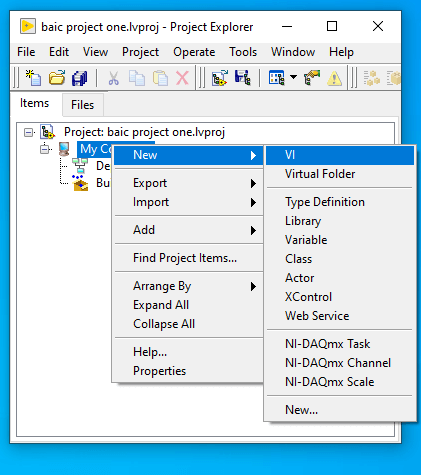
Now the project will be saved, To create a Virtual instrument Right-click My computer and got to New, you can see an Option called VI which stands for Virtual Instruments. Click on that to create a Virtual instrument for your application.
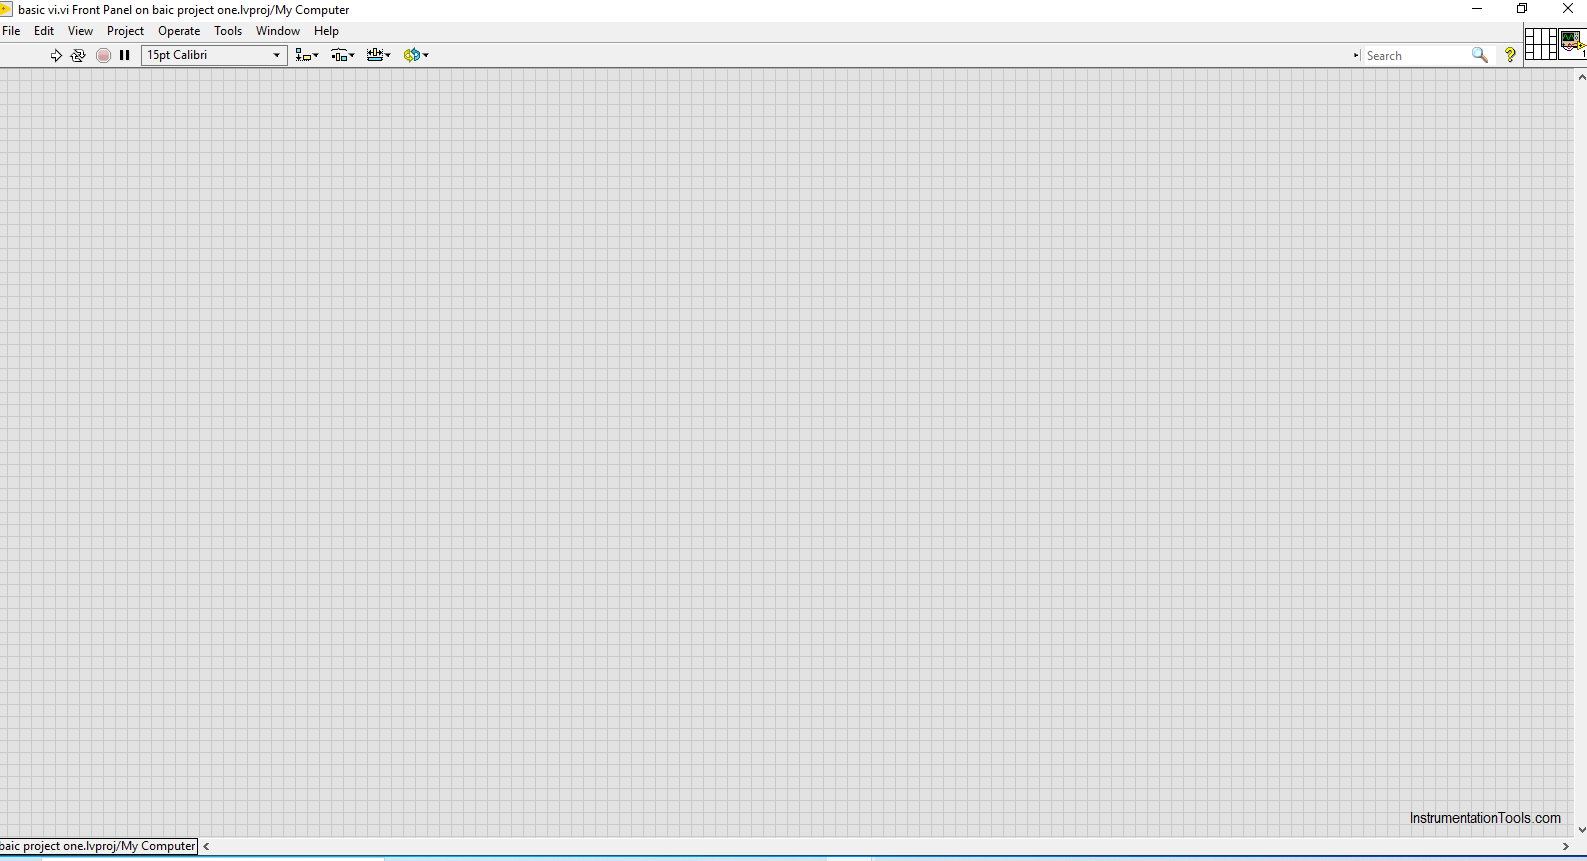
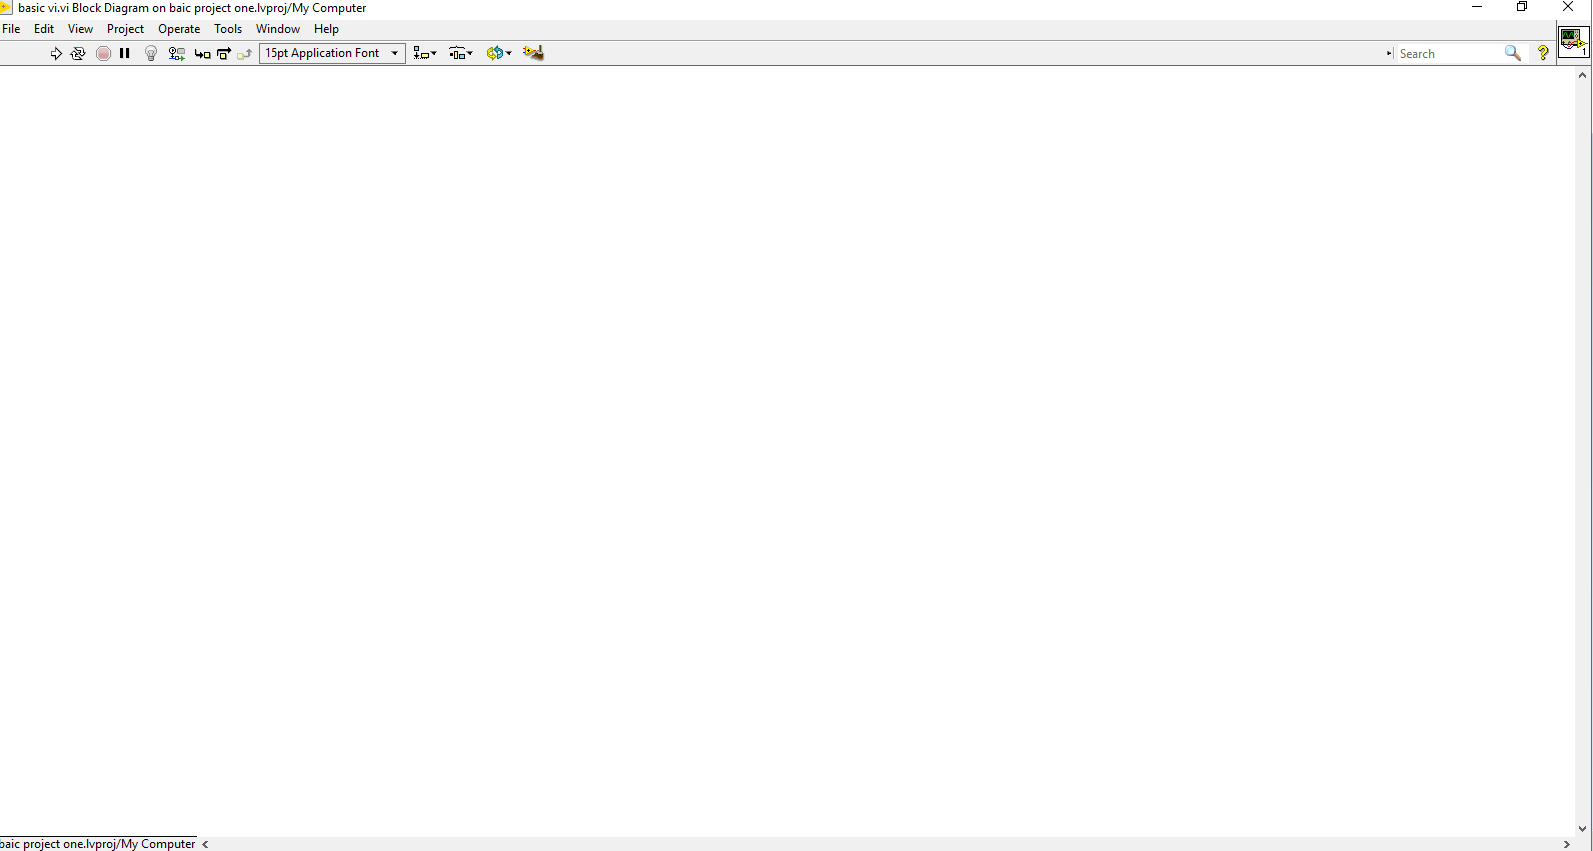
After Clicking on VI the Front Panel and the block diagram will appear.
Front Panel is like a Process Visualisation of the application you built, Where you can add Graphs, Waveforms, Displays, and buttons to control.
Block diagram is the Code you develop for the application you build. The programming language of the LabVIEW is called G Code or Graphical code.
Author: Abishek D
Read Next:
- Delta PLC Simulator
- OPC in Old PLC Systems
- What is DDE Protocol?
- PLC Statement List
- Project Planning PLC