Batteries are required in almost many electronic instruments. Be it your TV remote or a car, a battery is used in it to charge the corresponding devices. But, many times, we get confused as to how long we can run the battery.
A battery has some rated voltage and it will run for a certain period of time. But, if we overuse it sometimes, then it may get drained easily.
So, we need to sometimes test the battery if we feel that it is going to die before we get into any issues. Batteries are normally tested using a multimeter.
In this article, we will learn the detailed step-by-step procedure regarding how to test a battery using a multimeter.
Bad Battery Symptoms
A battery is defined by its rated voltage. A rated voltage can be for example 1.5V. So, this means that the battery will power the devices requiring this voltage.
If the battery voltage goes lower than this, then the battery is dead and needs to be either replaced or charged in case of chargeable batteries. There are some symptoms to see whether the battery is going dead or not.
Let us see some of them:
- If the battery is getting drained quickly, then you will notice that the device is malfunctioning quickly.
- If you notice some physical issues like heating, leaking, or broken terminals, then it is a sign of a bad battery.
- The third and most general one is voltage. If you check the voltage and find it low below the rated voltage, then it is dead.
These signs generally indicate that the battery is of no use.
How to Test a Battery with a Multimeter?
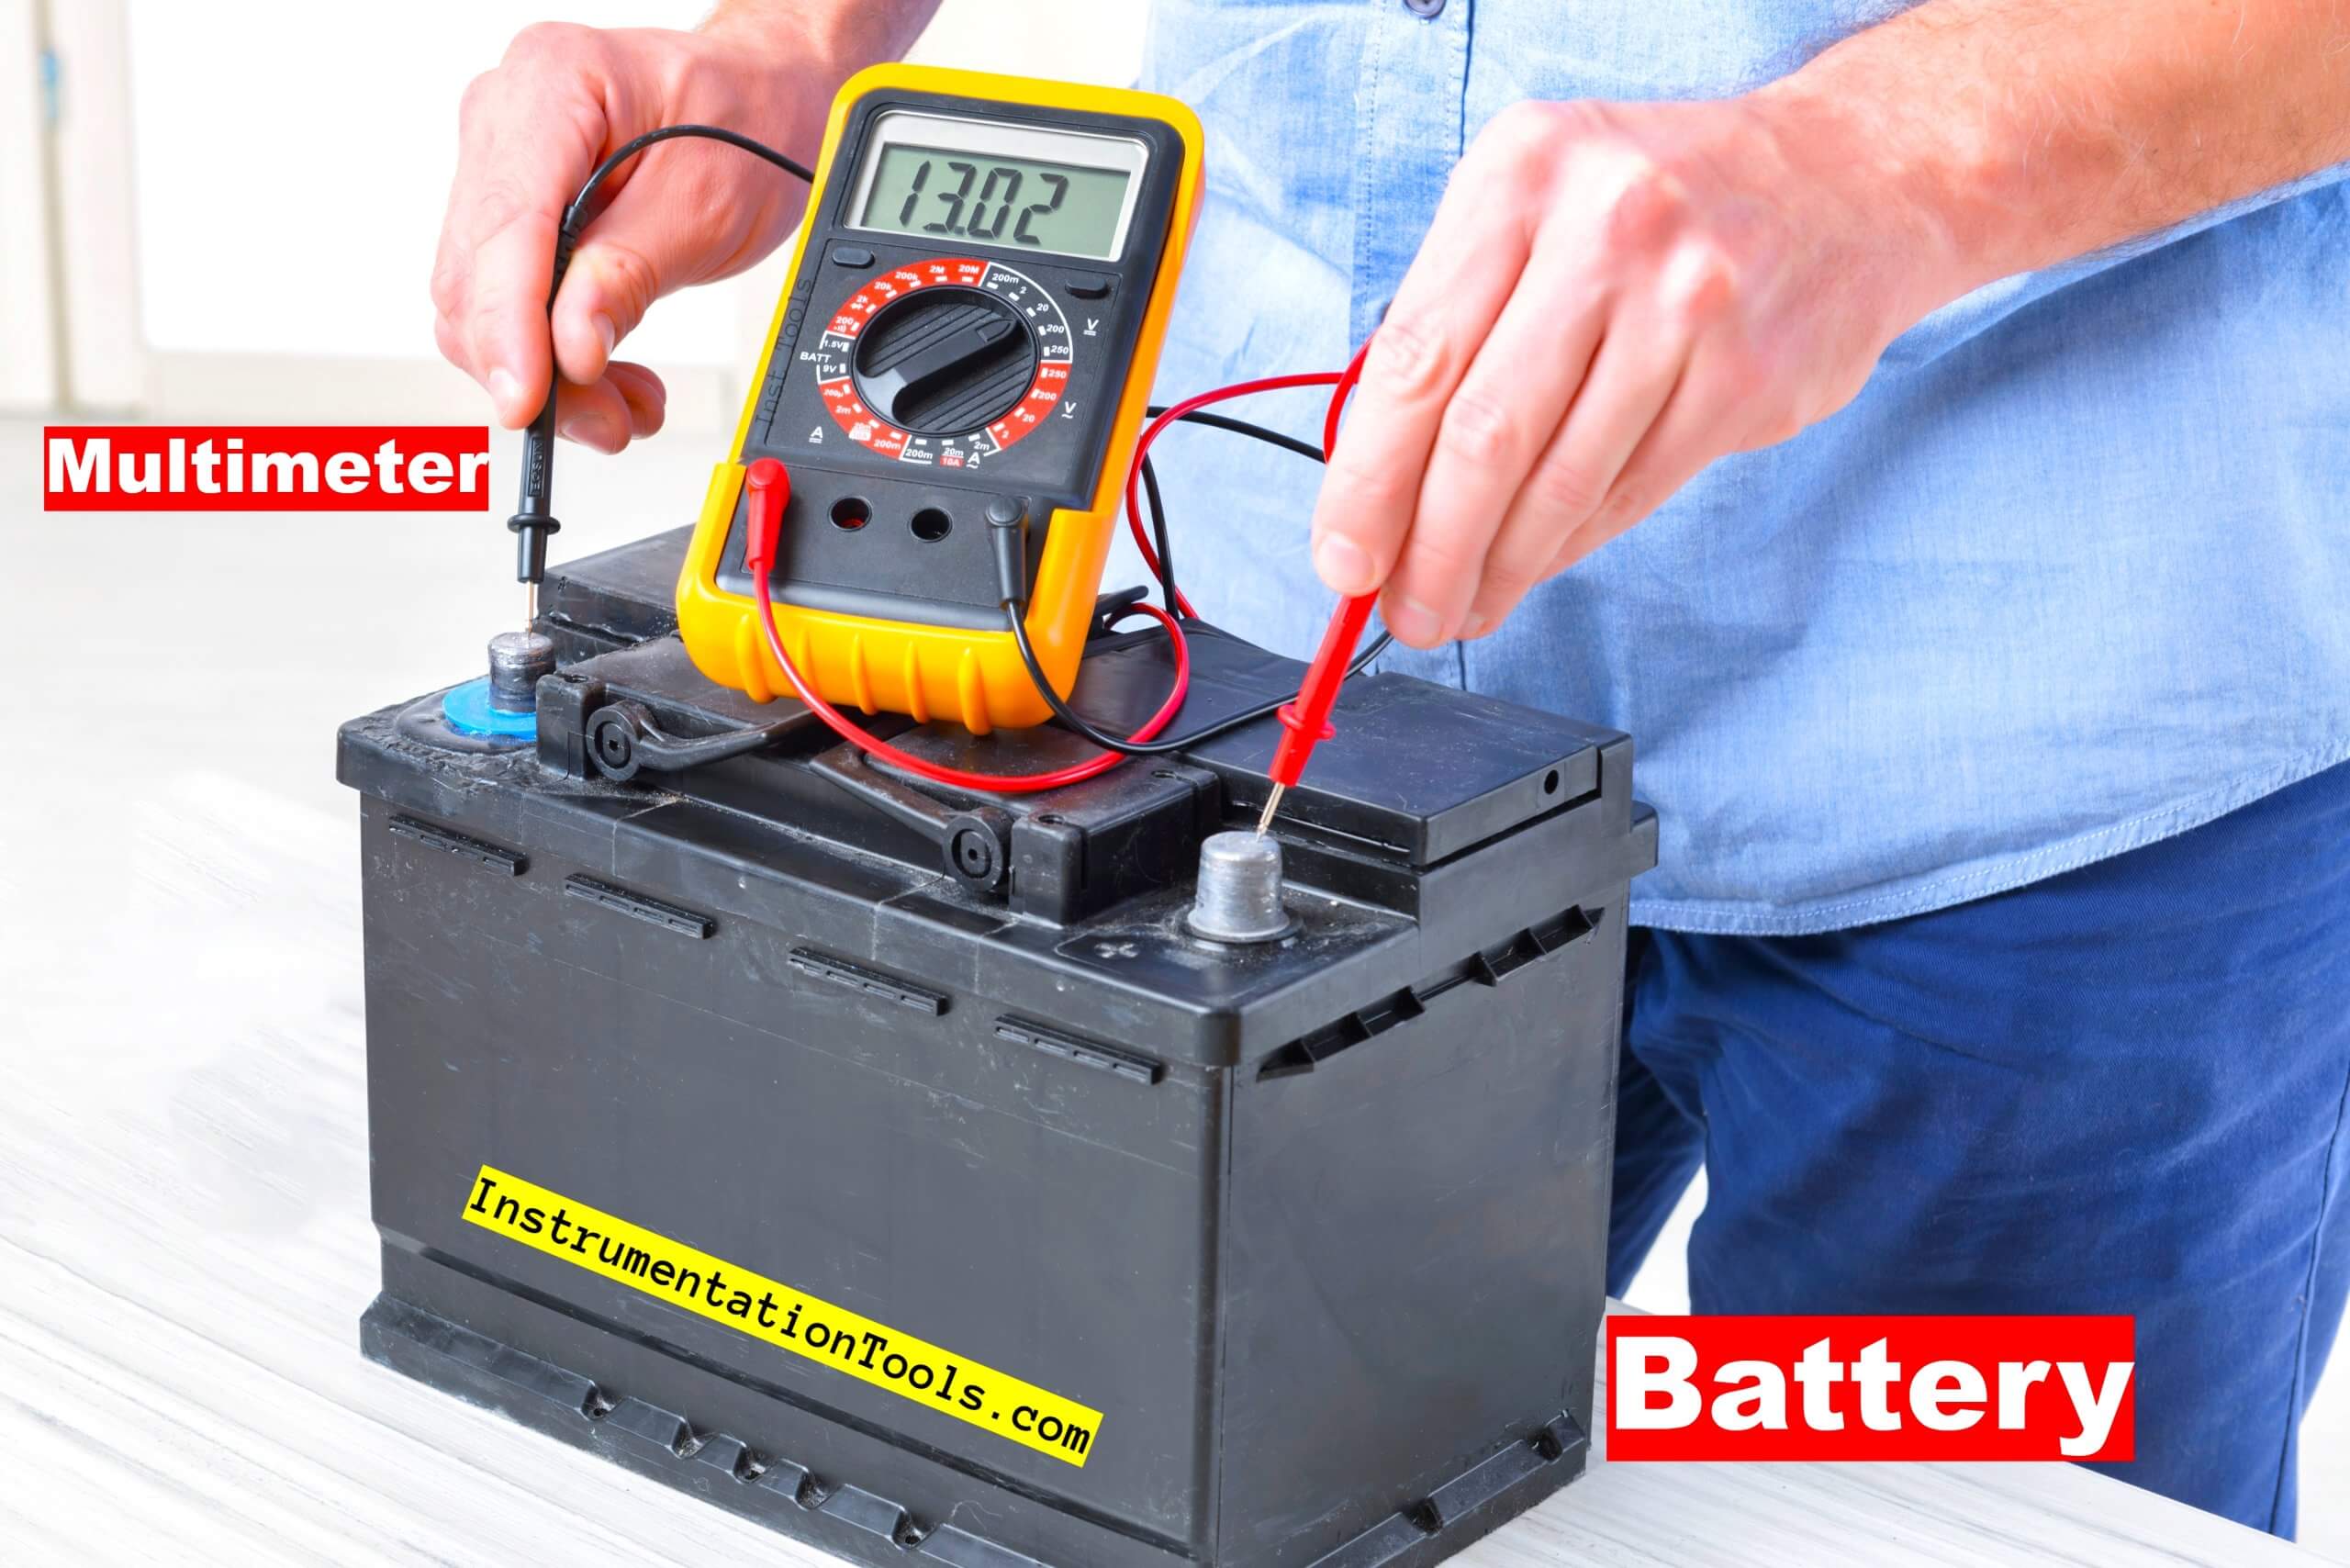
As discussed, the most technical way to test a battery is by using a multimeter. The standard way to check is by checking the voltage. Because we have only this parameter to understand a battery function. The voltage of a battery is in DC form. So, we need to keep the multimeter function in DC voltage.
Simply, connect the multimeter probes to the battery. The red probe will be connected to the positive end of the battery and the black probe will be connected to the negative end of the battery.
Suppose, for example, the rated voltage is 2V. The basic rule is that the voltage must not be lower than at least 1V minus the rated voltage. So, if you find that the voltage is less than 1.9V, then it means that the battery is of no use now.
You can always compare the battery with another one. This is the best way to cross-check it. If you find that the other one has a greater voltage than the testing one, and if it is also powering up the device properly, then it is a clear indication that the voltage testing you did was correct and the battery is not performing as per expectation.
As a battery powers a load, we can also check it under load conditions using a multimeter. The way we connected probes to the battery, connect a resistor across the probes.
Connecting a resistor means voltage will drop, which is equal to simulating a load. When the load is connected, the voltage drops a little across the battery. By connecting the resistor, if the voltage drops only a little (within the desired band as discussed earlier), then the battery is fine. But if the battery voltage drops sharper, that means the battery is of no use.
In this way, we understand how to test a battery using a multimeter.
If you liked this article, then please subscribe to our YouTube Channel for Electrical, Electronics, Instrumentation, PLC, and SCADA video tutorials.
You can also follow us on Facebook and Twitter to receive daily updates.
Read Next:
- What is Non-Linear Device?
- Electrical Motor Concepts
- IEC Resistors Color Code
- What is Electrical Wire Mesh?
- Factors Affecting Inductance