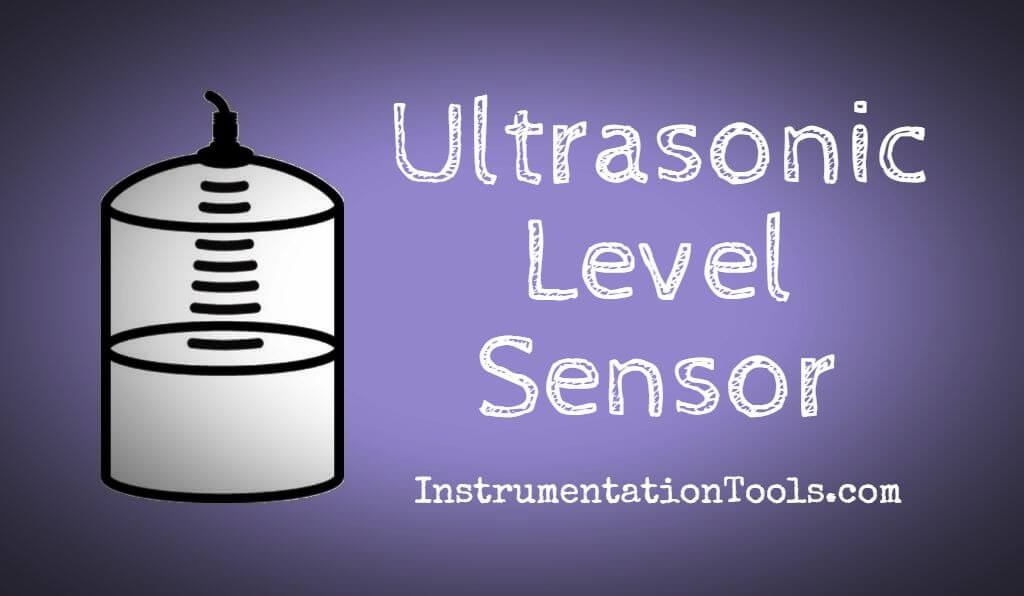
Ultrasonic level measurement sensors basically works with sound waves for detection of liquid level. They usually work over the frequency range between 20 kHz to 200 kHz. Read the following Ultrasonic Level Measurement Questions and Answers.
Ultrasonic Level Measurement
Ultrasonic Level Sensors
1. How do ultrasonic level sensors work?
An ultrasonic sound pulse is pulsed 4 times per second from the base of the transducer.
The pulse travels through air, reflects against the process medium below and returns to the transducer.
The sensor measures the pulse time of flight between sound generation and receipt, and translated this into distance or liquid level height within the vessel.
2. What are the advantages of ultrasonic level sensors?
Many application liquids have challenging characteristics that negatively impact contact type sensor performance, maintenance and/or replacement costs.
Examples include corrosive, coating, scaling, viscous and dirty liquids. Ultrasonic sensors are non-contact, and therefore impervious to these characteristics.
3. What should I avoid with ultrasonic level sensors?
The application variables to avoid with ultrasonic are extreme foam, vapor, turbulence or installation in tall fittings with narrow risers.
Foam, vapor and turbulence can absorb and/or deflect away a substantial portion of the return signal.
Tall riser fittings can disrupt the acoustic signal path. Appropriate product selection and installation is important.
Ultrasonic Level Sensor Signal
1. What does the 4-20 mA signal represent?
The 4-20 mA represents the sensor’s measurement span.
The 4 mA set point is normally placed near the bottom of the empty tank, or the greatest measurement distance from the sensor. The 20 mA set point is normally placed near the top of the full tank, or the shortest measurement distance from the sensor.
The sensor will proportionately generate a 4 mA signal when the tank is empty and a 20 mA signal when the tank is full.
2. What are the benefits of 4-20 mA signals?
Analog 4-20 mA signals have the following advantages:
- The same two-wires carry both the sensor power and signal;
- 4-20 mA is easily converted to a 1-5 VDC input via a 250 Ohm Watt resistor or 1-10 VDC input via a 500 Ohm Watt resistor;
- 4-20 mA is low current and therefore has a low heating loss through the signal wire; and
- with shielded cable, 4-20 mA is noise resistant to radiated and inducted interference.
3. What is the maximum 4-20 mA signal distance?
The sensor can be installed up to 1000 feet from its point of termination using a shielded, 18-20 gauge twisted pair cable and 24 VDC power supply.
The total loop resistance should not exceed 900 ohms.(Changes from vendor to vendor).
4. Do I have to configure the 4-20 mA measurement span?
While the 4 mA and 20 mA set point configuration is not fundamentally required, it’s recommended because it optimizes the sensor’s installed performance.
5. Can I reverse the measurement span from 4-20 mA to 20-4 mA?
Yes, the sensor can be configured such that the 20 mA set point is empty and the 4 mA set point is full.
6. Can I place a loop powered level indicator in series with the 4-20 mA signal?
Yes, as long as the total loop resistance is less than 900 Ohms (Changes from vendor to vendor).
Ultrasonic Level Sensors Selection
1. What are NPT and G mounting threads and where are they used?
NPT (National Pipe Threads) are the American standard tapered threads which are applied throughout North America, South America and parts of Asia. G (metric) ISO threads are the European standard straight threads applied throughout Europe and parts of Asia.
2. How do I select the best ultrasonic level sensor range for optimum performance?
Select a sensor range that covers the tank height with at least 25% margin.
In challenging applications with light foam, vapor and/or turbulence, select a sensor range that is double the tank height. The additional sensor will improve performance in such conditions.
3. What are the ultrasonic level sensor materials of construction?
Electronic enclosures are fire retardant polycarbonate, cables are polypropylene and transducers are PVDF. The mounting gasket is Viton.
Ultrasonic Level Sensor Installation
1. How do I identify the best mounting location for my ultrasonic level sensor?
The sensor should be located so that the acoustic signal path is free of obstructions from side-walls, ladders, pipes, mixers and other instruments.
The sensor should be mounted level and/or perpendicular to the liquid surface. If substantial foam, vapor and/or turbulence are present, install the sensor in a stand-pipe.
2. What types of installation fittings are recommended for my ultrasonic level sensor?
The sensor can be broadly installed in tank adapters, couplings, flanges, brackets and stand pipes of appropriate size relative to the transducer.
Avoid fitting types that substantially recess the transducer into the fitting or compress the transducer against an inner pipe stop. Use plastic fittings whenever possible.
3. How tight should my ultrasonic level sensor be installed within the fitting?
In most installations, the sensor is hand tightened only. If you use a wrench or tool, be careful not to over-tighten the sensor within the fitting.
4. What’s the maximum flange riser height in which my ultrasonic level sensor can be installed?
The sensor can be elevated up to a maximum of 12″ high in a 6″ diameter riser, 8″ high in a 4″ diameter riser, 6″ high in a 3″ diameter riser and 3″ high in a 2″ diameter riser.
5. What’s the best pipe ID size for use in installing my ultrasonic level sensor in a stand-pipe?
Sensors with a 1″ transducer should be installed in 2″ stand-pipes. Sensors with a 2″ transducer should be installed in 3″ stand-pipes.
6. What’s the best way to install my ultrasonic level sensor on a sloped or dome top tank?
On plastic tanks, use a plastic self-aligning bulk head fitting that enables the sensor to be rotated perpendicular relative to the liquid surface. On metal or fiberglass tanks, use a plastic flange fitting with a short riser that accommodates for the slope.
7. What’s the best way to install my ultrasonic level sensor with an open top tank or sump?
The side mount bracket is a good choice. Users can also fabricate equivalent brackets based on custom size or material requirements.
8. Can I install two ultrasonic level sensors in a single enclosed tank?
Typically only one sensor is installed per tank. If you wish to install two sensors, the signals must be isolated to avoid cross-talk interference. This can be done by installing one or both sensors in a stand-pipe.
9. Can my ultrasonic level sensor be submersed in liquid?
NEMA 6 enclosure sensors are designed to resist infrequent submersion for short periods of time.
NEMA 4 enclosures are designed to resist frequent splashing the equivalent of direct hose spray and should never be submerged. Generally speaking, the sensor should be located to avoid submersion and/or direct spray under normal conditions.
Ultrasonic Level Sensor Configuration
1. How do we configure the ultrasonic level sensor for an application?
- Depending on the model, sensors are either configured using an integral display module or software.
- Software is downloaded free to your computer and the sensor is configured through our USB adapter.
2. If power is lost, will the ultrasonic level sensor loose its configuration?
No, the sensors have non-volatile memory which can only be erased by performing a factory reset.
3. What does factory reset do to the ultrasonic level sensor?
Factory reset erases any previous user configuration and returns the sensor to its original factory set points.
Ultrasonic Level Sensor Troubleshooting
1. The ultrasonic level sensor current is 0 mA?
Check the wiring for an open circuit and verify the power supply.
2. The ultrasonic level sensor current jumps between 19 mA and 20 mA?
Check the installation fitting to ensure that its consistent with our guidelines. If the sensor is installed in a metal fitting, switch it to a plastic fitting.
3. The ultrasonic level sensor current is > 22 mA?
Check the wiring for a short circuit.
4. The ultrasonic level sensor jumps to a LOST or fail-safe condition?
Check the fill height configuration set point. Make sure that the fill height setting corresponds to the tank full level (as measured from the empty tank bottom up), and not the distance from the installed sensor to the liquid level (as measured from the sensor down). what is range, tank height, fill height and dead band?
Check to make sure that the sensor is installed correctly. Check to make sure that there is no surface foam or obstructions within the beam path. If so, install the sensor in a stand-pipe to separate its point of measurement from the surface foam, eliminate the obstruction or relocate the sensor.
5. The ultrasonic level sensor current is opposite of the liquid level?
Check the output at empty setting. Make sure that the desired setting is correct with either 4 mA or 20 mA at empty.
Note: Some of the above mentioned answers may change from vendor to vendor.
