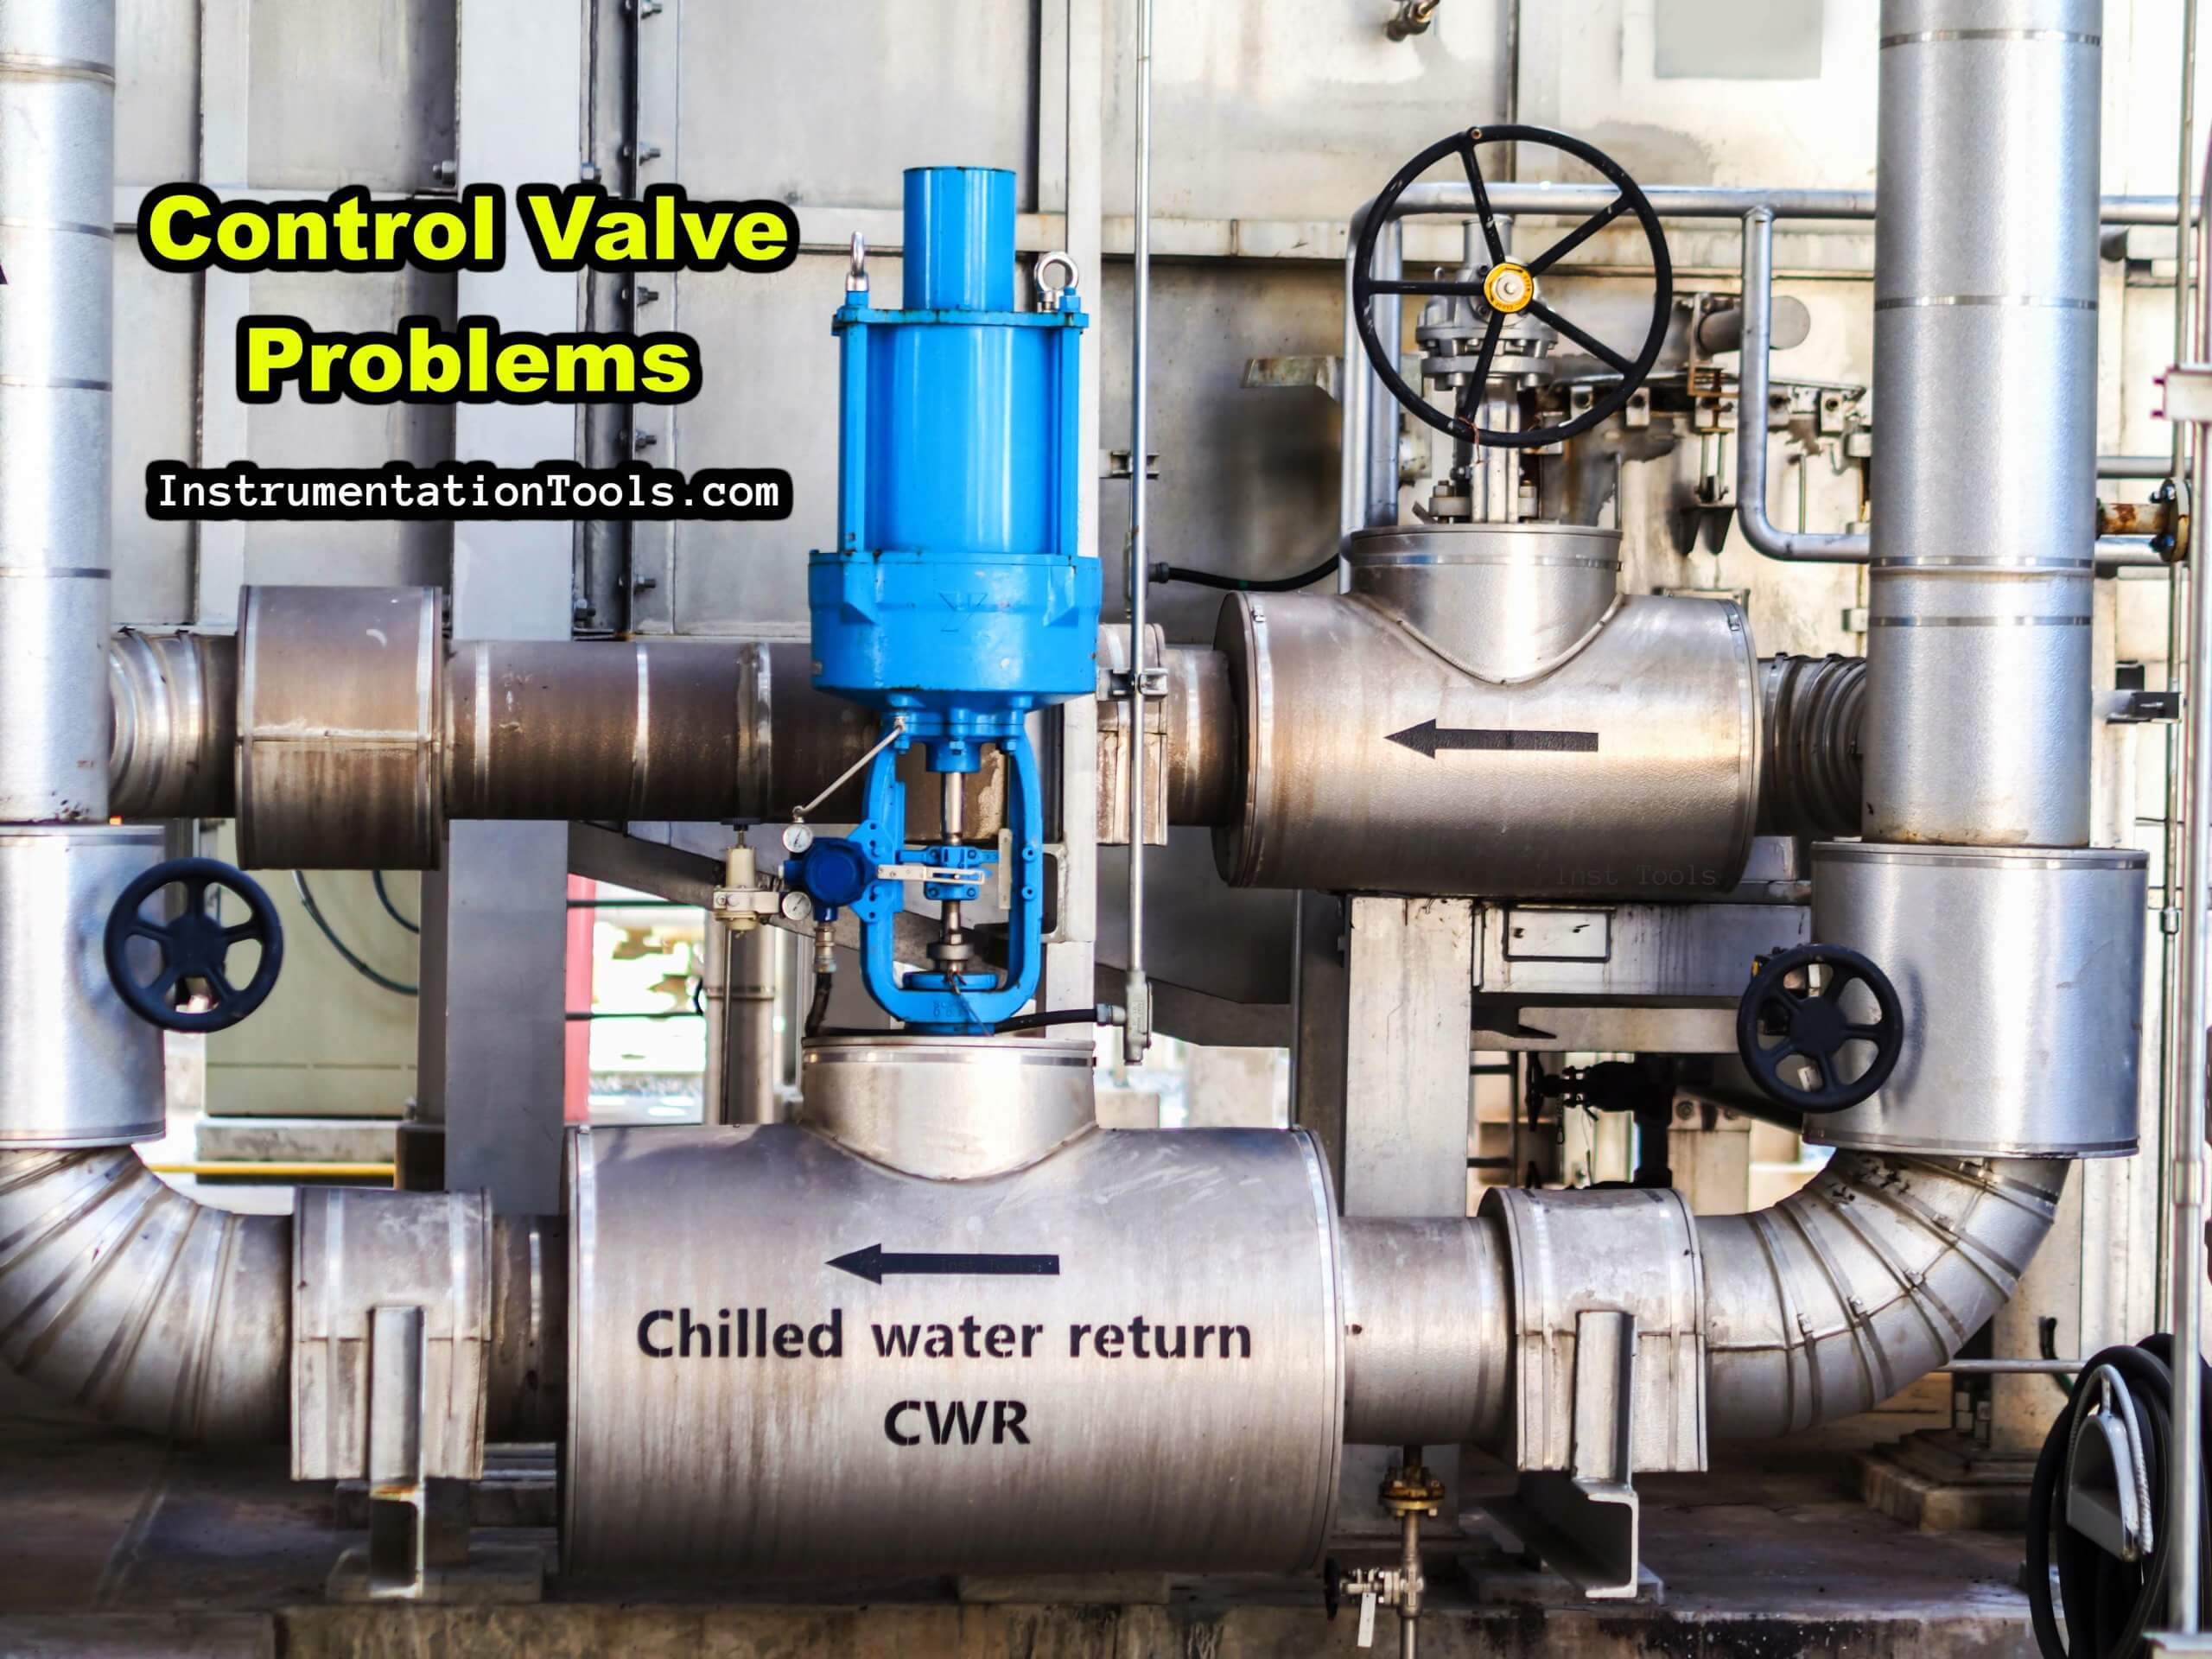
Today we will discuss the practical common problems we mostly face with control valves and step-by-step troubleshooting tips.
Common Control Valve Problems
Follow these tips to troubleshoot any problem you are facing with a control valve.
- The first step is to visually check the control valve and all its accessories. Check for any air leakage or physical damage. If found any issues then correct them.
- Check the air supply from the air filter regulator (AFR) to the valve positioner or solenoid valve whichever is applicable. If no air supply is present, then check the isolation valve status in the air supply header. Open the isolation valve if found closed.
- Now verify the AFR set pressure and it must be as per the value mentioned in the control valve datasheet.
- If the air supply pressure is below the recommended pressure then valve movement will be sluggish. If the air supply pressure is more than the recommended pressure, then this may cause damage to the actuator. So, set the air pressure as per recommended settings.
- Give the command to open the control valve or close the control valve as per field conditions from the PLC or DCS system. If the valve doesn’t make any movement, then check the supply voltage. If voltage is not present, then check the cable connections thoroughly by back tracing method i.e. from the field to the marshalling cabinet.
- Also, check the fuse healthiness in the marshalling cabinet. If found blown, then replace the fuse with the same rating fuse. If still problem persists, then check the cable healthiness.
- Checking the resistance of the cable will help you to identify the problem with the cable. If found an issue in the cable pair, then replace the existing cable pair with a healthy spare cable pair. This step will help to get the supply voltage to the control valve.
- Give 0 to 100% command from the control system to operate the control valve and do the valve stroke checking test. Also, verify the control valve feedback on the graphics during the stroke test.
- If the valve stroke is ok as per system command but feedback is not ok, then feedback setting/configuration is required.
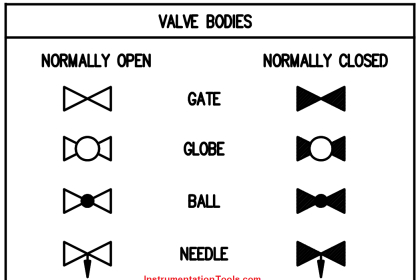
- Here two types of valve feedback designs are there. One is open feedback and close feedback or the other is full 0% to 100% full analog feedback (depends on your control valve design). If the issue is there in analog feedback, then in most cases control valve calibration will solve this issue.
- If the control valve doesn’t make any stem movement, then check for interlocks and permissive in the PLC or DCS logic i.e the control system may not send the command to the valve if the logic is not healthy.
- If there is an issue in the control valve stroke, then carrying out the calibration will solve the issue.
- After calibration, check the stroke again. If still there is an issue in the stroke, then check the mA to the input of the valve positioner. Give different commands from the control system and check the mA in the field. There might be an issue with the PLC/DCS analog output channel. But, this is a very rare case.
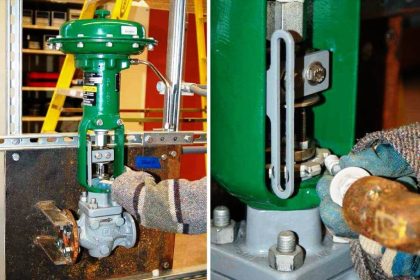
- If doubt is there about the valve positioner’s functioning, then replace the positioner and do the calibration. After calibration, again check the stroke of the control valve.
- Check all the control valve accessories like the quick exhaust valve, air volume booster, trip valve, and vent port. Verify that there should be no issue of blockage in them. Also, replace them if found any serious issues.
- Later you can carry out the repair in your workshop (for replaced items). If you don’t have spares then first repair them and install the same.
- If still there is an issue in the operation of the control valve, then remove all tubing and check the control valve movement by applying external air directly to the actuator.
- Check whether the actuator is passing or not. If the actuator is having passing issues then do an overhauling of the actuator.
- Now apply the air pressure as per the bench set mentioned on the nameplate or the datasheet of the control valve. The control valve’s movement should be smooth.
- Verify the fail action of the control valve.
- If the valve movement is sluggish or getting stuck, then decouple the actuator from the valve body (if the control valve is of the rotary type).
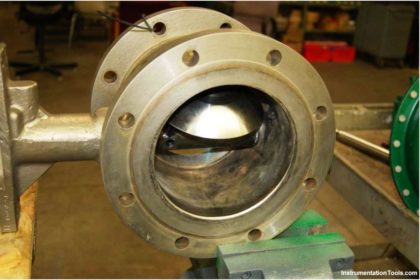
- Check the actuator response again. If found ok, then there will be an issue on the valve body side. Drop the valve body for inspection and overhauling.
- If the control valve is of linear type movement, then a dropping valve is necessary. Before dropping the control valve, make proper markings.
- After overhauling, reinstall the control valve and do stroke checking again.


Good