Temperature switches are used to monitor the temperature and trip a process or stop sequence as per programming when the temperature switch reaches the set temperature.
Nowadays temperature transmitters are widely used but still, in many processes and older systems, temperature switches are used.
Today, we are going to have a look at the calibration procedure of the temperature switch.
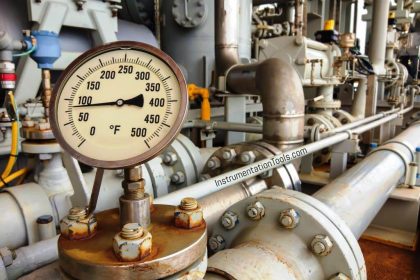
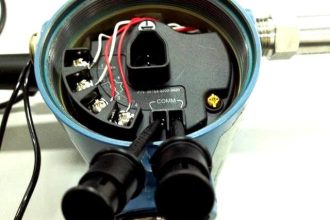
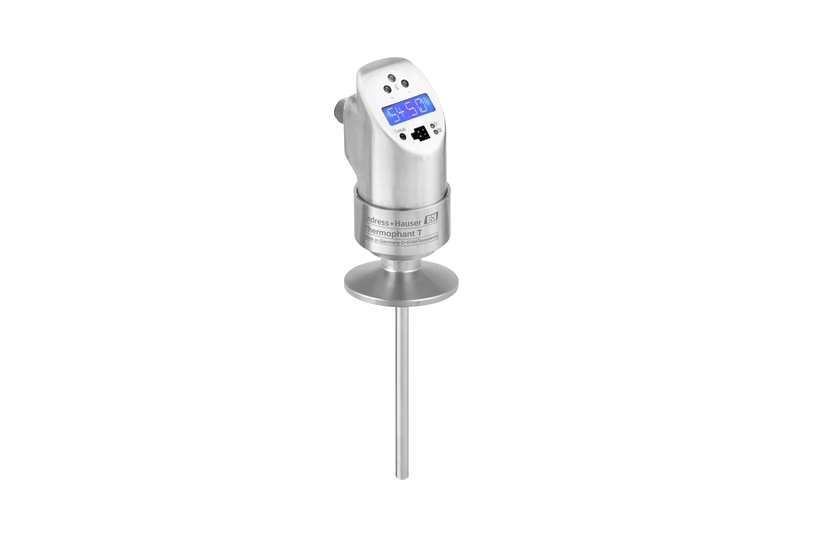
Temperature Switch
What are the necessary tools and tackles required for calibration of the temperature switch?
Calibration of the temperature switch is a very simple process. This calibration process can be done using a few tools and tackles.
Calibration Tools
The tools and tackles used for calibrating a temperature switch are:
- Multimeter
- Temperature bath
- Reference RTD
The tools mentioned above should be working properly and also make sure that they are calibrated and their validity is not over. Because tools generating incorrect output or sensing incorrect values for input can lead to incorrect calibration.
Before proceeding for the job on the temperature switch, keep some points in mind which are mentioned below:
- Bypass any interlock present on the temperature switch on which you are going to perform the job. Because this interlock may lead to tripping or shutdown as per logic.
- Note down the connections before removing the temperature switch.
How to Calibrate Temperature Switch?
The temperature switch’s calibration cannot be done in the field-mounted condition. Because the temperature switch needs to be kept in the temperature bath where we can vary the temperature.
Follow below below-mentioned steps to calibrate the temperature switch.
- Take a valid permit to work and get necessary approvals for the job.
- Bypass the interlock which is present for the temperature switch after taking necessary approvals and filling necessary interlock bypass requests. Always bypass the interlock from the system. Do not use a short link if close contact is used. Bypassing from the system is the standard way of bypassing a digital signal.
- Inform operation department about the job and ask them to continuously monitor the temperature for which this temperature switch is installed. Because now the temperature switch is bypassed and will not trip process or stop sequence as per logic.
- Now, note down the connections of the temperature switch and then remove the cable. Properly isolate both cables from each other by applying PVC tape.
- Remove the temperature switch only if the process is online. If the process is shut down and the line/tank is empty, then you can remove the thermowell as well. But in running process make sure you do not remove the thermowell as this will lead to injury or incident or accident.
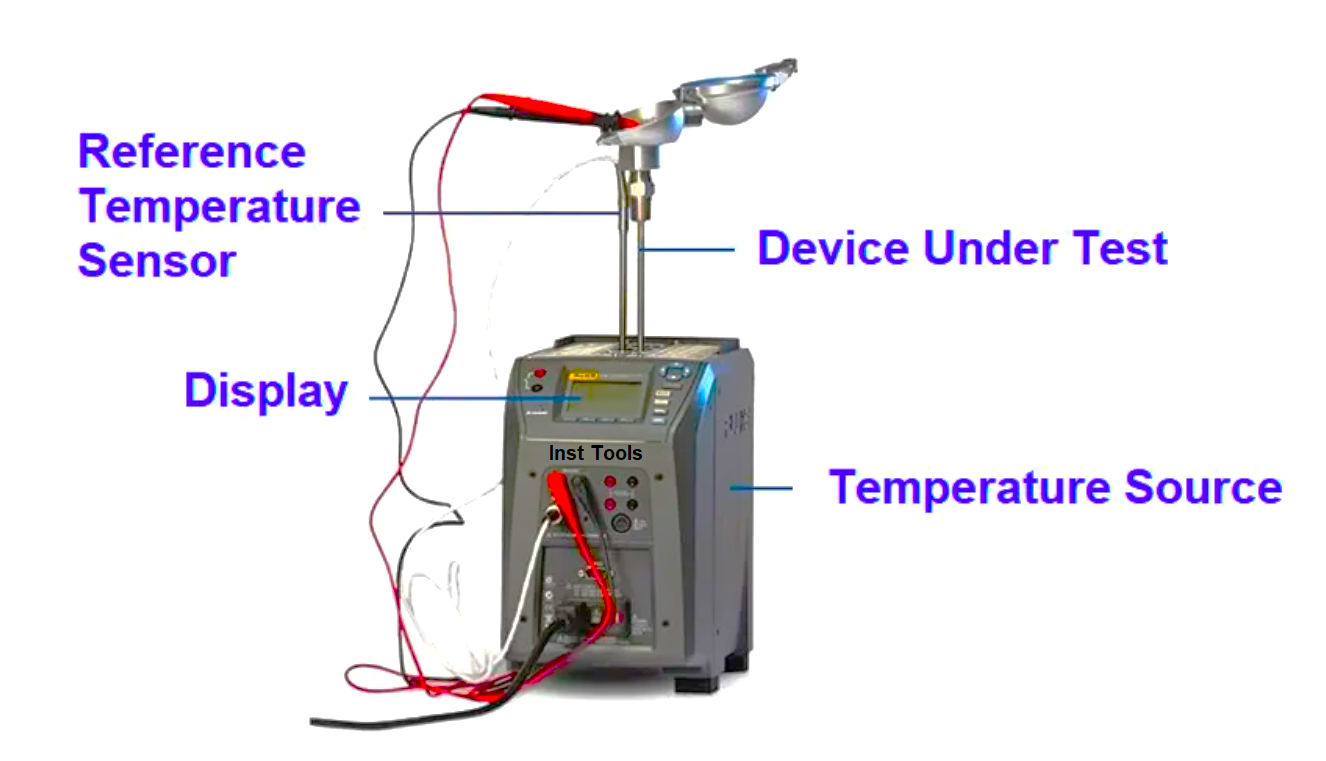
- Now, insert the temperature switch in the temperature bath. Also, insert an RTD in the same temperature bath. Here, we use another RTD to confirm the temperature in the temperature bath. Although, the temperature bath’s display will show the temperature, but we need to verify this temperature reading as the temperature switch is one of the critical process safety equipment.
- Now, attach multimeter’s lead to the contacts of the temperature switch as per the field connections and keep the multimeter in continuity mode.
- First set the temperature near to the ambient temperature in the temperature bath.
- Now, set the temperature in the temperature bath just few degrees (about 5% of the setpoint) below the setpoint of the temperature switch. (Here, our setpoint is 100 degree Centigrade. So directly give set point of 95 degree Centigrade in the temperature bath)
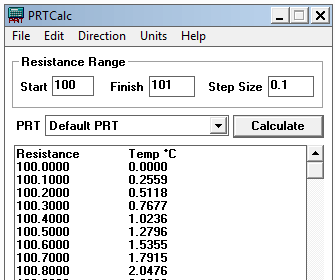
- Now wait till you get 95 degree Centigrade in the display of the temperature bath as well as from the RTD (you can measure RTD’s resistance and then calculate the temperature from it or attach an indicator to the RTD which shows the temperature)
- Now, increase the temperature by 1 degree Centigrade and wait for temperature to get stabilize.
- Repeat steps 10 and 11 till the temperature switch’s contact gets changed. Note down the temperature at which the contact changeover happened. (Also, measure the resistance of the contact in open condition and close condition. If resistance in close contact is more than 1 ohm, then it is recommended to replace the temperature switch).
- Next step is to reset the temperature switch. Keep decreasing the temperature value by 1 degree centigrade and observe it as we did in increasing way. Whenever the temperature switch changes the contact, note down that temperature.
- Calculate the error or use the calibration format attached in this article and fill all the data. You will get the error in %. If the error is more than the desirable limit as per the datasheet, then calibration is needed. Go to step ‘15’ to do calibration. If error % is ok, then the temperature switch is OK.
- To calibrate the temperature switch, one rotary know will be given in almost all temperature switch (this may vary depending upon the manufacturer. Refer manufacturer specific manual for more information). Rotate the knob (clockwise or anticlockwise direction will be given in manufacturer manual or on drawing near the knob or on the switch) to increase or decrease the set temperature.
- After setting the temperature, go to step 8 and continue from there.
After all these steps are completed successfully, the temperature switch is OK. If still, the switch is not responding properly, replace the switch and check the new switch as per above mentioned steps.
(If the process is shutdown, then do the hydro test of the thermowell as well)
After the calibration, install the temperature switch back in the field and take the interlock back online after verifying the contact and close the work-permit.
Instrument Calibration Report
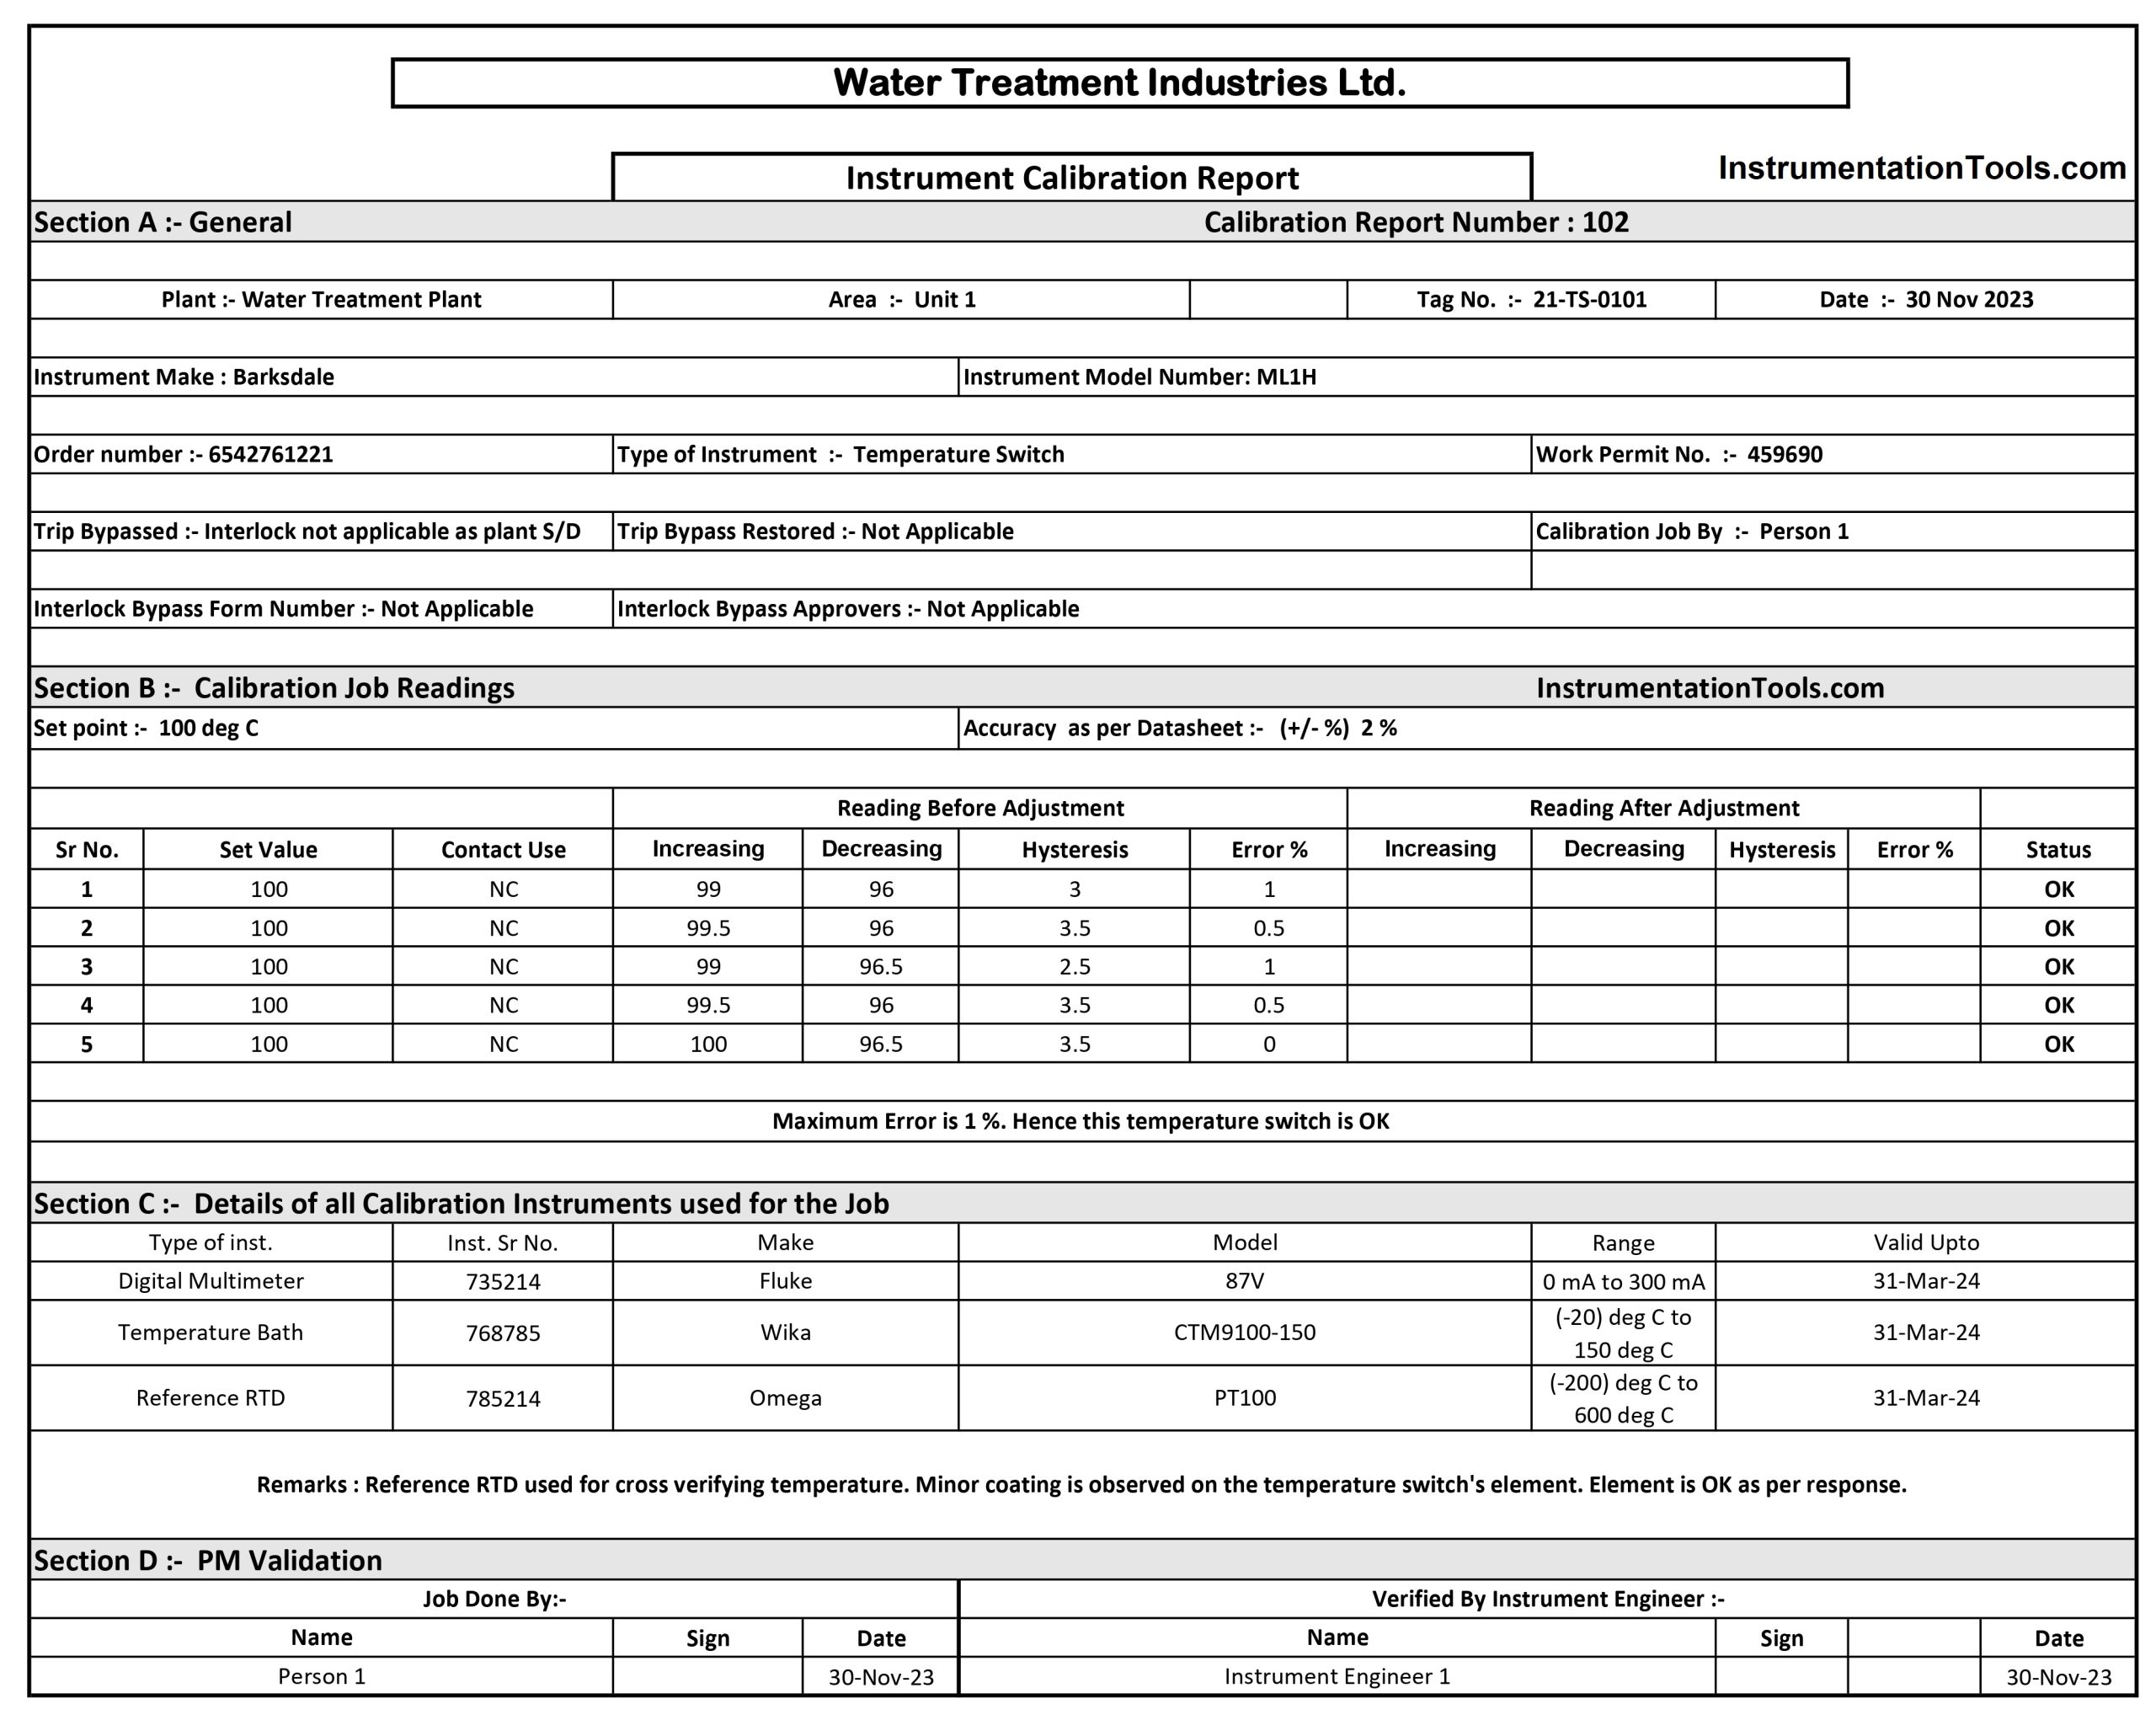
You can download the instrument calibration report in Excel. Download Now.
If you liked this article, then please subscribe to our YouTube Channel for PLC and SCADA video tutorials.
You can also follow us on Facebook and Twitter to receive daily updates.
Read Next:
- What is a Thermal Flow Meter?
- Flow Control Loop Controller
- Types of Temperature Calibrators
- How to Create Calibration Records?
- Industrial Temperature Calibrator