When we are working in an HMI or SCADA application, there arises a need many times where you need to create an object that will be required in all the screens.
For example, consider a simple header and footer. You will need both of these elements in whichever screen you open in a PLC system graphics. This is called a template. Every automation maker has their own style of creating a template that can be used on any screen you require.
One of the most used brands is Rockwell Automation. In this post, we will see how to create templates in FactoryTalk View Studio.
Templates in FactoryTalk View Studio
First, we will create a template without any dynamic tag linking. It means it will be an object without any tag linked to it. You can use such types commonly for navigation.
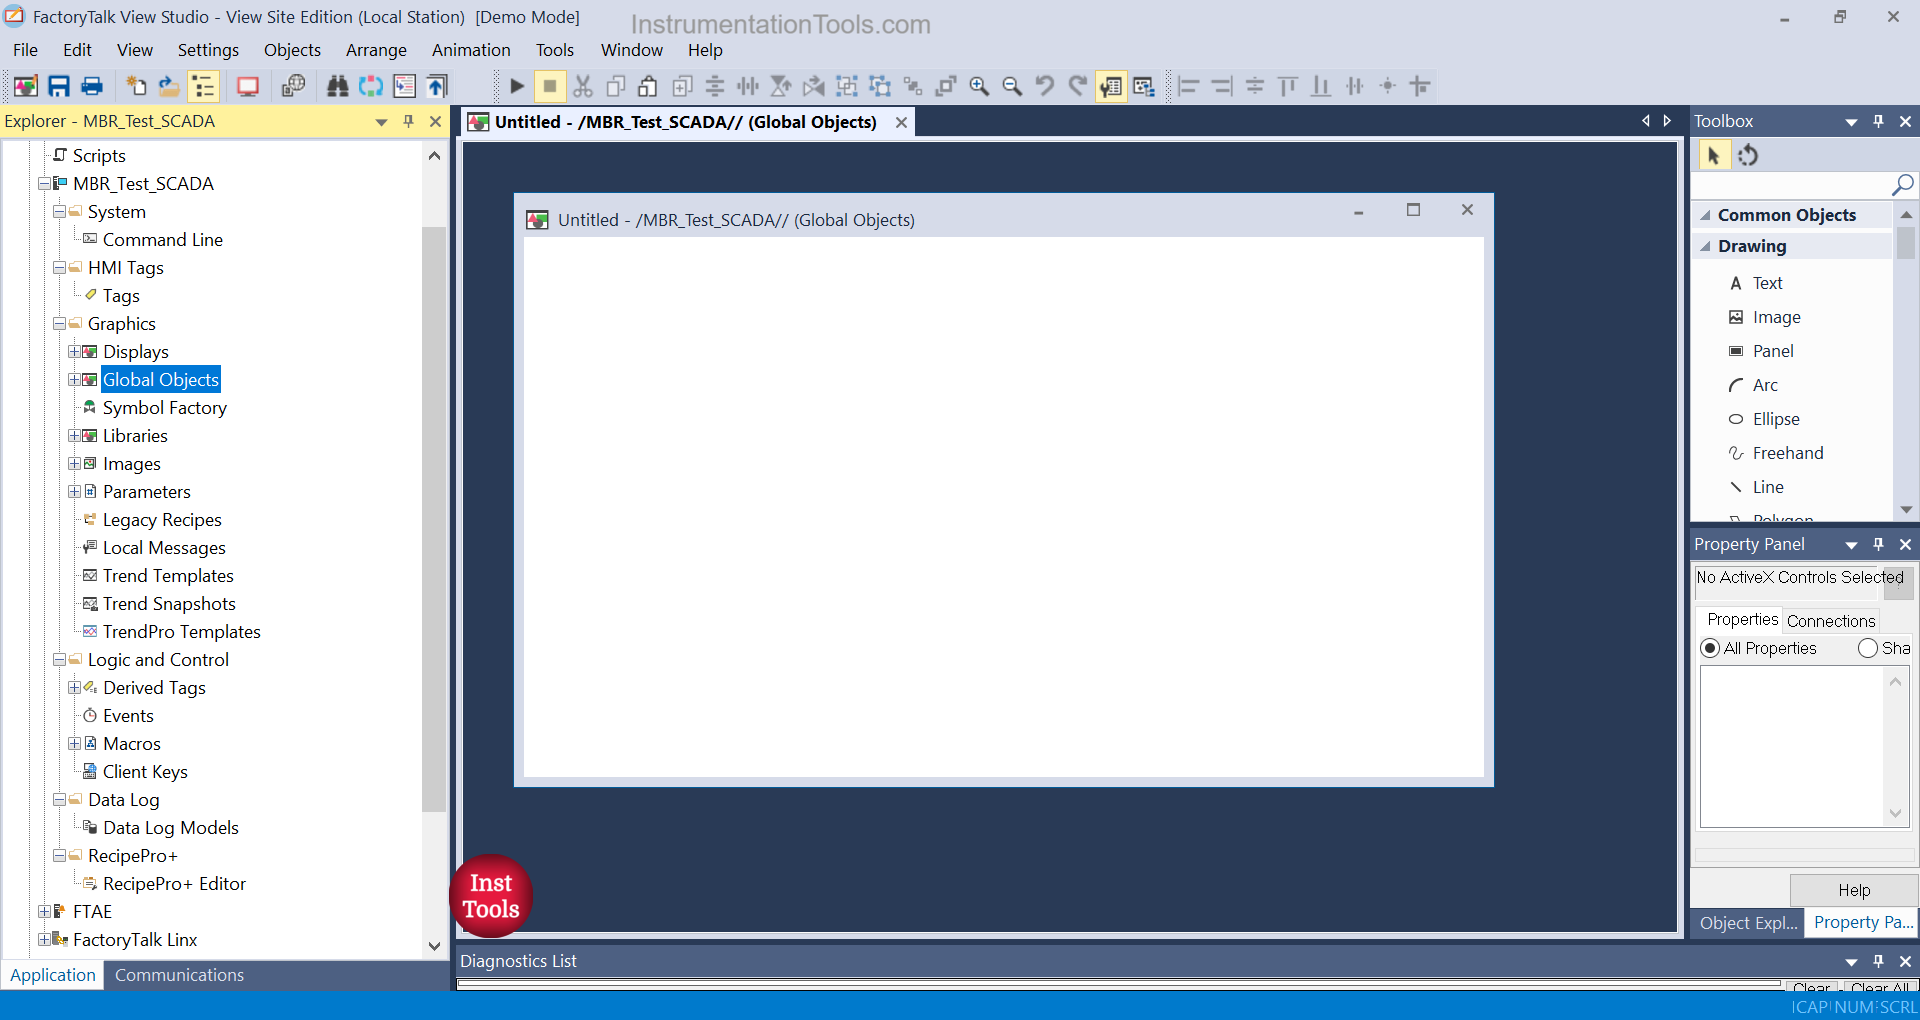
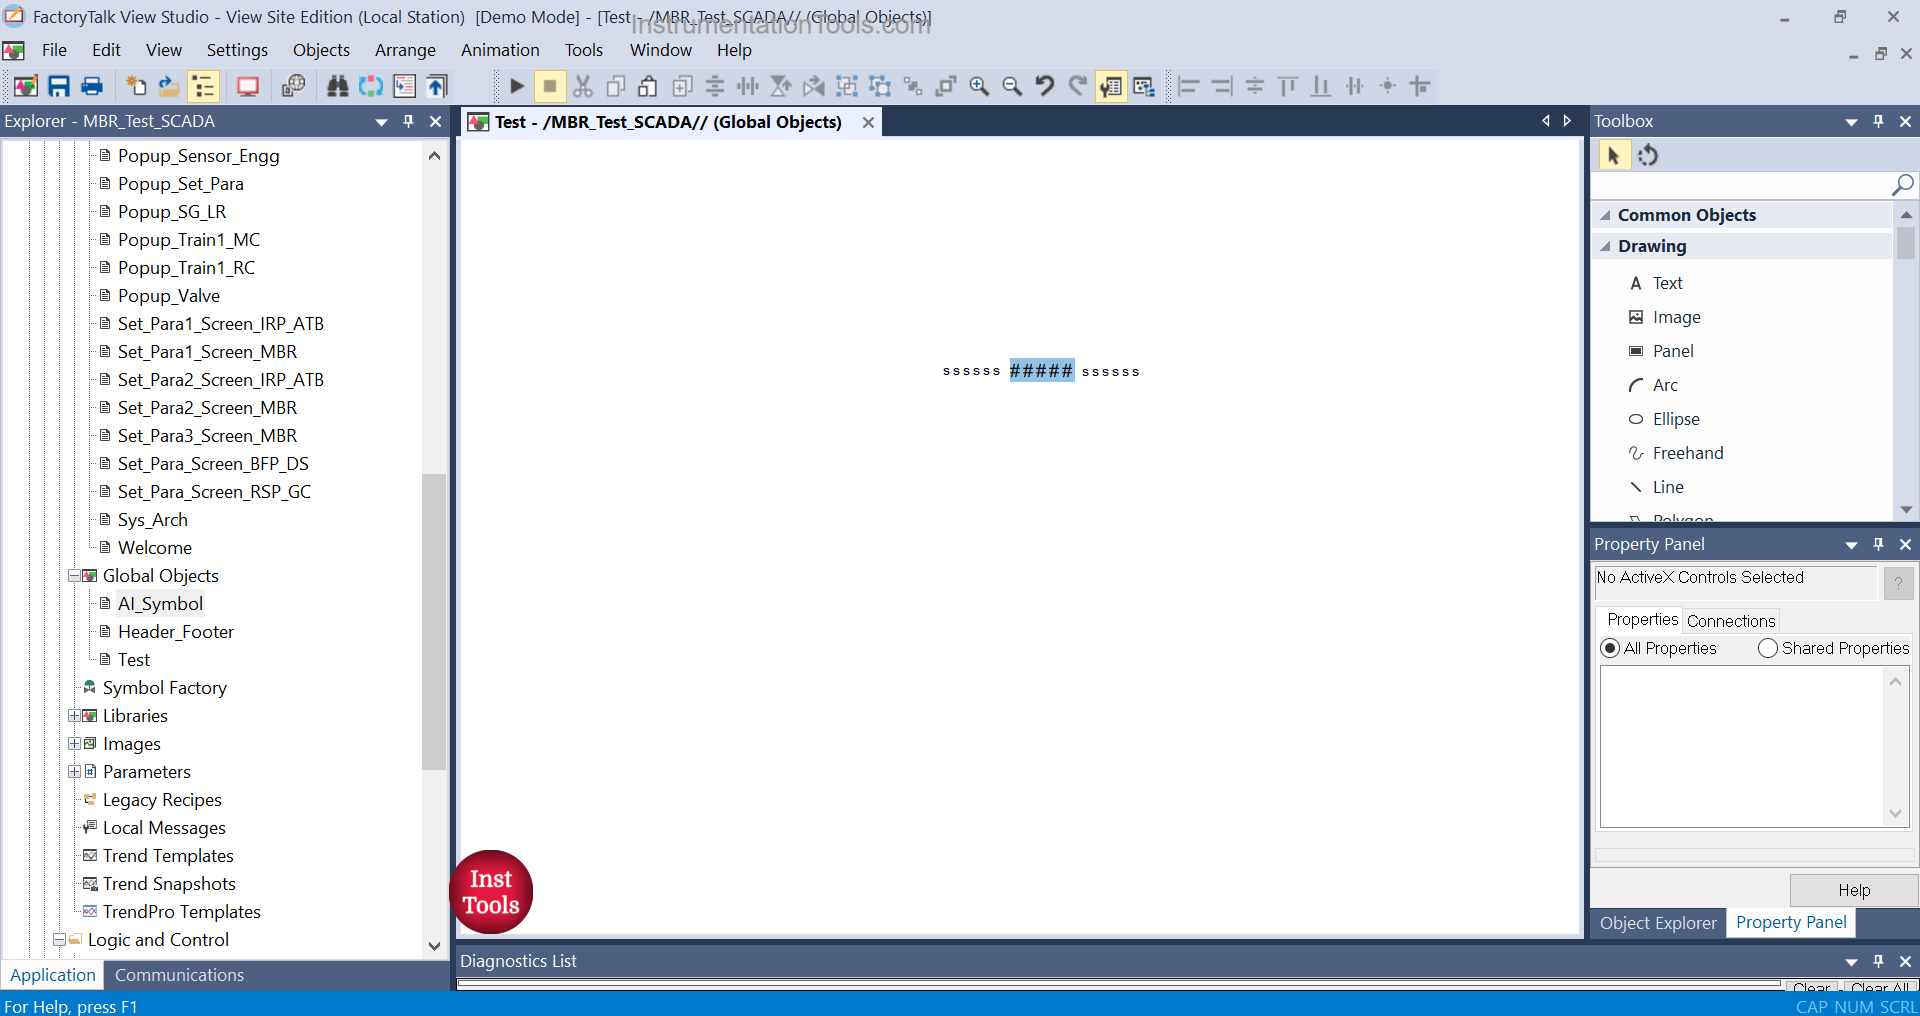
As seen in the image below, right-click the global objects option and click new. This will open a blank screen where you can create template objects.
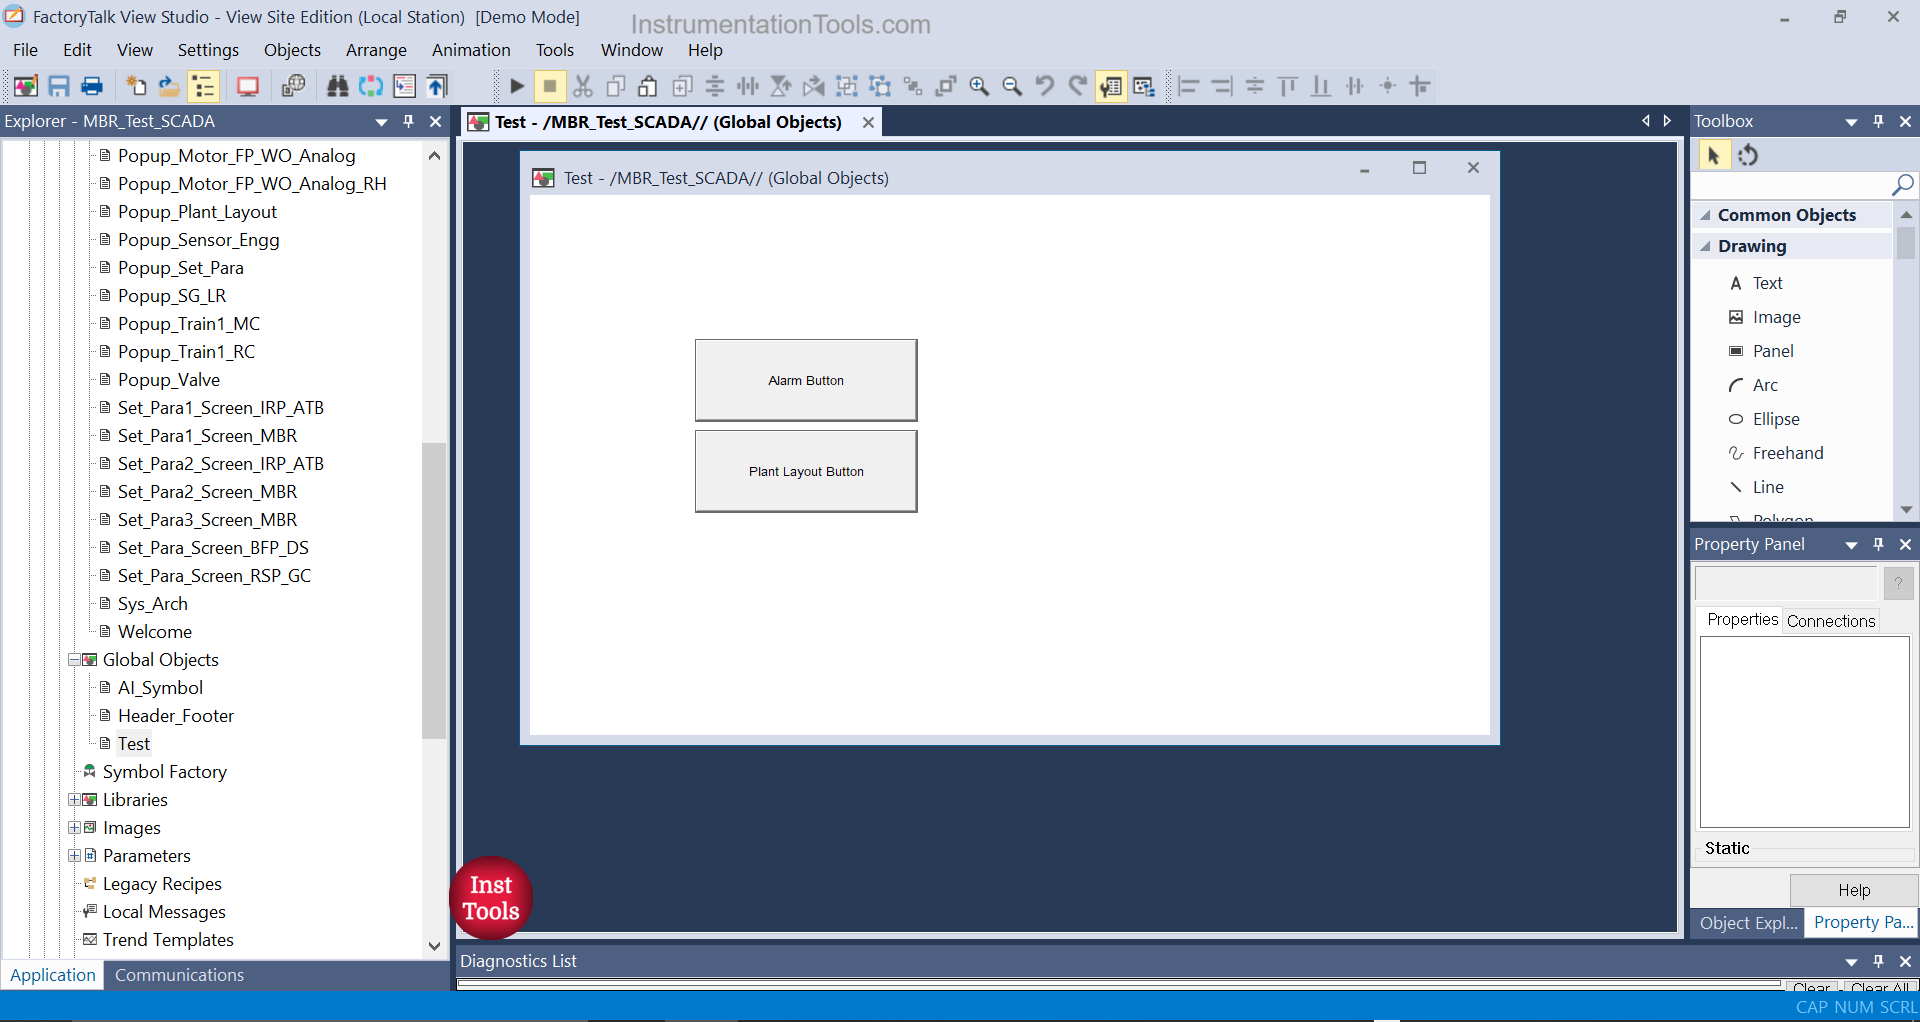
Next, we create two buttons on this screen. Name it according to you and give it’s navigation properties. After that, you have to group both these objects.
Grouping becomes easy because you need not copy individual objects every time and place them on all the screens. Rather than this, just copy a group and copy it quickly in the screens you require.
So, grouping the objects is recommended for simplifying the task. Refer to the below image for this.
Now, you just have to copy this grouped object to any screen that you require. So, when you see it at runtime, it will perform the same action, be it on any screen. It will open the same screen on a click, that you assigned in the button.
Let us now create a dynamic tag object. When is it required? Suppose you have 8 sensors in your project. There are 4 screens in your project and each screen has 2 sensors for display. But, these sensors have different tags.
This means, one will be a level transmitter and the other will be a flow transmitter. The common thing between them is that all will have the same type of display information, like name, value, and unit. So, instead of creating separate objects on every screen, just create a common template and copy it on every screen. We will check this on how to do it.
First, we will create a new global object as done earlier and take three objects – two string displays and one numeric display. Now, assign the first string display as {#1.Label}, the second as {#1.Unit} and the numeric display as {#1.Pv}. What is one thing common in it? That is #1.
This means you are referring to a PLC tag which has three components in it – label, unit, and process value. So, there are 8 PLC tags in your PLC program as per our example which correspond to 8 sensors and have the same type of information in them, only varying with their corresponding values.
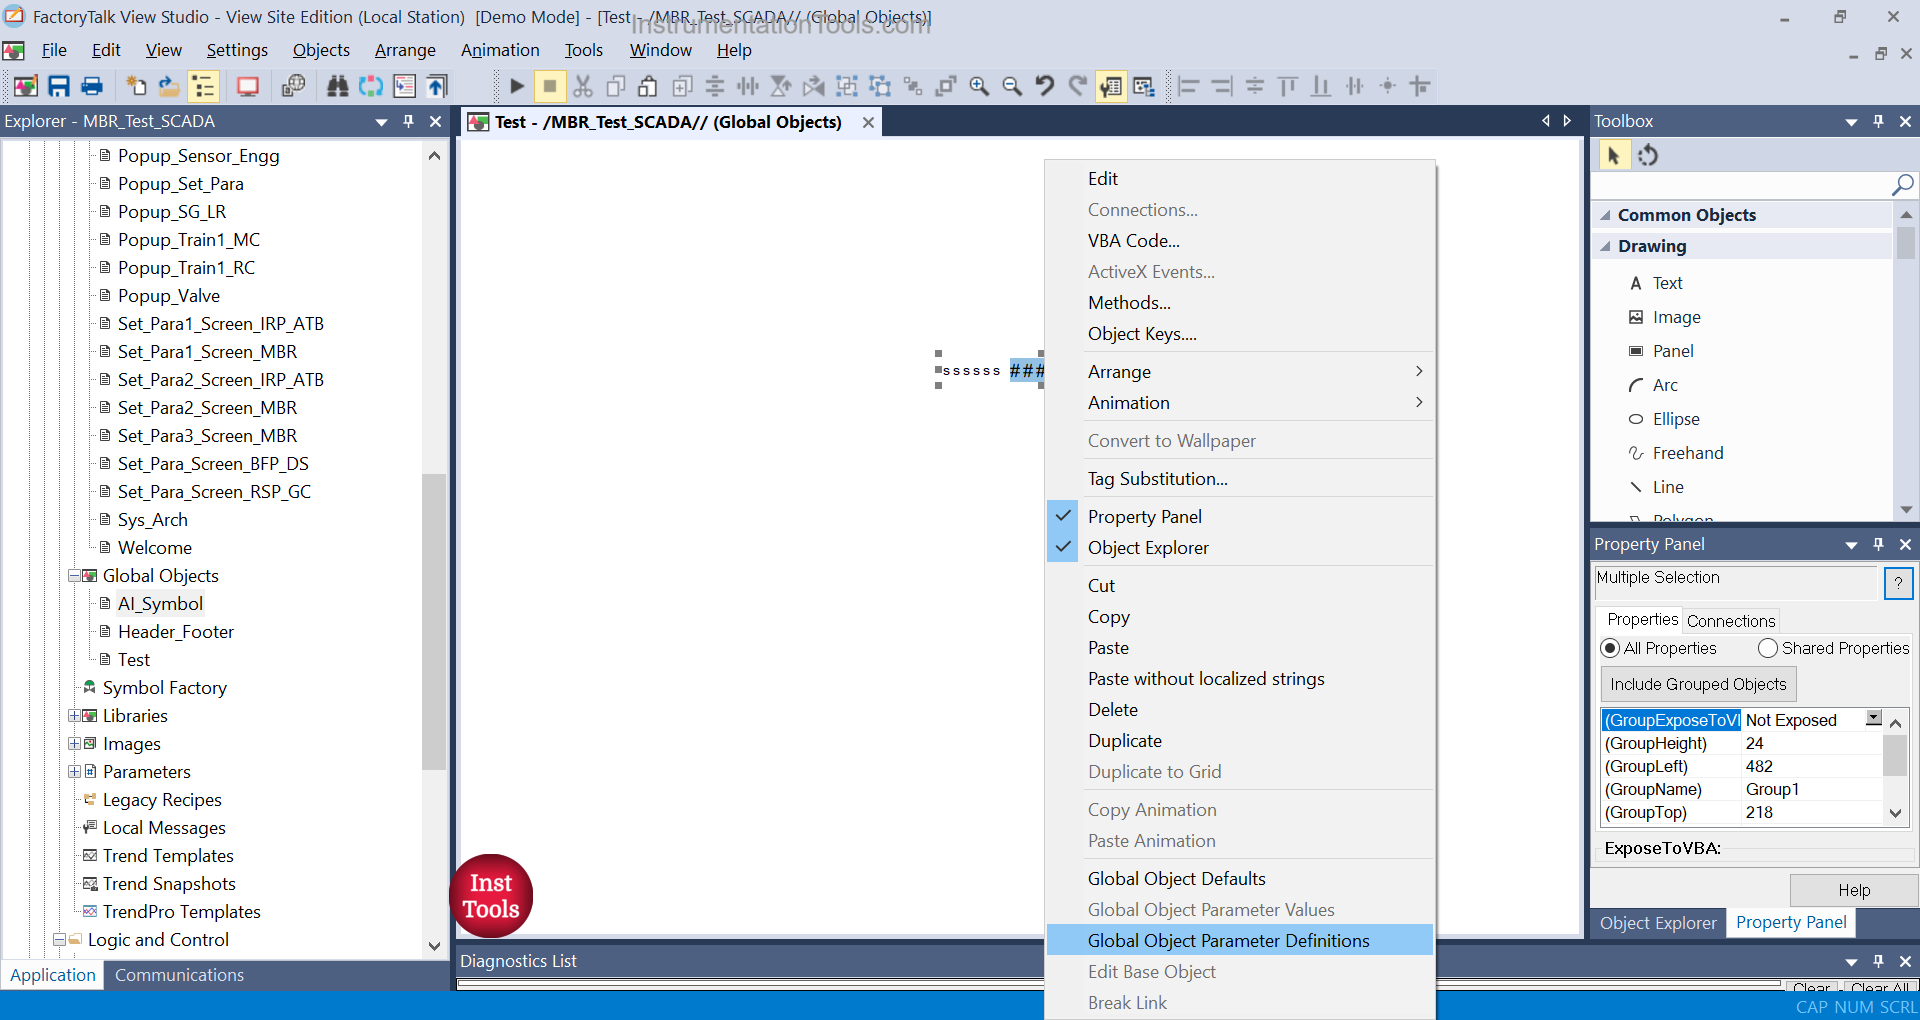
Now, group these 3 objects and right-click them as shown below. You will get an option – global object parameter definitions.
In the second image, a window will open where you have to define your tag created earlier as shown. The description is optional and depends on you whether to give it or not. I have named it for better understanding.

Now that you have created your global object, you need to just place it on the screen you require.
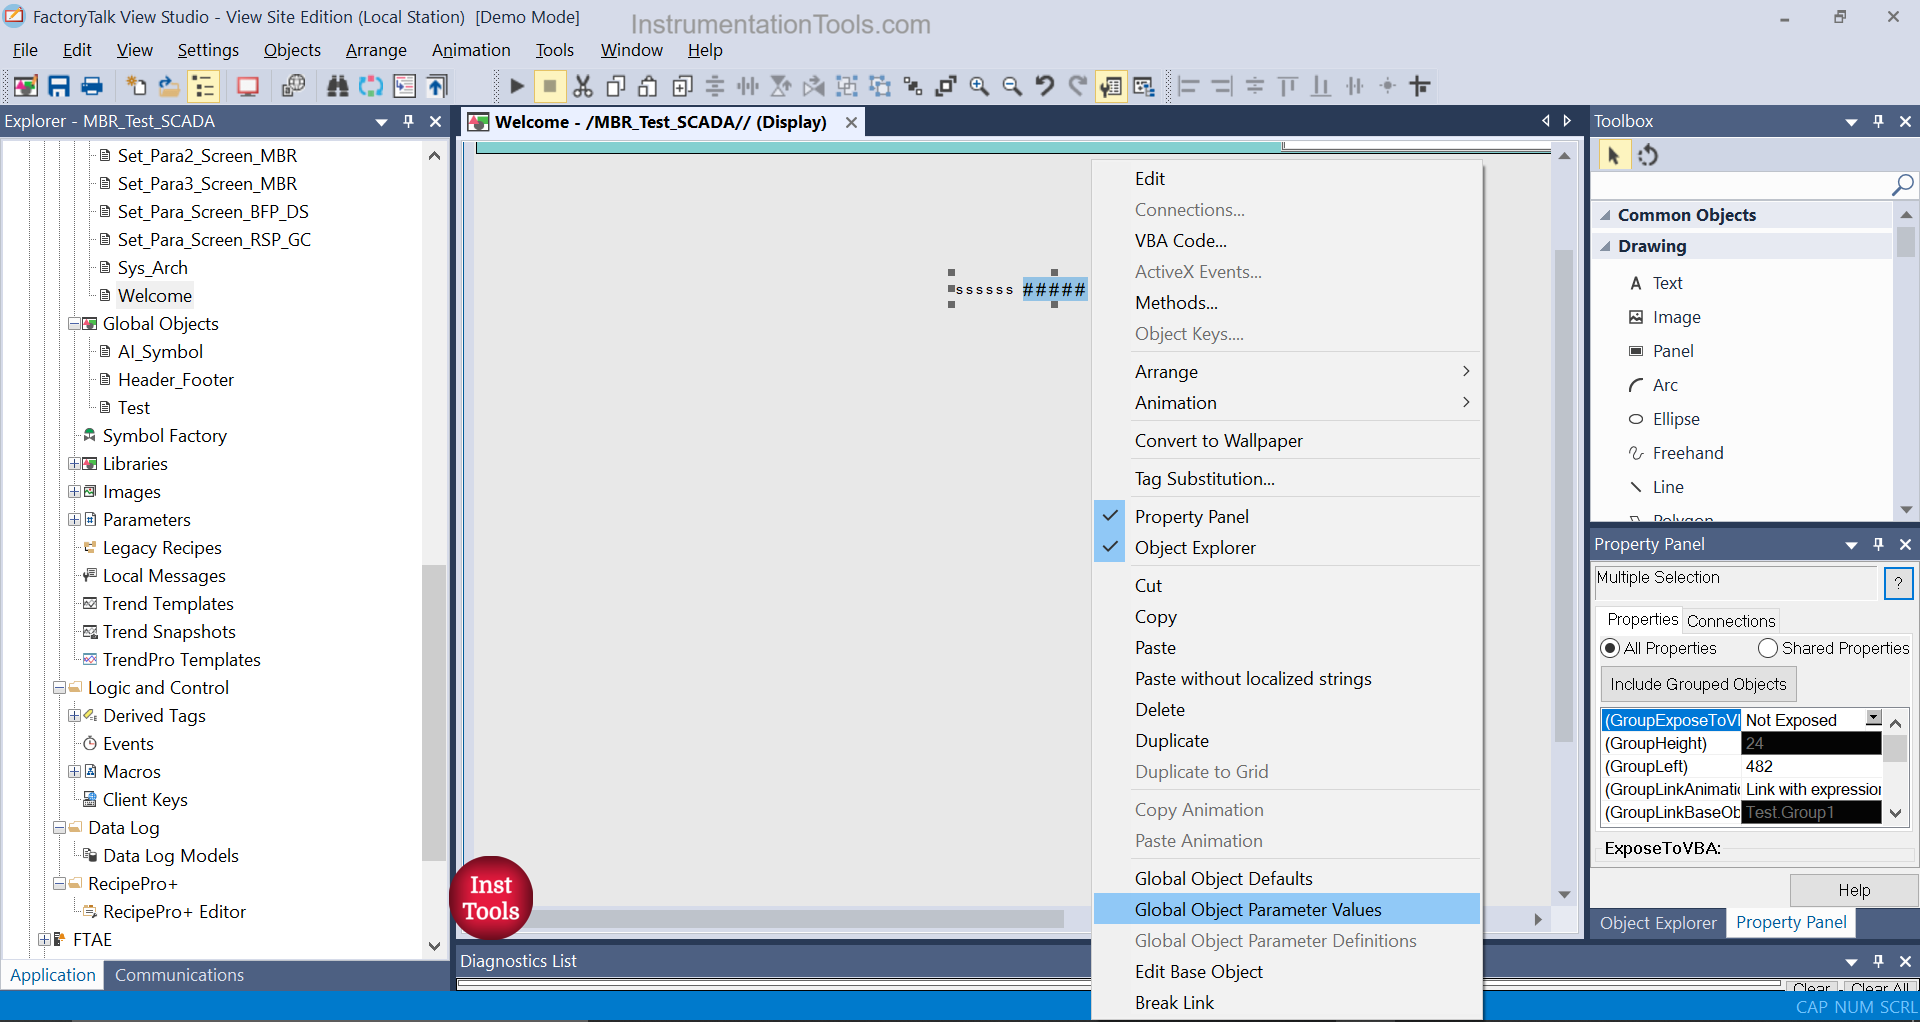
In the image below, I have copied one and then, right-clicked it. You will find an option – global object parameter values. There, you have to assign your actual PLC tag and link it with the object you created. This is shown in the second image. The tag assigned is level transmitter-1.
Similarly, place the global object in other screens and link them with actual PLC tags. In total, you have to place 8 objects as per our PLC example.

When you finally run the PLC project, you will see that each object will display the individual tag data on the screen.
In this way, we saw how to create templates in FactoryTalk View Studio.
If you found this article informative and engaging, we encourage you to consider subscribing to our YouTube Channel, where you can access video tutorials covering topics such as Instrumentation, Electrical, PLC, and SCADA.
For daily updates and to stay connected with our latest content, be sure to follow us on Facebook and Twitter.
To further expand your knowledge, we recommend checking out our next insightful articles.
Read Next:
- PLC-to-PLC Communication Project
- PlantPAx Library in Factory Talk Studio
- What is a Data Block? Global Data Blocks in PLC
- How to Save a PLC Project to a Memory Card?
- Analog Input Devices in Studio 5000 Tutorials