Motor Operated Valves (MOV) are generally used in large pipes where the torque required is high and only ON/OFF is used. MOV is not preferred for control applications.
Today we will discuss about Rotork Make electrical motor actuator.
The supply voltage is a 3-phase supply
We can control the motor-operated valve through FF, Profibus, Modbus, DeviceNet, or Packscan system (it is a network loop controlled by a Rotork Master Station device available in a single, dual, or hot standby configuration. A single network can control up to 240 actuators. Cable length can be 20 km), through setting tool pro or through local switches.
Analog, as well as digital feedback (4 switches are available), can be configured as per our needs.
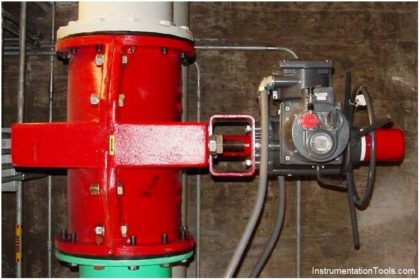
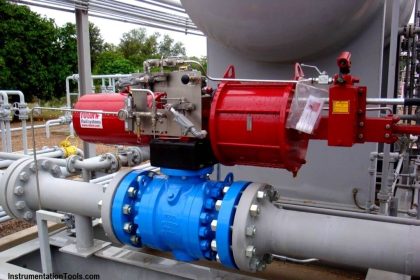
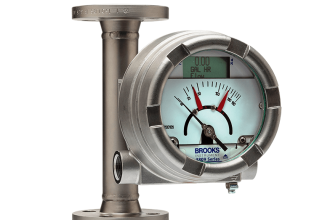
Rotork Motor Operated Valve
Let’s discuss some basic things about Rotork MOV (IQ series)
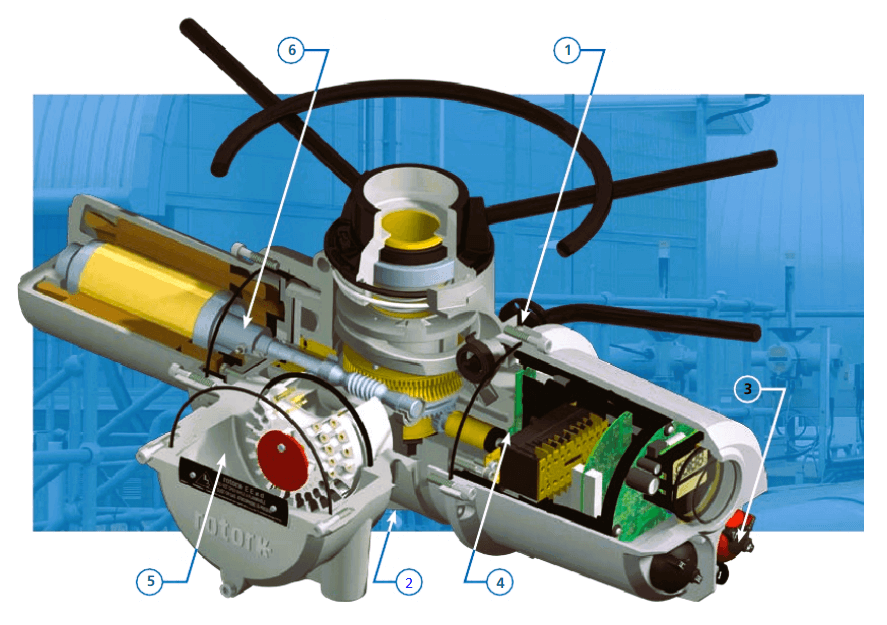
- Hand Operation
Hand wheel operation can be done during any emergency situation. A clutch engages MOV for hand operation while power operation unlatches the clutch
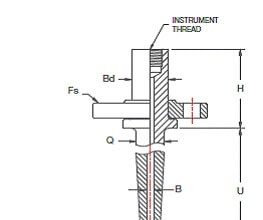
- Thrust base
To connect the body to MOV, an easily removable drive bushing is provided.
- Local Control
Local switches provided for local control
- Position Control
The hall effect magnetic pulse system is used to monitor the movement of the actuator
- Terminal Compartment
Separate sealed compartment for 3-phase supply as well as control and feedback cables
- Motor and Drive
The low inertia and high torque motor provided for easy operation. For protection, torque trip and high winding temperature trip are provided.
Infrared Setting Tool
The motor-operated valve settings and configuration can be done through a Setting Tool Pro (Infrared setting tool).
This tool has different buttons available on it as shown below figure.
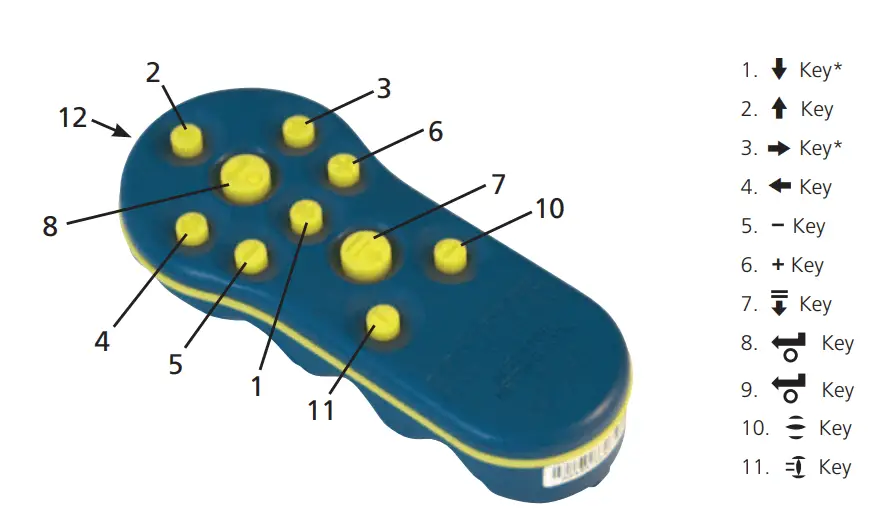
The button functions/names are listed below
- Down Function
- Up Function
- Next function across
- Previous function across
- Decrease/change value
- Increase/change value
- Download/upload mode
- Enter
- Stop actuator
- Open actuator
- Close actuator
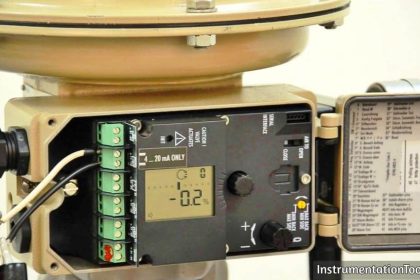
MOV Configuration
MOV has a local display, an open/close button, and a local/remote/stop button
In local mode, MOV can be operated locally through the open/close button
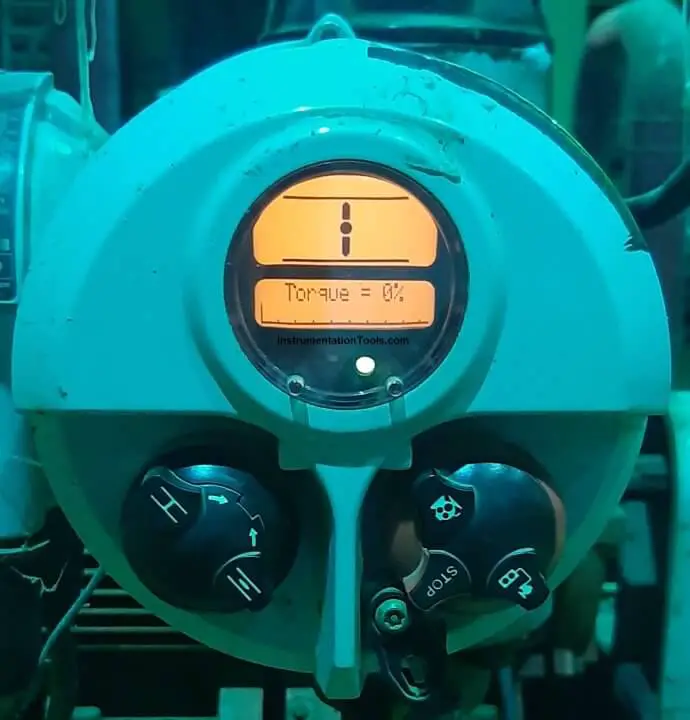
In remote mode, MOV can be operated remotely from the control system
In stop mode, MOV won’t operate electrically.
Commissioning of Motor Operated Valve (MOV)
Let’s see how to set open and close feedbacks and set torque values which are widely used configuration settings in the motor-operated valves.
For setting any of 4 parameters, i.e. close feedback, open feedback, close torque or open torque, we need to enter the password and then we can access the menu.
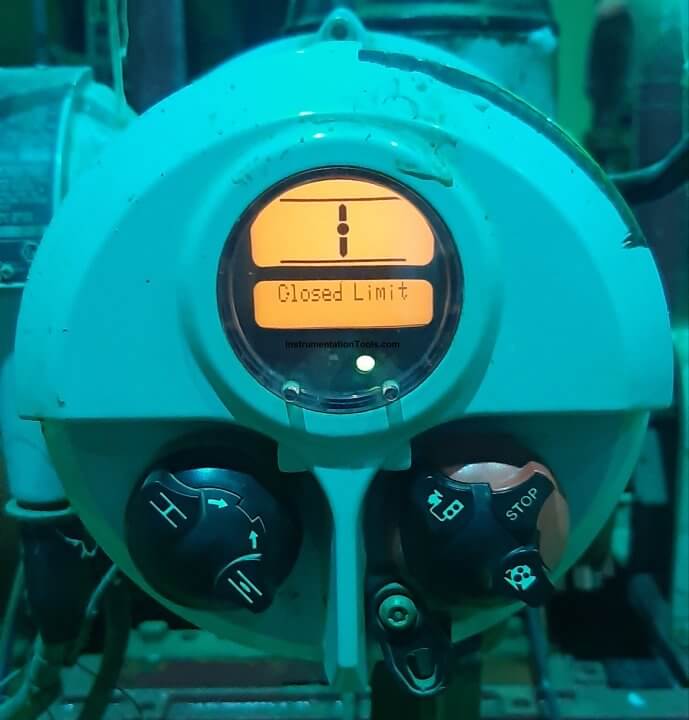
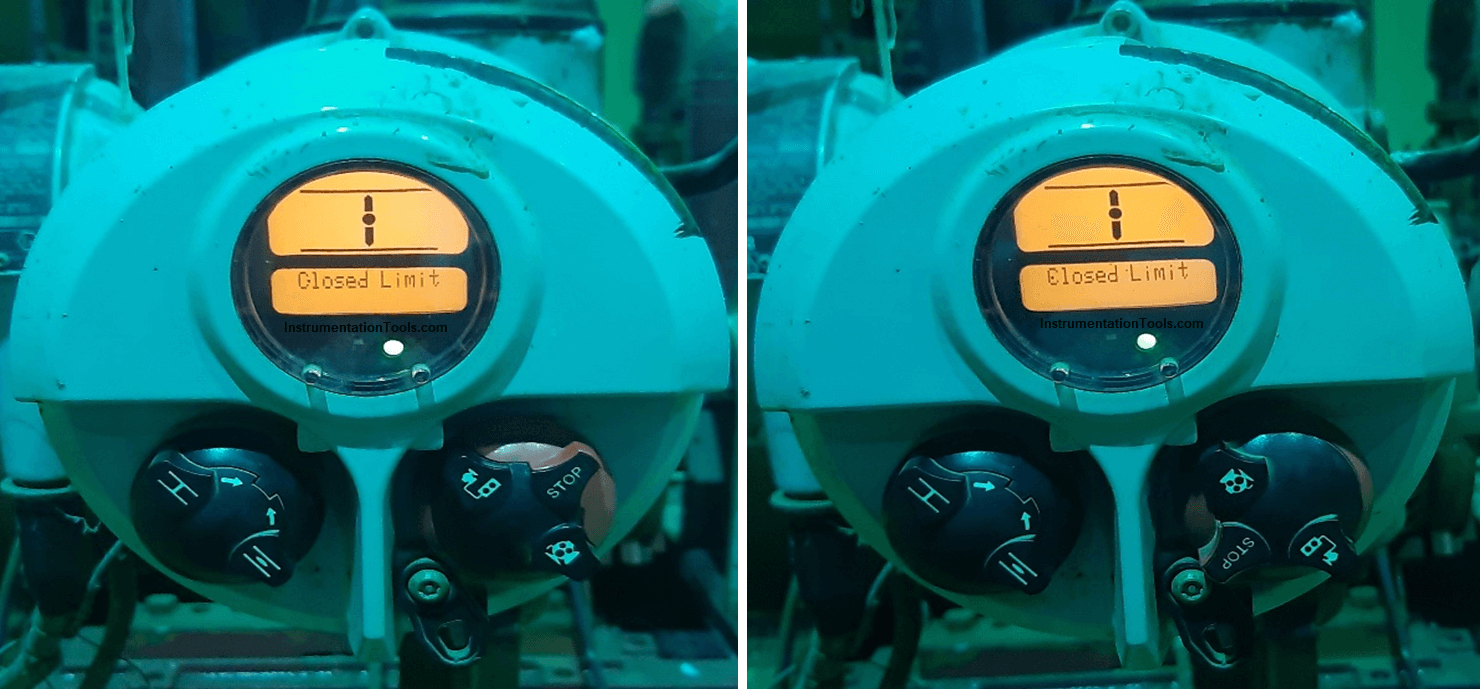
NOTE: If MOV is close then GREEN LED will be ON and if MOV is open then RED LED will be ON as shown below
Below mentioned steps are common:
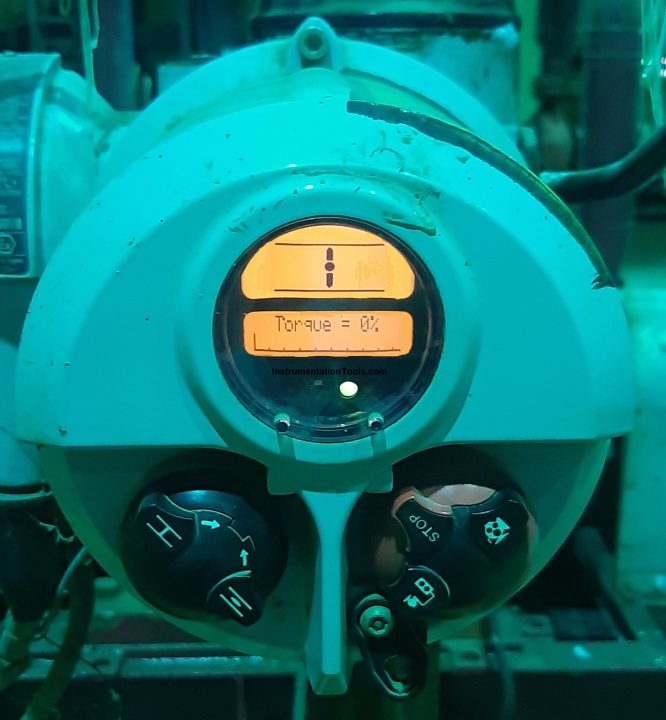
Step 1: Put MOV in stop mode using a local switch.
Step 2: Press down the function key, and you will be the Torque value as shown below
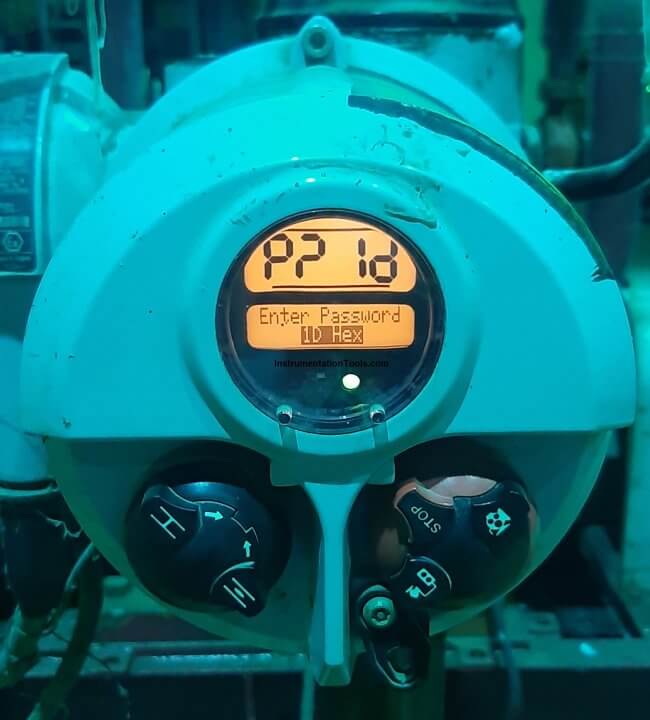
Step 3: Again press down the function key and you will be asked password as shown below
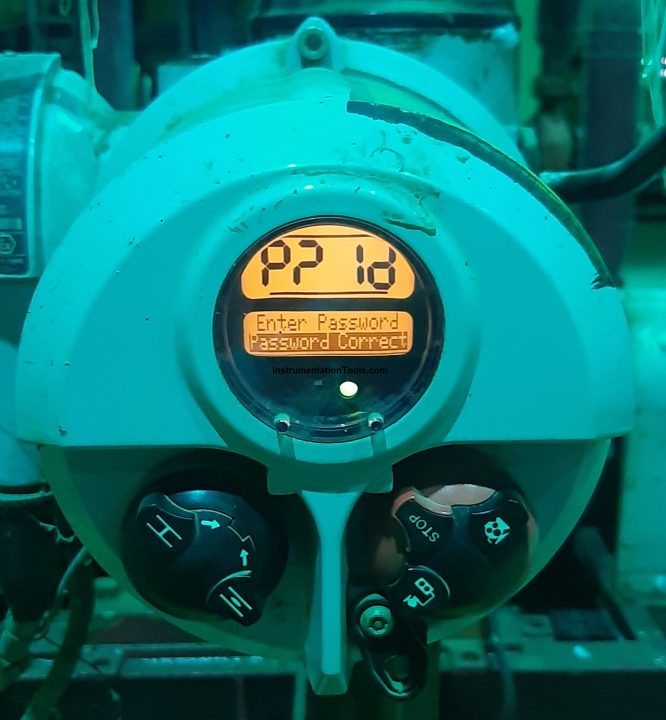
Step 4: Press enter and you will see the password correct (If any other password is set then use the +/- key)
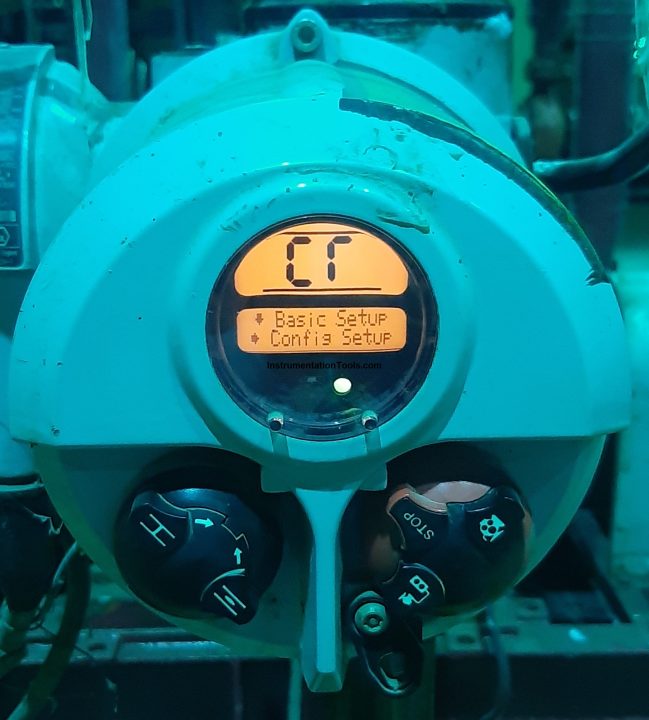
Step 5: Now press down the function key again and you will see the basic/config option
Step 6: Go on pressing down the function key until you see MOV asking to set close feedback, move the valve to close position, and press enter.

Step 7: To set open feedback, press the Next function across key
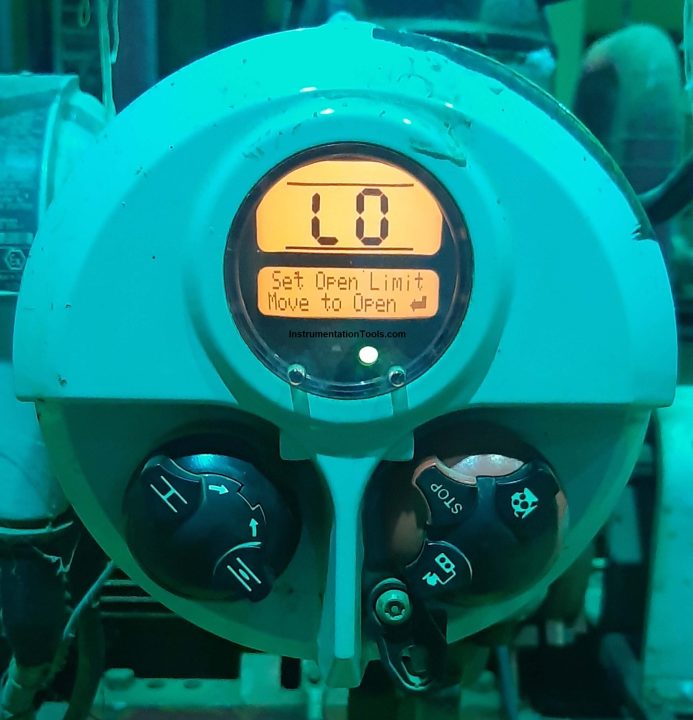
Now MOV will ask to set open feedback
Then move MOV to open condition and press enter to set open feedback
Step 8: Again press down the function key and go on pressing until you see MOV asking to set Close torque and press ENTER.
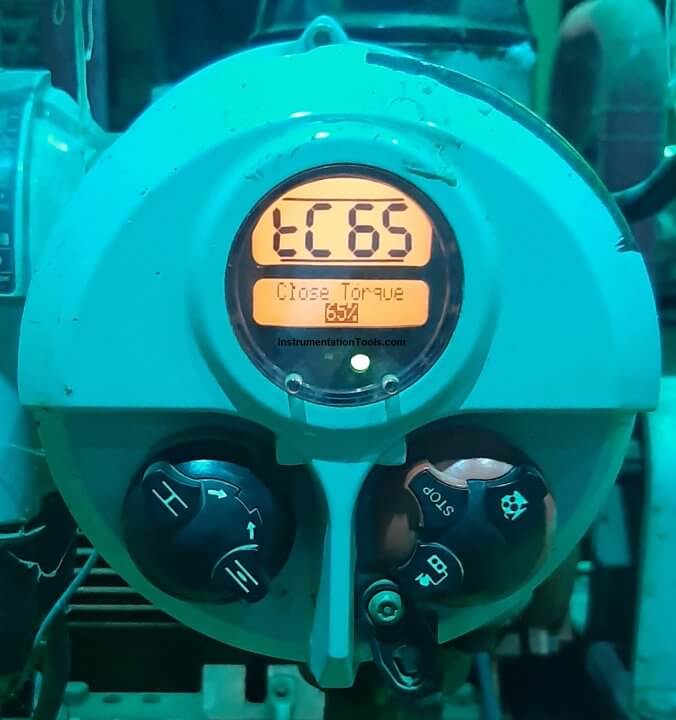
Use +/- to increase or decrease torque value after selecting it.
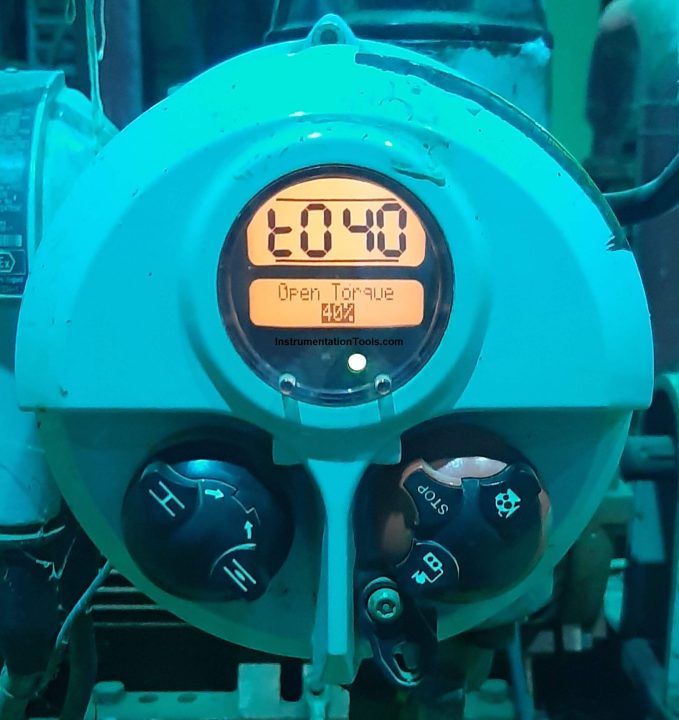
Step 9: To set open torque, press the NEXT function across key
Now MOV will ask to set open torque. Use +/- to increase or decrease torque value after selecting it.


i have problem in MOV
MOV problem
when I put in remote mode it will operate close up to 46 % and after that 100%