In this article, I will discuss how to use PID instruction using Siemens TIA Portal.
PID plays a huge role in process industries where it is used to control the process variable.
I will use CPU-1500 to explain to you about the PID block. Here, we want to run the PID block, but we can not run this in the main OB as the PID block needs to update at a specified time interval.
To execute a specific time interval, we have to use cyclic interrupt OB.
Let’s understand how the PID block in the TIA portal works. Follow the below steps to add cyclic OB.
Open TIA PORTAL. Create a new project. Add a new OB.
After adding the main OB, do follow the below step as shown in the window.
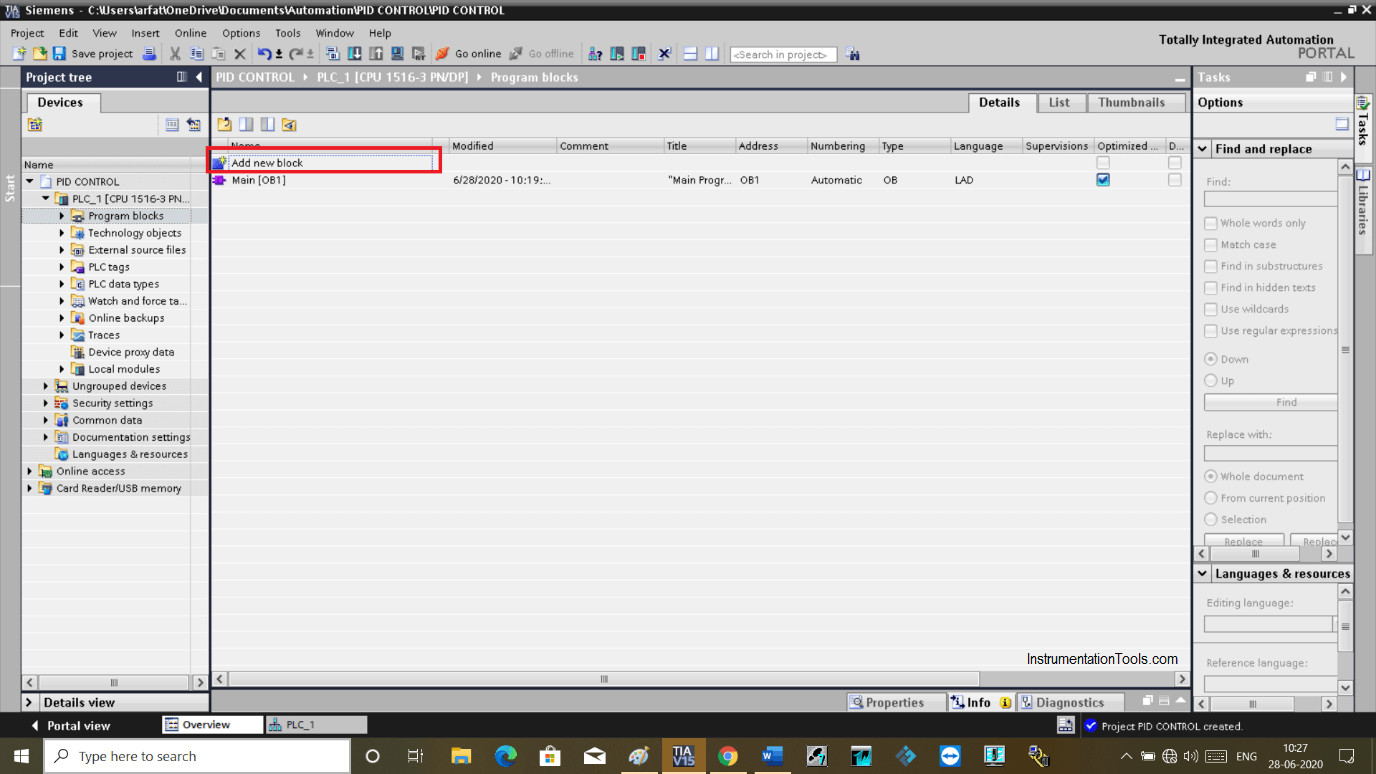
Click on “Add new block”.
Click on “organization block” then select “cyclic interrupt”.
Here, it adds the cycle time. Normally we use a cycle time of a 1 second. Hit ok to proceed.
Now add PID block in cyclic OB as shown in the below window.
Clicking on a PID compact will open up a new window.
This pop up opens because PID requires storage location to keep the data that it does in the form of DB (Data block). Hit “ok” to proceed.
Here, in the PID block on the top right side, you can see two different icons.
One icon on the left-side holds the configuration window and another icon on the right-side holds information of the commissioning window.
As you can see in the below window, clicking on the configuration icon will open up a new window.
In this window, you can add all the information related to scaling, controller type, input, and output parameter.
In the “PID Parameter” you can add gain for the PID parameter.
In the tuning rule, you can set the controller structure.
In the below window you can see a commissioning window.
In this window, you can monitor the graph. You can see the process variable and response time of the manipulated variable to calculate dead time.
From the calculation, you can tune the process easily and efficiently.
As you can see in the large red rectangle, you can add the parameter.
On the top left side, you can monitor your process and fine-tune it.
Author: Suhel Patel
If you liked this article, then please subscribe to our YouTube Channel for PLC and SCADA video tutorials.
You can also follow us on Facebook and Twitter to receive daily updates.
Read Next:
The conveyor sorting machine is widely used in the packing industries using the PLC program…
Learn the example of flip-flop PLC program for lamps application using the ladder logic to…
In this article, you will learn the STAR DELTA programming using PLC controller to start…
Lube oil consoles of rotary equipment packages in industrial process plants are usually equipped with…
Rotating equipment packages such as pumps, compressors, turbines need the lube oil consoles for their…
This article explains how to blink lights in ladder logic with a detailed explanation video…


View Comments
WHY YOU BLOCK PAGE ZOOM !!!