First, before going through installing a GSD file, let’s understand what GSD file is and why we require to install them in the software.
For example, we have a flow transmitter that has a function like flow totalizer. The transmitter will store the flow rate, totalizer value, and flow units. The transmitter is also capable of remote configuration from the PLC’s. It will accept the totalizer reset command, sending the flow parameters to PLC.
The PLC can be communicated with flow transmitters only when it knows where to communicate, which addresses the flow transmitter data is available. The transmitters will be provided with a GSD file from the manufacturer which contains all the addresses where the flow parameters will be available.
In such a case, GSD means General Station Definition which contains a form of the text which interprets by PLC which then converts it into proper command form.
In short, we can say that the GSD file gives an identity of devices commands, and parameters.
Another thing also you can note that the GSD file contains the description of the Profibus or Profinet’s description.
Let’s dig into installing the procedure of the GSD file in step 7 for all the versions.
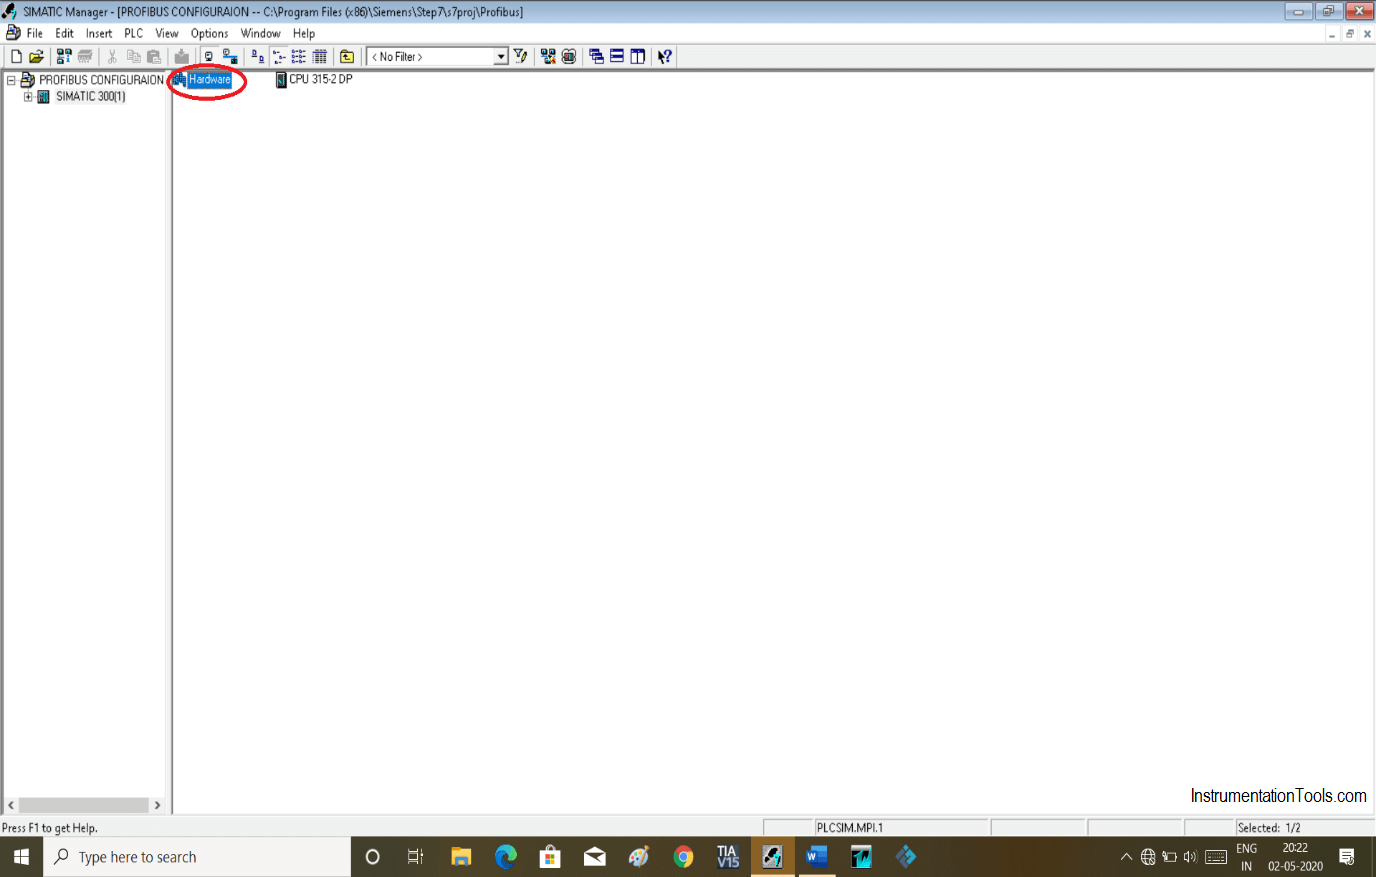
Open Simatic manager and open any existing project or create a new one.
To update the GSD file, we have to update the hardware as shown in the below window.
Double click on hardware will open up module set up window. After opening the following window click on “option” and open “Install GSD file” option.
Following window will pop-up. To add particular GSD file as per our application, we have to download it from the internet or manufactures will be provided you a CD.
GSD file is provided by the manufacturer or you can download it by doing a google search.
To add GSD file as shown in the above window, browse it and add that downloaded file.
Click “install” to install the GSD file.
After adding the file you can find it as shown in below window. Here, expand Profibus-DP and or directly write in search of the file which you have downloaded.
Add that module by dragging onto the Profibus network. Do setting as per your application.
Author: Suhel Patel
If you liked this article, then please subscribe to our YouTube Channel for PLC and SCADA video tutorials.
You can also follow us on Facebook and Twitter to receive daily updates.
Read Next:
Rotating equipment packages such as pumps, compressors, turbines need the lube oil consoles for their…
This article explains how to blink lights in ladder logic with a detailed explanation video…
In this article, a simple example will teach you the conversion from Boolean algebra to…
In this article, you will learn the PLC cooking timer example for kitchen automation using…
Learn an example PLC program to control a pump based on level sensors using ladder…
In the PLC timer application for security camera recording, when motion is detected then camera…


