In this article, we discussed the procedure for how to import PlantPAx Library i.e GFX files, Global objects, macros, and global images.
Note: Select all the GFX, global objects, and images that are interlinked with each other, and if you don’t import all images it will lead to a cross-mark in gfx files.
Import PlantPAx Library
Follow the below-mentioned detailed procedure with screenshots.
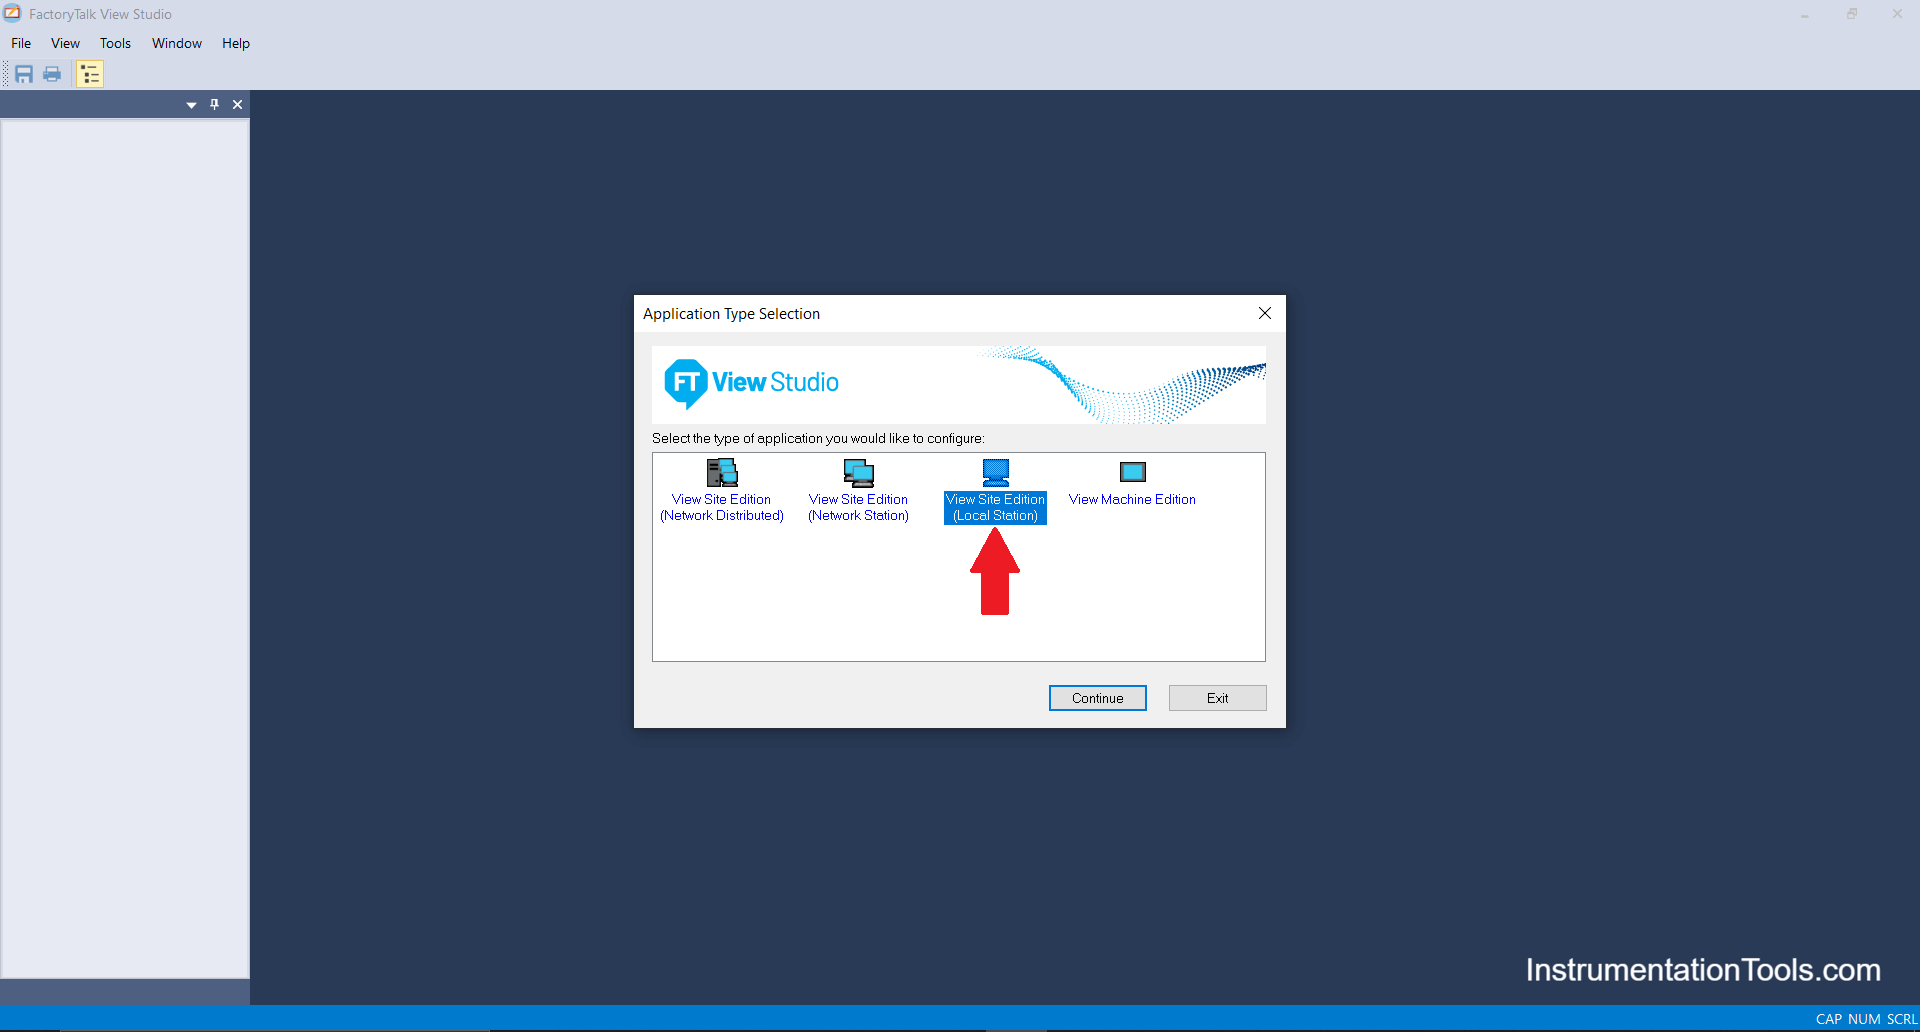
Step 1: Open Factory Talk View Studio of Version 10 or above. Click on Local station and continue.
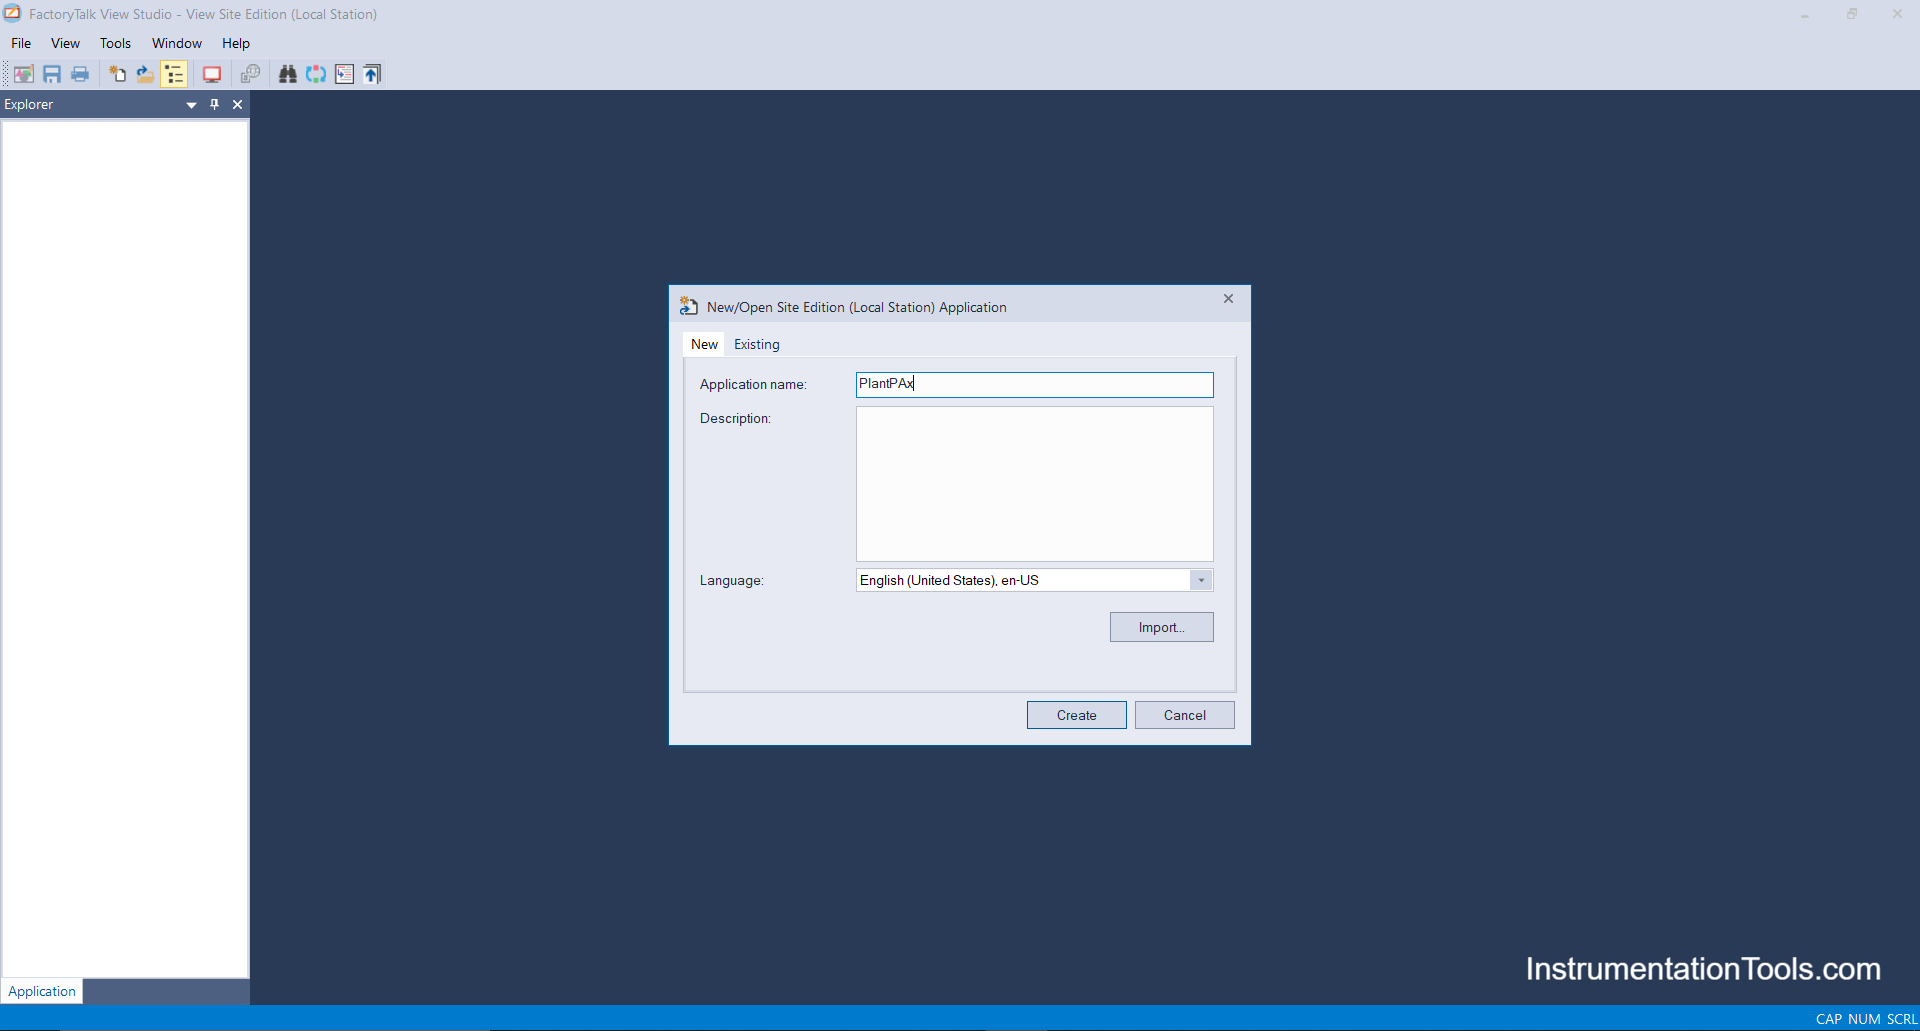
Step 2: Click on New and Type Project name of your own and description of your project if needed and click on Create.
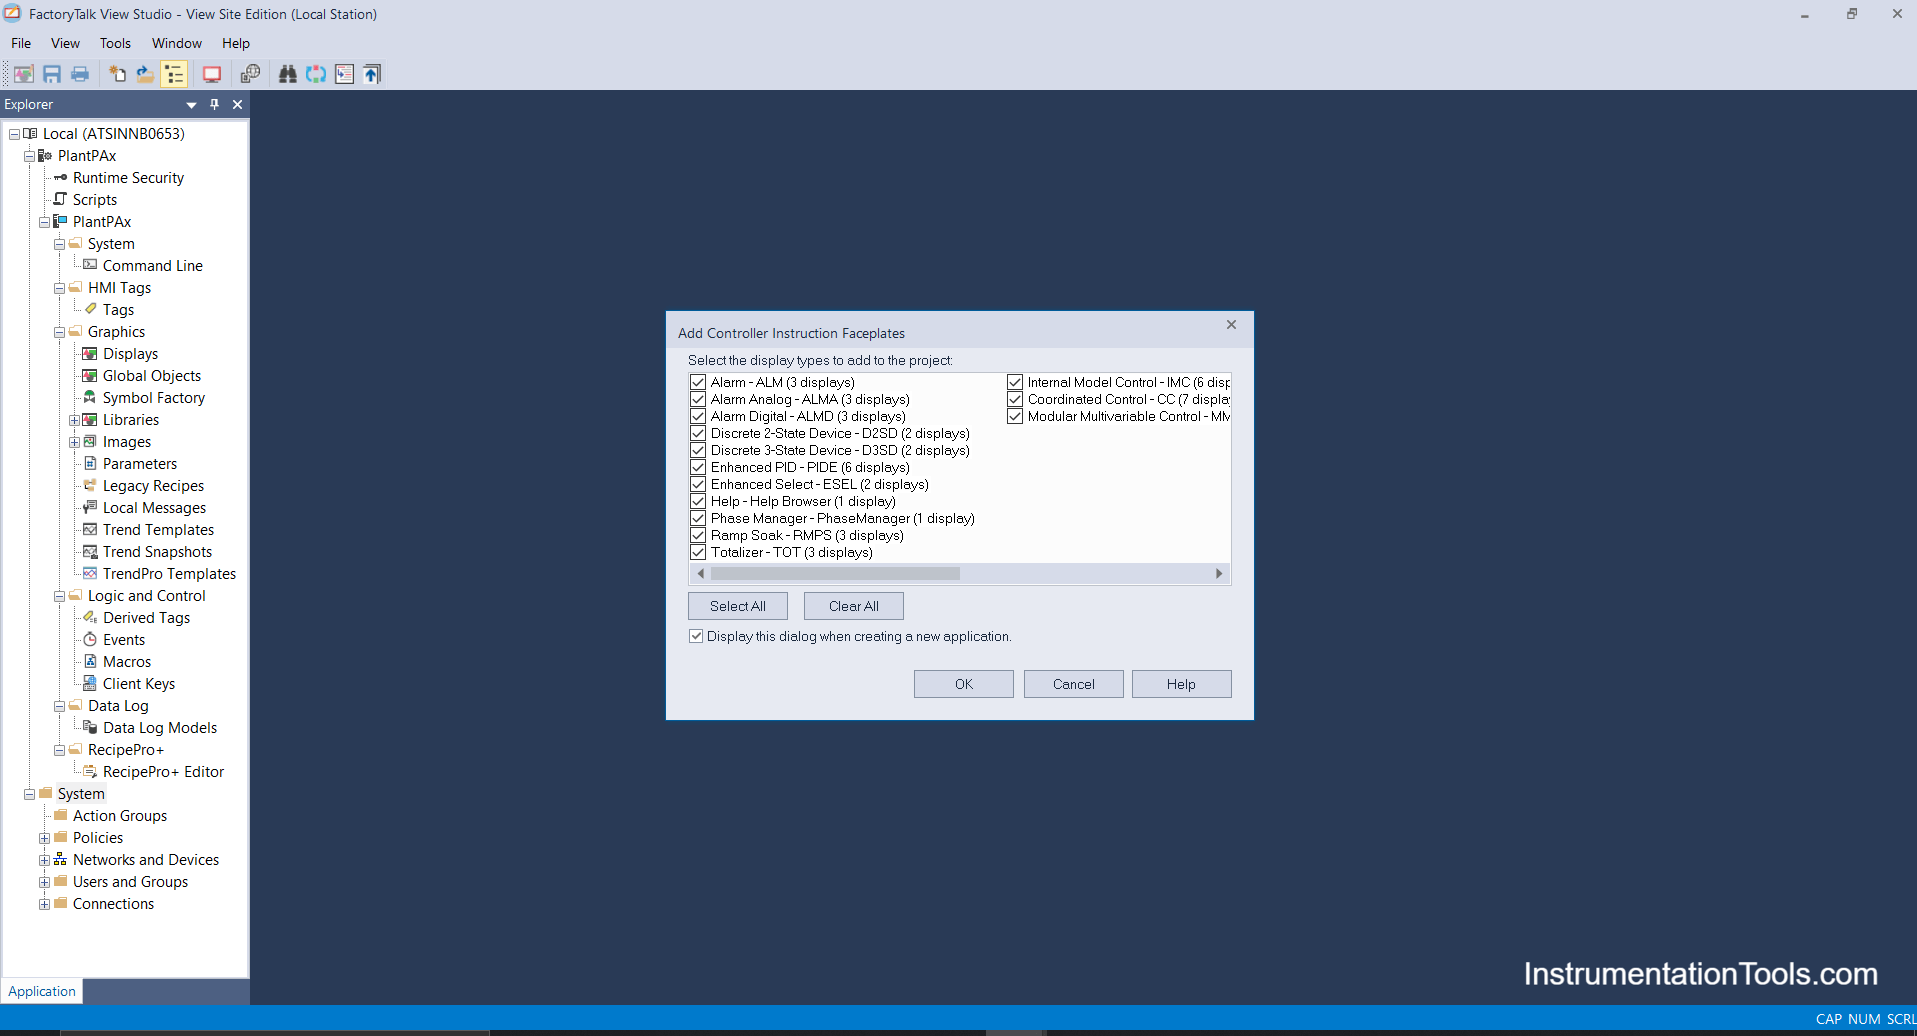
Step 3: PlantPAx Libraries consist of GFX (Displays), Global Objects, Images, and Macros to be imported on Factory talk view studio.
Also, there are many other displays and demo projects but if need them then only restore them as you need to purchase a license.
Below are the controller instructions faceplates but in PlantPAx we don’t need them so click on clear all.
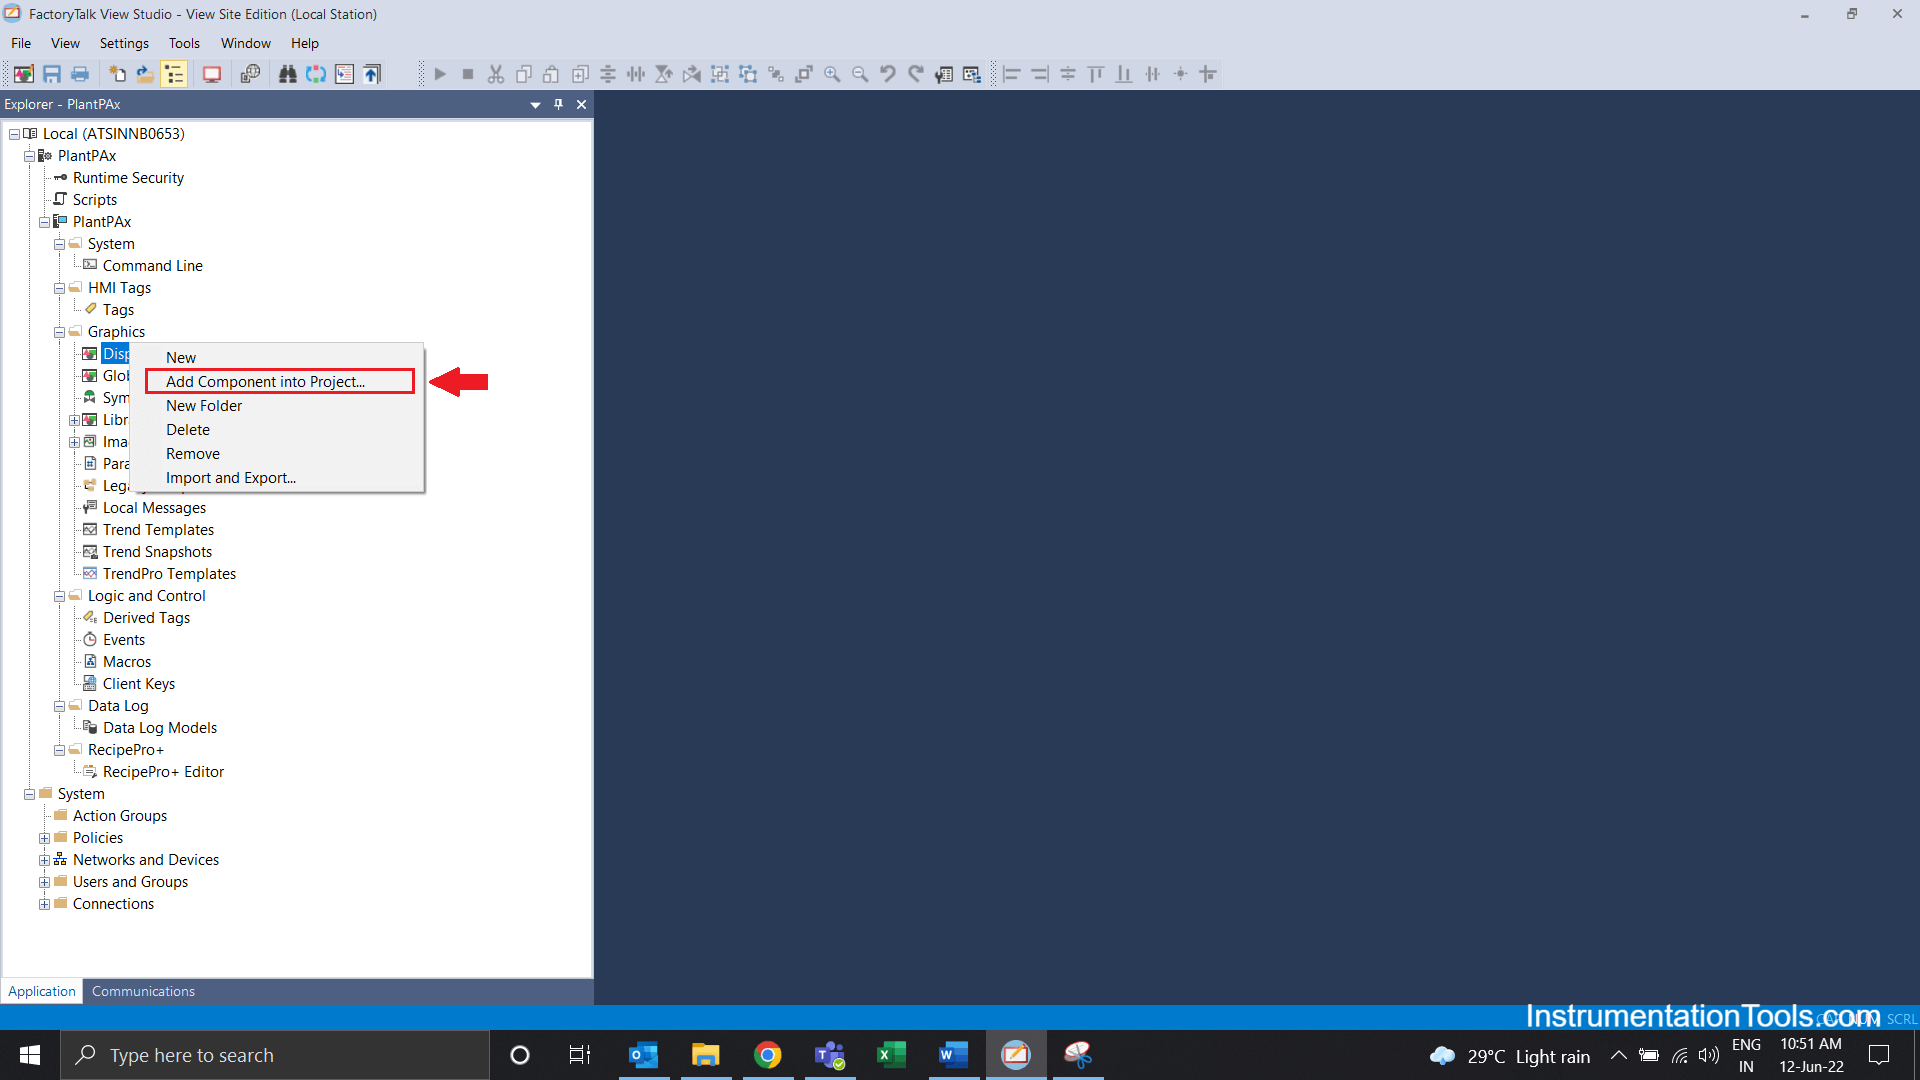
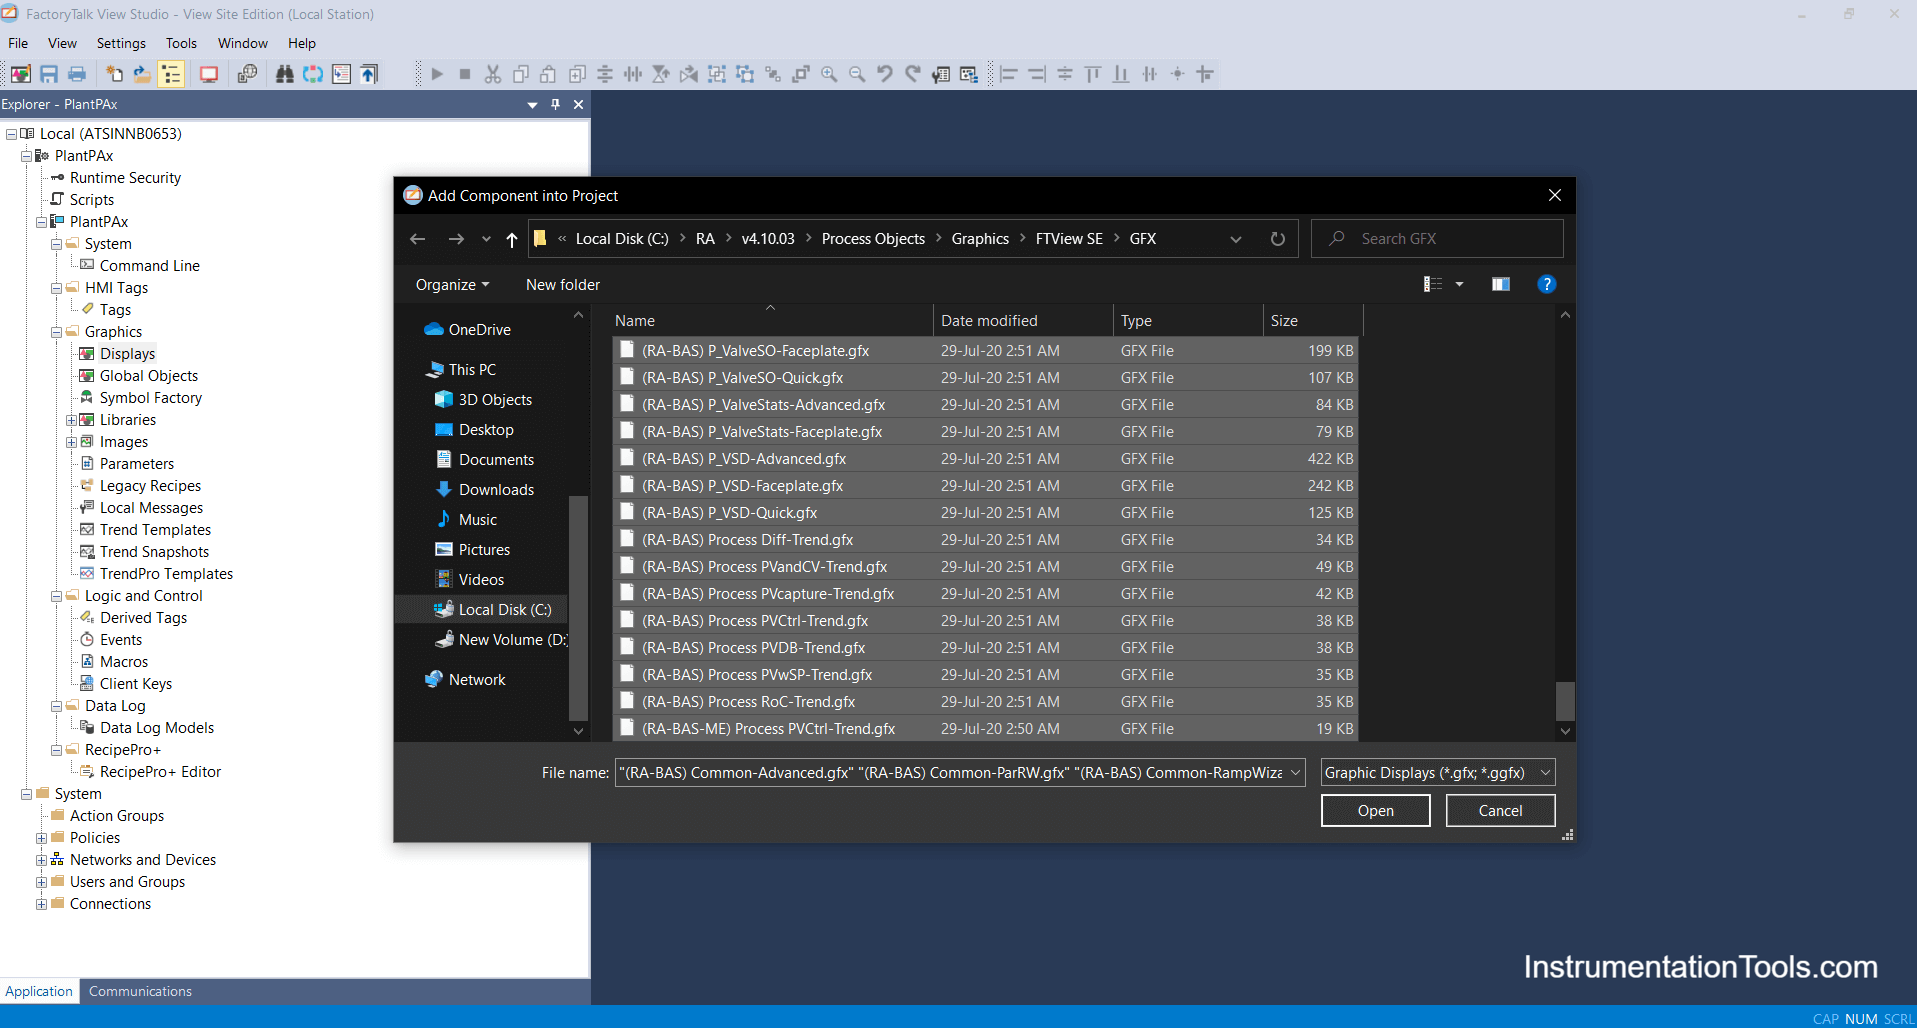
Step 4: First we will import Display’s (.GFX file), therefore right-click on display and add a component into the project.
Step 5: Select the path I have shown below and Select all the GFX you need to import. I have selected all the GFX and click on the open button.
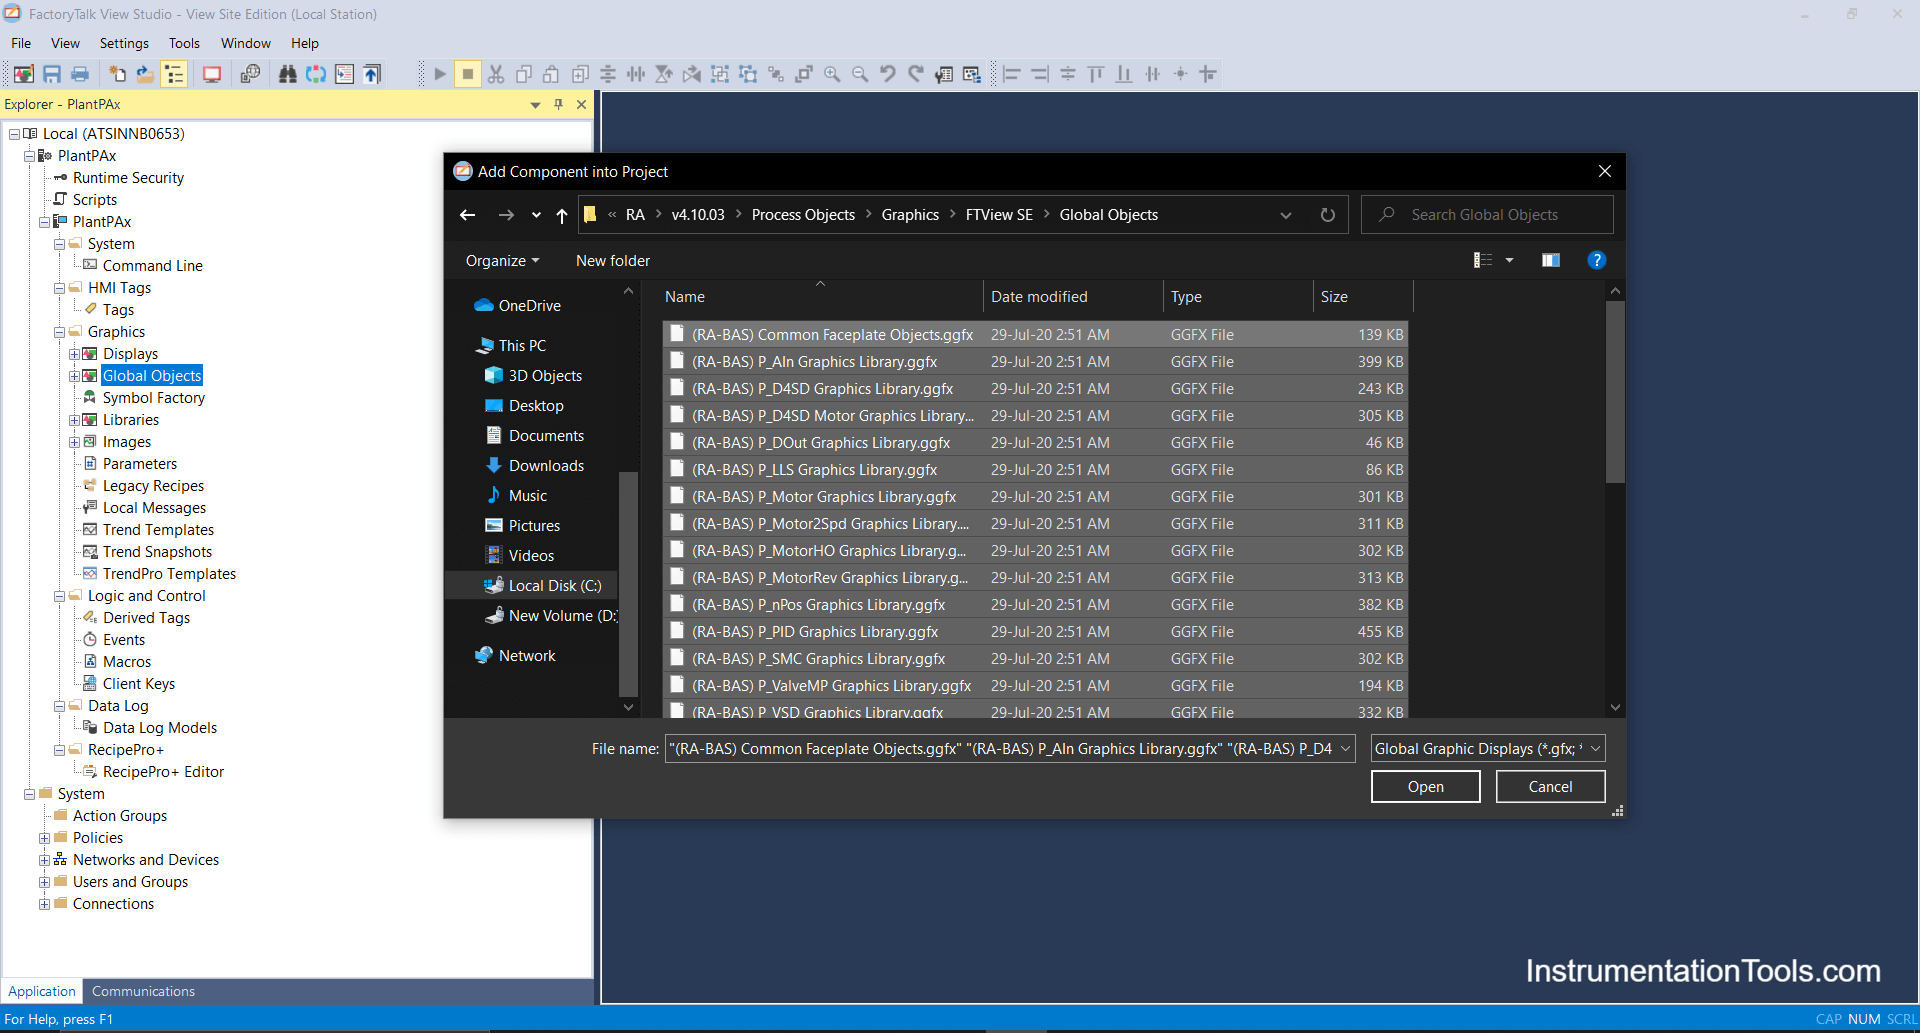
Step 6: Right Click on Global Objects and select Add components to the project and select path as shown.
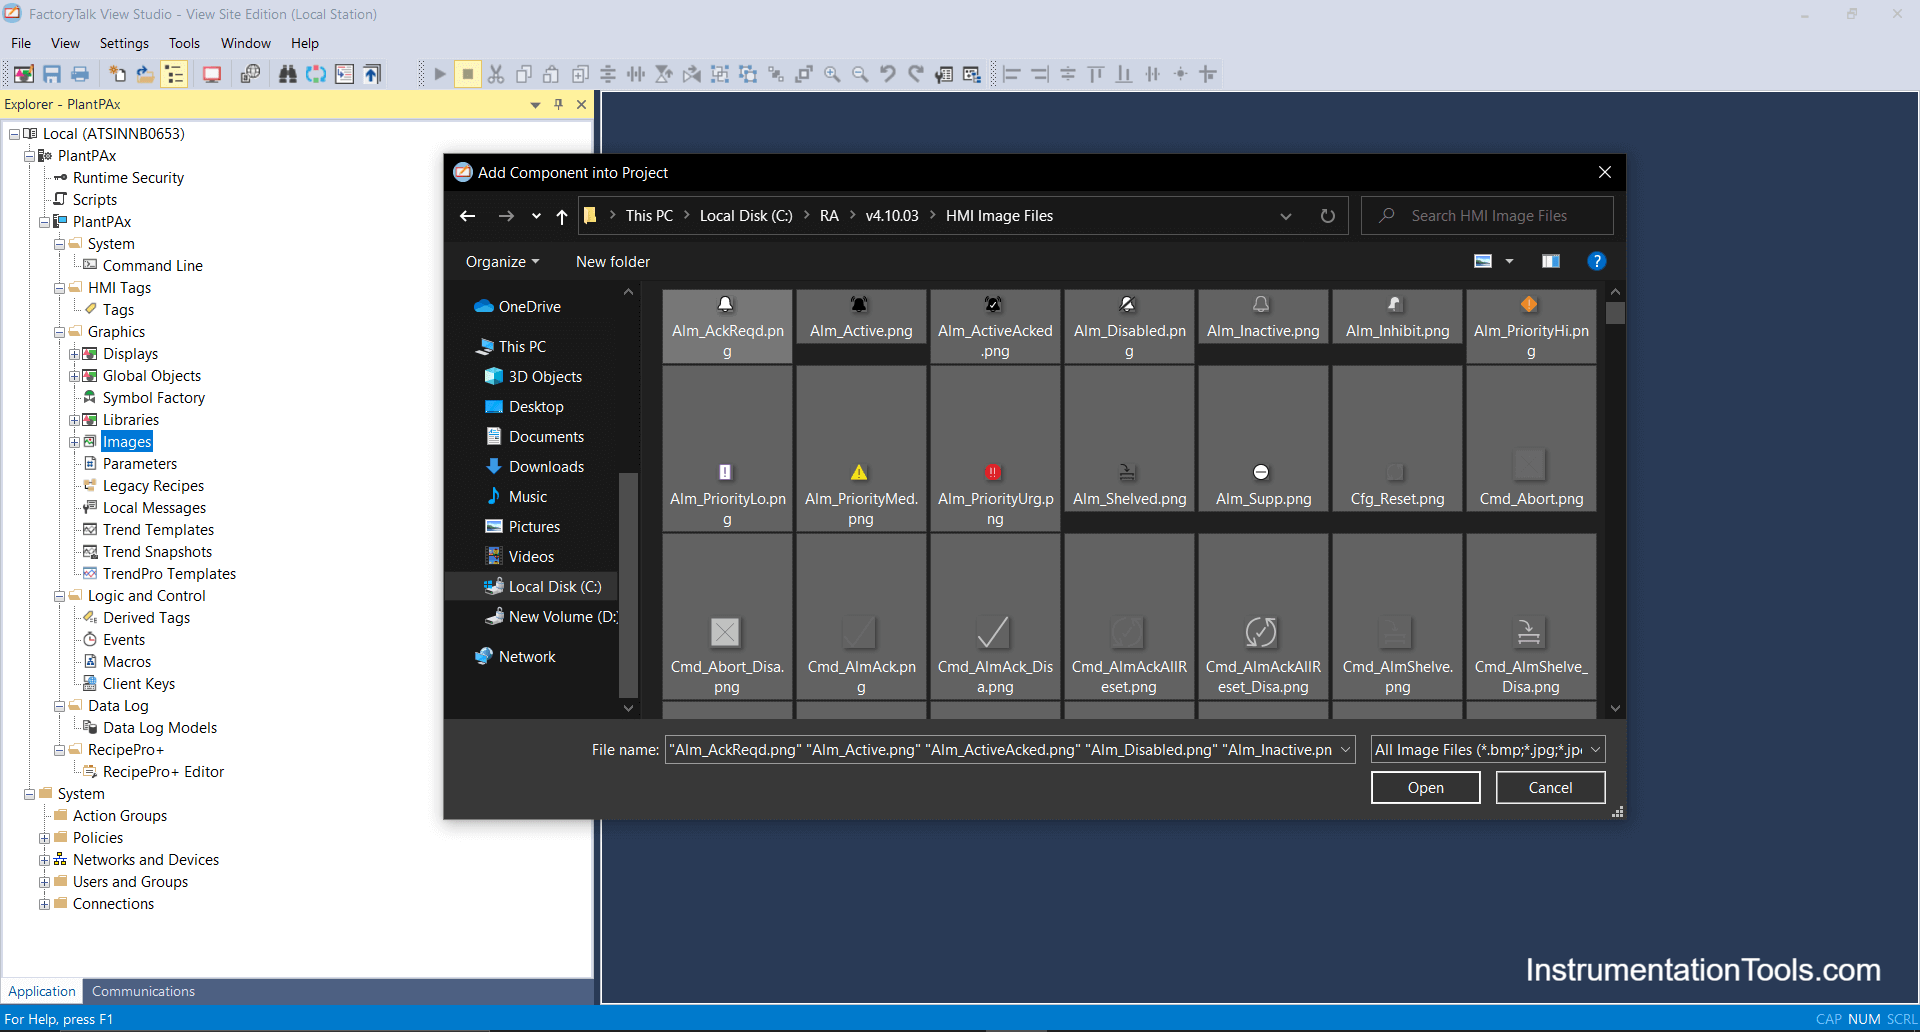
Step 7: Right-Click on Images and Select Add components to Project and Select path as shown.
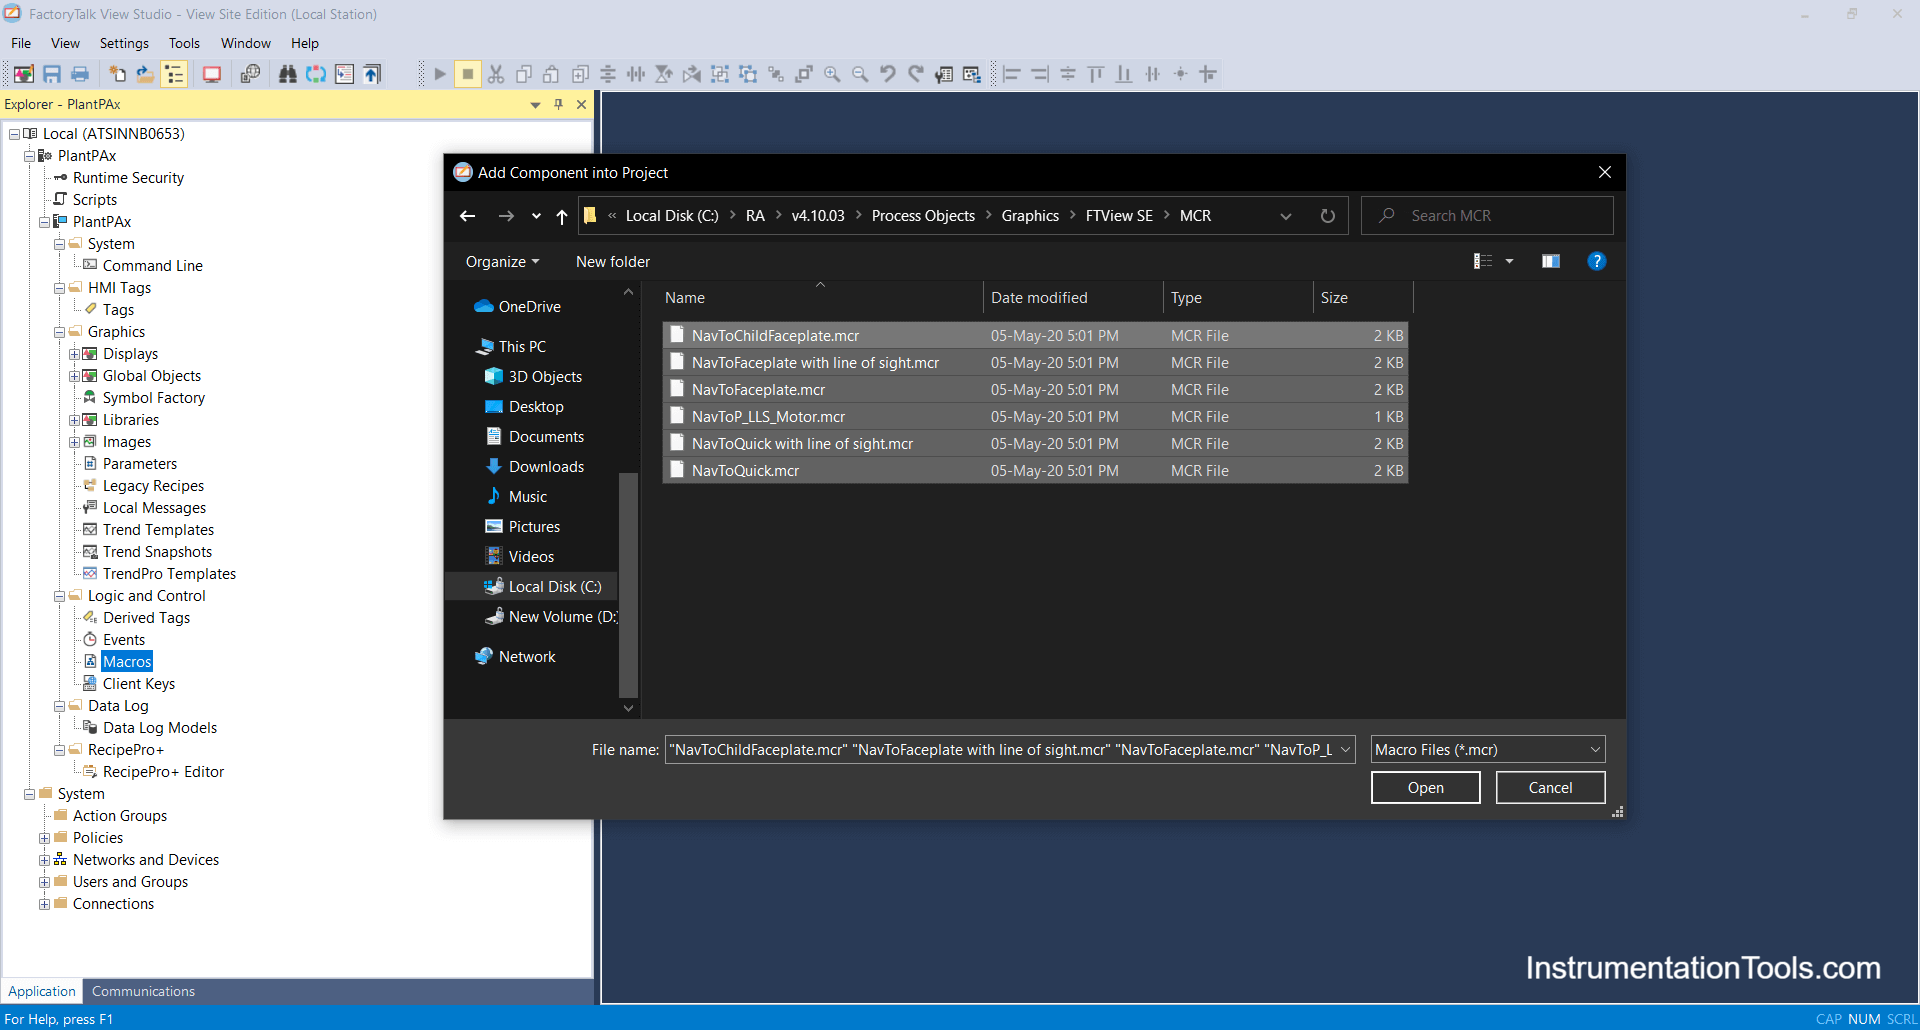
Step 8: Macros are a more important part to be imported through that all login, logout, and display modules are shown and can be called.
Right-click on Macros and Add components to the project and select the path as shown then click on the open button.
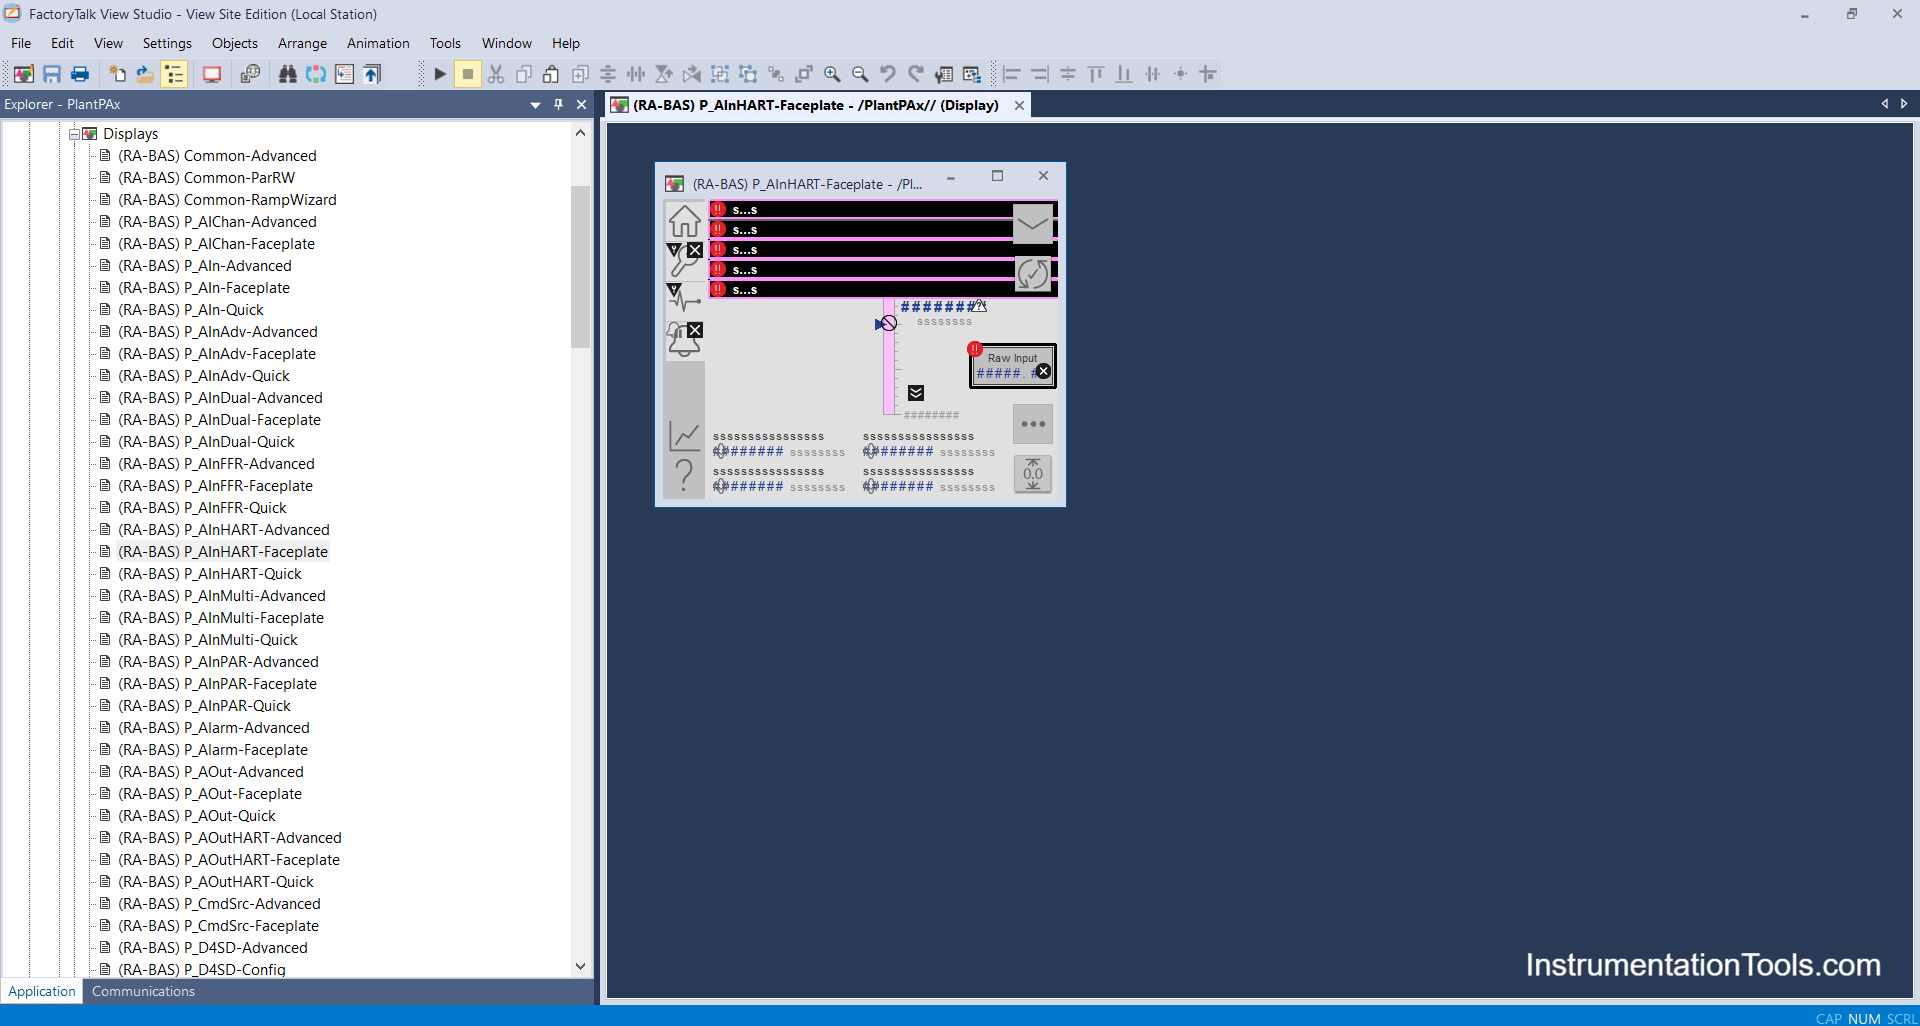
Step 9: After importing GFX files, Global Objects, and Images, Please check whether your displays are showing Properly or not.
If there is any cross mark coming kindly restore it again, in below image library has been restored successfully with no errors.
