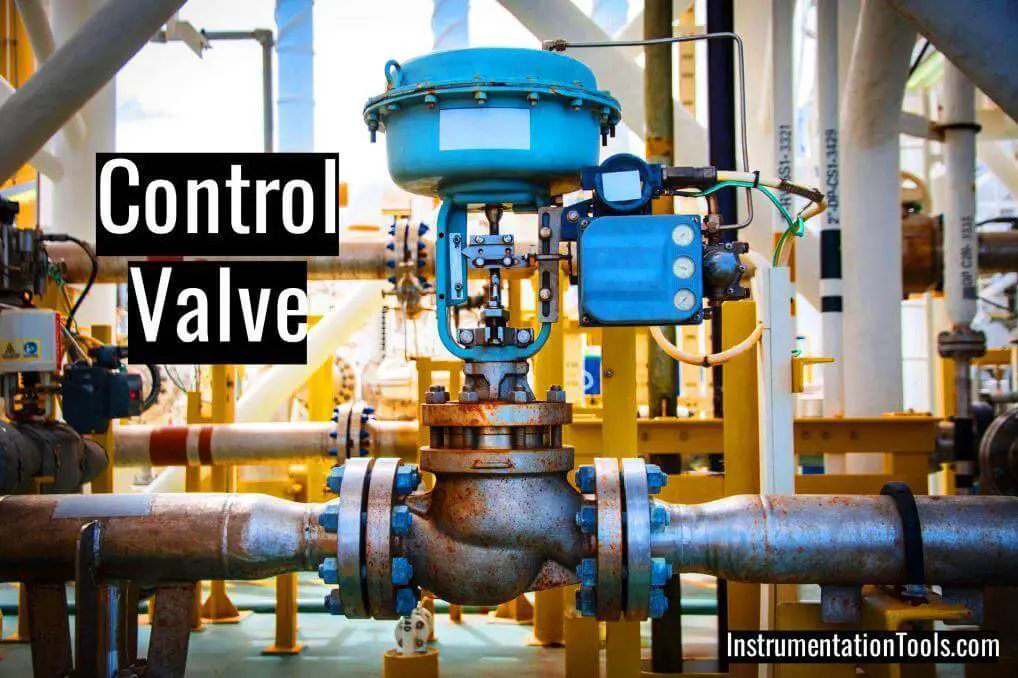
In this post, we discuss the brief list of control valves pre-commissioning checklist which includes installation, inspection, testing, and taking valve online.
Pre-commissioning activities to be taken up during the project, that prepares and enables the unit ready for the main commissioning phase.
The main objective of the pre-commissioning checklist is to supply a close, developed uniform verification system, inspection, testing, documentation, and preparation for the operation.
Pre-commissioning is an activity during a new industry construction that includes checking the functional operability of control valves within the system so as to make sure the system is a ready move for the commissioning stage.
Maintenance manuals for the valve may be obtained and reviewed.
Control Valves Pre-Commissioning Checklist
The below list shows the basic overview of pre-commissioning activities for control valves.
- Verify the field location of a valve consistent with the drawing.
- Isolation for control valves also to be checked.
- Check the valve against the datasheet.
- Check the calibration certificate.
- Verify control valve flow direction
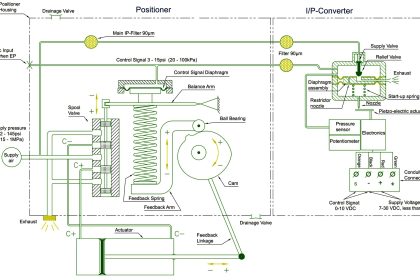
- Ensure proper installation of all tubing, fittings and solenoid valves
- Verify positioner and solenoid wiring for proper construction and tagging.
- Check the wire polarity and color as per loop drawing.
- Inspect the general installation of the valve body and actuator. Look for signs of overstressed piping or improper actuator installation causing unnecessary stress.
- For rotary valves, ensure actuator rotation indexed correctly with valve rotation.
- Verify the installation of bug screens or other means of water ingress for all vented openings.
- Verify all ancillary equipment functions properly.
- Verify the DCS/PLC configuration in line with the specification sheet.
- Instrument accessible for routine maintenance actuator removal, bonnet and plug removal, hand wheel operation and positioner maintenance and solenoid maintenance.
- Proper support.
- Correct valve packing for application.
- The packing gland is correctly tightened.
- Verify all covers, screws, fittings are installed and properly tightened.
- Check for handwheel operation/function if applicable.
- During the construction stage, if the instrument air supply isn’t available, utilize dry and clean air or nitrogen cylinder for valve stroke check.
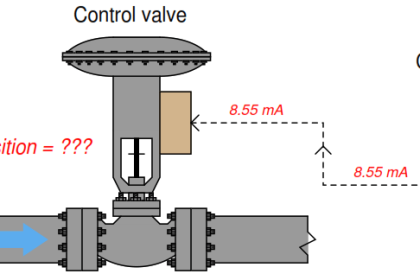
- Verify the controller valve action on increasing air signal or vice-versa.
- Control valve stroke check 0%, 25%, 50%, 75%, 100% and back wards 75%, 50%, 25% , 0%.
- Valve stroke must be within a specified time (if applicable). Mainly for emergency shutdown valves.
- Valve open/close status may be confirmed by someone in the field and recorded in the proper format.
- Valve color change over in graphic page to be checked.
- In the alarm page, control valve open/close status and its description, alarm display color philosophy to be verified.
- Auto/Manual changeover and valve operation accordingly to be checked from controller faceplate.
- Valve fail action to be checked by bleeding the air. For fail open valve (FO), close the valve and isolate the air supply, then bleed the air. The control valve should open. The same is to be checked for change of indication in HMI in the control center. Similarly, check for all types of valves and their respective signals.
Interest to add any further points? Share with us through below comments section.
Read Next:
- List of Commissioning Activities
- Commissioning Documents
- Fire Alarm System Commissioning
- Pipeline Project Management
- Pre-Shutdown and Post-Shutdown





Electrical fail check by lifting a wire.
Upload for inst qa/qc all meteriyal standard code