Inst ToolsInst ToolsInst Tools
  • Courses
  • Automation
    • PLC
    • Control System
    • Safety System
    • Communication
    • Fire & Gas System
  • Instrumentation
    • Design
    • Pressure
    • Temperature
    • Flow
    • Level
    • Vibration
    • Analyzer
    • Control Valve
    • Switch
    • Calibration
    • Erection & Commissioning
  • Interview
    • Instrumentation
    • Electrical
    • Electronics
    • Practical
  • Q&A
    • Instrumentation
    • Control System
    • Electrical
    • Electronics
    • Analog Electronics
    • Digital Electronics
    • Power Electronics
    • Microprocessor
  • Request
Search
  • Books
  • Software
  • Projects
  • Process
  • Tools
  • Basics
  • Formula
  • Power Plant
  • Root Cause Analysis
  • Electrical Basics
  • Animation
  • Standards
  • 4-20 mA Course
  • Siemens PLC Course
Reading: History of Measurement
Share
Font ResizerAa
Inst ToolsInst Tools
Font ResizerAa
  • Courses
  • Design
  • PLC
  • Interview
  • Control System
Search
  • Courses
  • Automation
    • PLC
    • Control System
    • Safety System
    • Communication
    • Fire & Gas System
  • Instrumentation
    • Design
    • Pressure
    • Temperature
    • Flow
    • Level
    • Vibration
    • Analyzer
    • Control Valve
    • Switch
    • Calibration
    • Erection & Commissioning
  • Interview
    • Instrumentation
    • Electrical
    • Electronics
    • Practical
  • Q&A
    • Instrumentation
    • Control System
    • Electrical
    • Electronics
    • Analog Electronics
    • Digital Electronics
    • Power Electronics
    • Microprocessor
  • Request
Follow US
All rights reserved. Reproduction in whole or in part without written permission is prohibited.
Inst Tools > Blog > Calibration > History of Measurement

History of Measurement

You measure a lot of things daily. When did man measure something for the first time? Let's learn the history of measurement.

Last updated: September 28, 2022 3:26 pm
Saurabh Vaidya
Calibration
No Comments
Share
6 Min Read
SHARE

You measure a lot of things daily.  Have you wondered when it started first? When did man measure something for the first time?

So let’s go back in time in a period of 3000 BC. Humans used to wander here and there. After some time they settled at one place near a water source like a river. 

Gradually they started farming. All people use to perform different actives and exchanged things in between them for livelihood. Some were cultivating vegetables and some were cultivating fruits etc. They used to exchange fruits or vegetables and more many other similar things. 

People have been measuring since they began to buy, own and sell things, which means that the history of measurement is as long as that of civilization.

And here comes the measurement in scope. Now humans need some system so all things are equally distributed. The earliest known records of measurement originated in 3000 BC in Egypt. Measurement evidence was found during the building of pyramids.

The cubit is defined as the length of the Pharaoh’s forearm plus the width of his hand.

Once this measurement has been made and carved into a granite block, wooden and stone copies are given to builders. Architects have the responsibility to check them each full Moon with execution the penalty if they don’t.

In today’s scenario, we need to check periodically with National Standards, International Standard or with physicals constants. 

In ancient times, the body ruled when it came to measuring. The length of a foot, the width of a finger, and the distance of a step were all accepted measurements.

History of Measurement
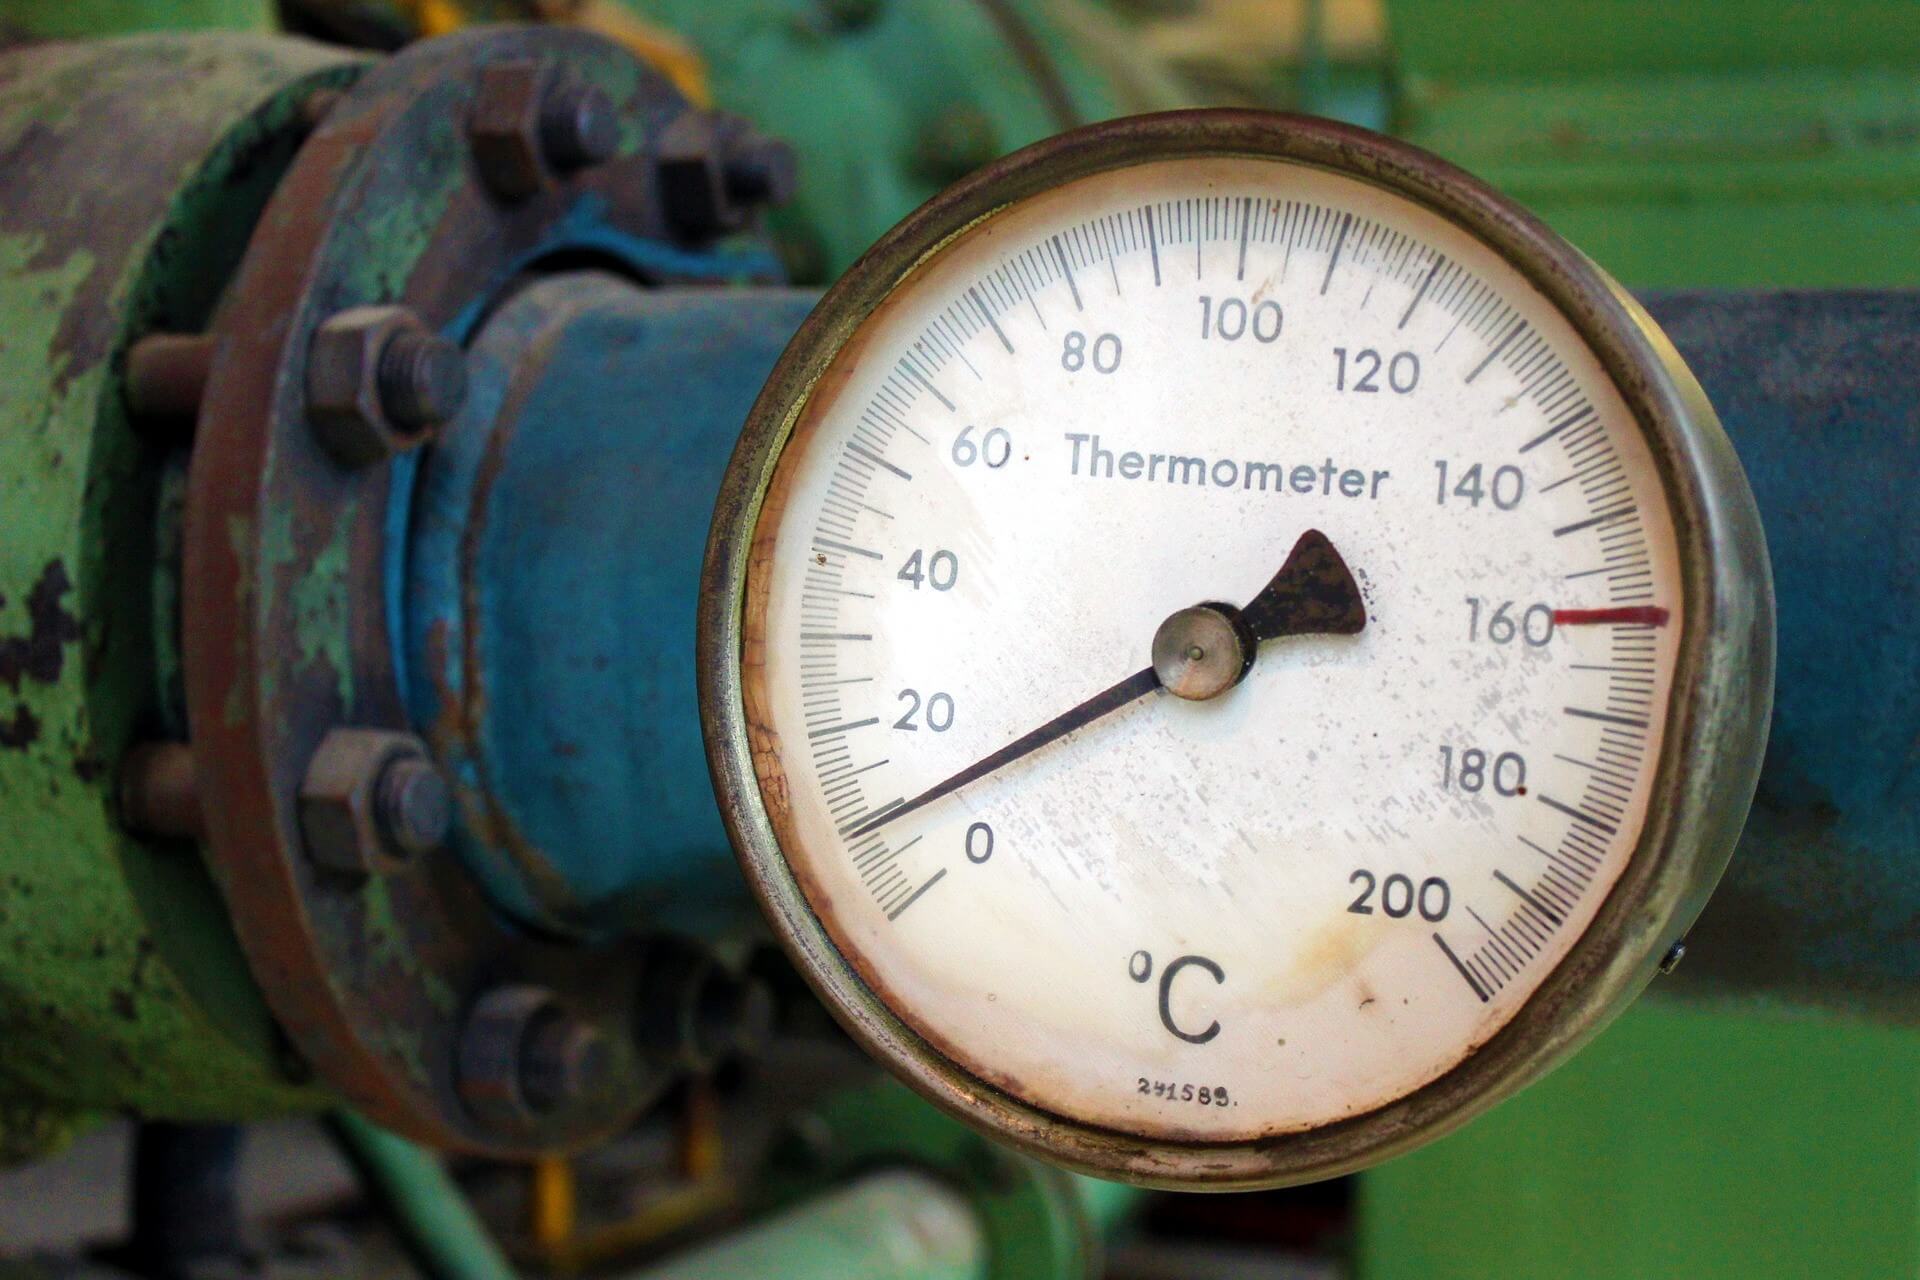
History of Measurement

Some of the olden measurement units are as follows:

Inch: At first an inch was the width of a man’s thumb. In the 14th century, King Edward II of England ruled that 1 inch equaled 3 grains of barley placed end to end lengthwise.

Hand: A hand was approximately 5 inches or 5 digits (fingers) across. 

Span: A span was the length of the hand stretched out, about 9 inches.

Foot: In ancient times, the foot was 11 inches. Today it is 12 inches, the length of the average man’s foot.

Yard: A yard was originally the length of a man’s belt or girdle, as it was called. In the 12th century, King Henry I of England fixed the yard as the distance from his nose to the thumb of his outstretched arm. Today it is 36 inches.

Cubit: In ancient Egypt, a cubit was the distance from the elbow to the fingertips. Today a cubit is about 18 inches.

Lick: A Lick was used by the Greeks to measure the distance from the tip of the thumb to the tip of the index finger.

Pace: The ancient Roman soldiers marched in paces, which were the length of a double step, about 5 feet; 1,000 paces was a mile. Today, a pace is the length of one step

All these units used various body parts of kings. It was localized units. When man used to trade in different cities it was occurring problems. 

Starting in the 18th century, Slowly this localize system developed into modernized, simplified, and uniform systems of weights and measures with the fundamental units defined by ever more precise methods in the science of metrology.

This system slowly evolved into CGS system, MKS system and SI System. SI system is widely accepted today.

History of Measurement is as follows:

1799, Paris

The metric system is set up, through the adoption of two platinum/iridium alloy standards: a metre, length and a kilogram mass.

1875, Paris

Seventeen nations sign the Convention of the Metre, and the International Bureau of Weights and Measures is set up.

1960

The International System of Units (SI System) is established, including units of mass, length, time, temperature, current and luminous intensity.

1971

A seventh unit, of amount of substance, is added to the set of SI base units.

2019

New definitions of the base units were approved on 16 November 2018, and took effect on 20 May 2019.

All seven SI base units are defined by fundamental physical constants.

Seven SI base unit

(All seven SI units are defined is by fundamental physical constants.)

MeasureUnit
lengthmeter
masskilogram
timesecond
currentampere
temperaturekelvin
amount of
substance
mole
luminous
intensity
candela

If you liked this article, then please subscribe to our YouTube Channel for Instrumentation, Electrical, PLC, and SCADA video tutorials.

You can also follow us on Facebook and Twitter to receive daily updates.

Read Next:

  • History of Microprocessors
  • History of 4 to 20 mA signals
  • PLC Controllers History
  • What is a Network?
  • Early Vacuum Tube History
Don't Miss Our Updates
Be the first to get exclusive content straight to your email.
We promise not to spam you. You can unsubscribe at any time.
Invalid email address
You've successfully subscribed !

Continue Reading

How to Calibrate Temperature Switch? – Instrument Basics
Instrumentation Engineer’s Calibration Mistakes
Nuclear Interface Level Measurement Principle, Limitations, Installation and Calibration
Flow Meter Calibration
Functional Testing of Control Valve Positioners
How to Test a Pressure Switch ?
Share This Article
Facebook Whatsapp Whatsapp LinkedIn Copy Link
Share
Leave a Comment

Leave a Reply Cancel reply

Your email address will not be published. Required fields are marked *

Stay Connected

128.3kFollowersLike
69.1kFollowersFollow
210kSubscribersSubscribe
38kFollowersFollow

Categories

Explore More

Closed tank DP Level Transmitter with wet leg elevation zero remote mount Calibration
Multimeter – What Do Digits and Counts Mean?
Calibrating Level Transmitter with Remote Seals
Automated Calibration
Smart Transmitters LRV & URV
Step by Step Guide for Gas Flow Meter Calibration
Fieldbus Flow Transmitter Configuration
List of Documents Required for Testing and Calibration Laboratories

Keep Learning

Gas Detectors Calibration

Calibration of Gas Detectors

Calibration Sheet

Calibration : Up-tests and Down-tests

Closed-tank-DP-Level-Transmitter-with-wet-leg-elevation-zero-direct-mount-Calibration

Closed tank DP Level Transmitter with wet leg elevation zero direct mount Calibration

Displacer Level Transmitter weight calibration

Displacer Level Transmitter Dry Calibration with Weights

Pressure Gauge Calibration Procedure

Strain gage load cells

Load Cell Healthiness Checks

Portable Gas Detectors Calibration Procedure

Portable Gas Detectors Calibration Procedure

Fieldbus Transmitter Calibration

Fieldbus Transmitters Calibration and Ranging

Learn More

Turbidity Analyzer Working Principle

Turbidity Analyzer Working Principle

JFET Working Animation

JFET Working Animation

Programmable Logic Controller Quiz

Programmable Logic Controller Quiz

Captive Power Plant Trip Root Cause Analysis

Captive Power Plant Trip Root Cause Analysis

Calculate-current-4-20ma-from-process-varibale-pv

Calculate Current (4-20ma) from Process variable PV

RTD

Why 4 wire RTD Measurement Accuracy is better than 2 and 3 wire RTD?

ungrounded-or-isolated-neutral-system-disadvantages

Ungrounded or Isolated Neutral System Disadvantages

Micro-impulse Level Transmitter Principle

Micro-impulse Level Transmitter Principle

Menu

  • About
  • Privacy Policy
  • Copyright

Quick Links

  • Learn PLC
  • Helping Hand
  • Part Time Job

YouTube Subscribe

Follow US
All rights reserved. Reproduction in whole or in part without written permission is prohibited.
Welcome Back!

Sign in to your account

Username or Email Address
Password

Lost your password?