Troubleshooting Ultrasonic Flow Meter Common Problems
In this article, we will learn the troubleshooting steps for an ultrasonic type flow meter. Like magnetic flow meter, the troubleshooting of the ultrasonic flow meter is also a bit difficult.
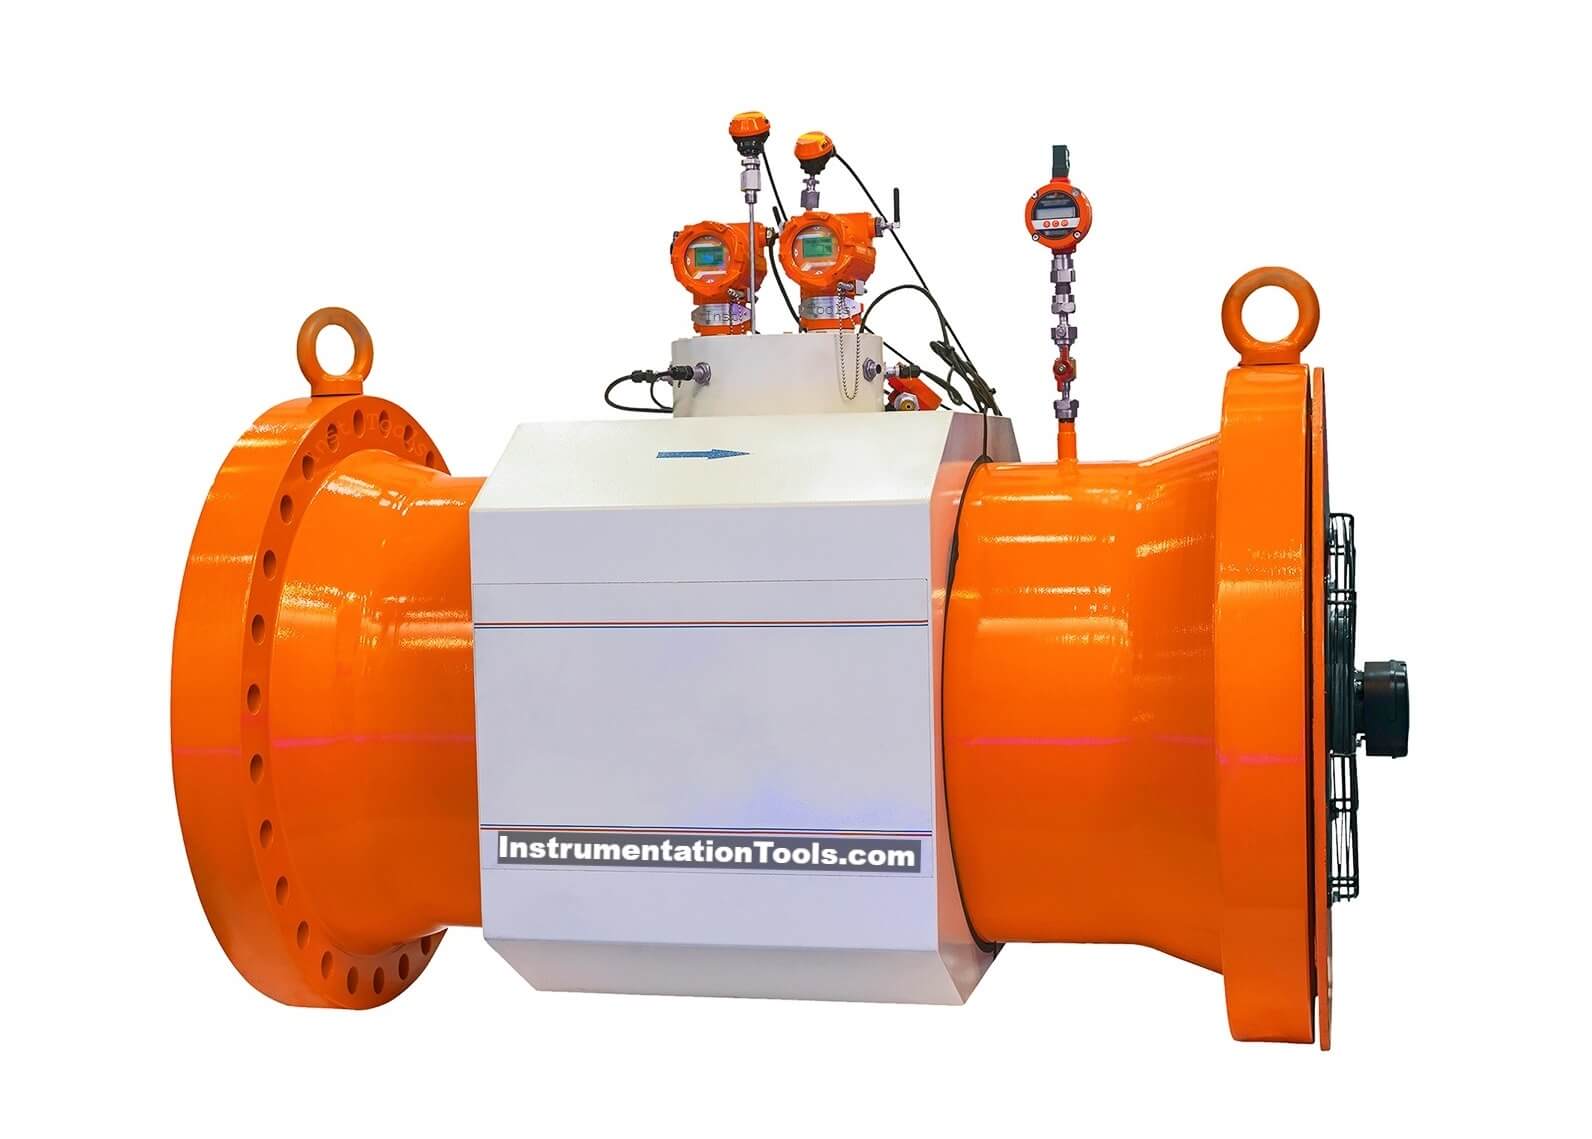
Troubleshooting Ultrasonic Flow Meter
Follow the below-mentioned steps for troubleshooting an ultrasonic flow meter:
Check the power supply of the ultrasonic flow meter. If power is not present, then check the MCB which is present in the marshalling cabinet or in the power distribution board as per your plant design. If the MCB is found in trip condition, then identify the reason for the tripping. A fuse will also be present in the downstream line of the MCB. Check the fuse’s healthiness also (optional).
If the power is present but the flow meter display is not turning ON, then check the fuse healthiness in the flow meter internal circuit board. If the fuse is okay then check the power supply board status in the flow meter and replace it (or repair it) if it is faulty.
Check all the terminal block connections. The connections should be as per the drawings shown in the vendor manual.
Check the status of the internal cards of the ultrasonic flow meter. The Printed Circuit Board should be clean and without any moisture. Also, the ultrasonic flow meter has internal ribbon-type cables for connecting the cards. Check the ribbon condition also.
For the remote-mounted transmitters, check the connecting cable’s healthiness. Also, check the connections on both sides i.e. on the transmitter as well as on the sensor side.
Check the grounding of the ultrasonic flow meter as per the vendor manual. Since ultrasonic flow meter use millivolts in its circuit, the grounding must be proper.
Some ultrasonic flow meters have functionality in which we can check the noise level. Check the noise level if applicable. Noise should be within acceptable limits as per the vendor guidelines.
If the display is showing values, but the output signal is not getting generated as required, then check the output card status which generates the mA. Connections to the output card can be loose or the output card may be faulty.
If the ultrasonic flow meter does not sense proper values, then check the configurations. All configuration data should be as per the datasheet. Select the proper sensor type as written on the sensor nameplate.
If the display shows a device error or device fault, then replace the amplifier board which is present in the transmitter.
If there is a signal error, then check the signal strength. There is a built-in option for checking signal strength. Verify whether the signal strength is within acceptable limits or not with the signal strength shown in the vendor manual.
You can also connect the laptop with the flow meter and run the software to read the diagnostics information about the flow meter.
If the flow value shown is negative, then check the mounting of the ultrasonic flow meter’s sensor. The mounting may be incorrect. Change the configuration or check the flow direction or correct the sensor mounting direction.
The fluid should be having laminar flow. No solid particle should be present in the fluid.
Ensure the fluid flowing through the flow meter covers the whole pipe.
Remove the sensor from the line. Check for scaling on the electrode. The electrode tip should be clear and should not have any damage.
While cleaning the electrodes, make sure to use a smooth material to clean the electrode. The electrodes are coated with Teflon or some special material depending on the application/fluid type. Hence most care should be taken so that the electrode does not get damaged.
Never calibrate an ultrasonic flow meter in the field and without vendor supervision.

View Comments
I found this very informative article. Want to read such more and more
Hi sir
This very educative, I like this site for making sure people key into electrical instrumentation study, thanks