When is the last time you calibrated your tape measure?
“I don’t need to calibrate my tape measure,” you say, confused by the mere mention of such a silly thing.
You should, but most people get by without doing so because they aren’t dealing with measurements that are tight enough for an uncalibrated tool to be a problem. On a side note, this may be the reason why you always have to measure twice and cut once.
But what if you absolutely needed that accuracy in your measurements?
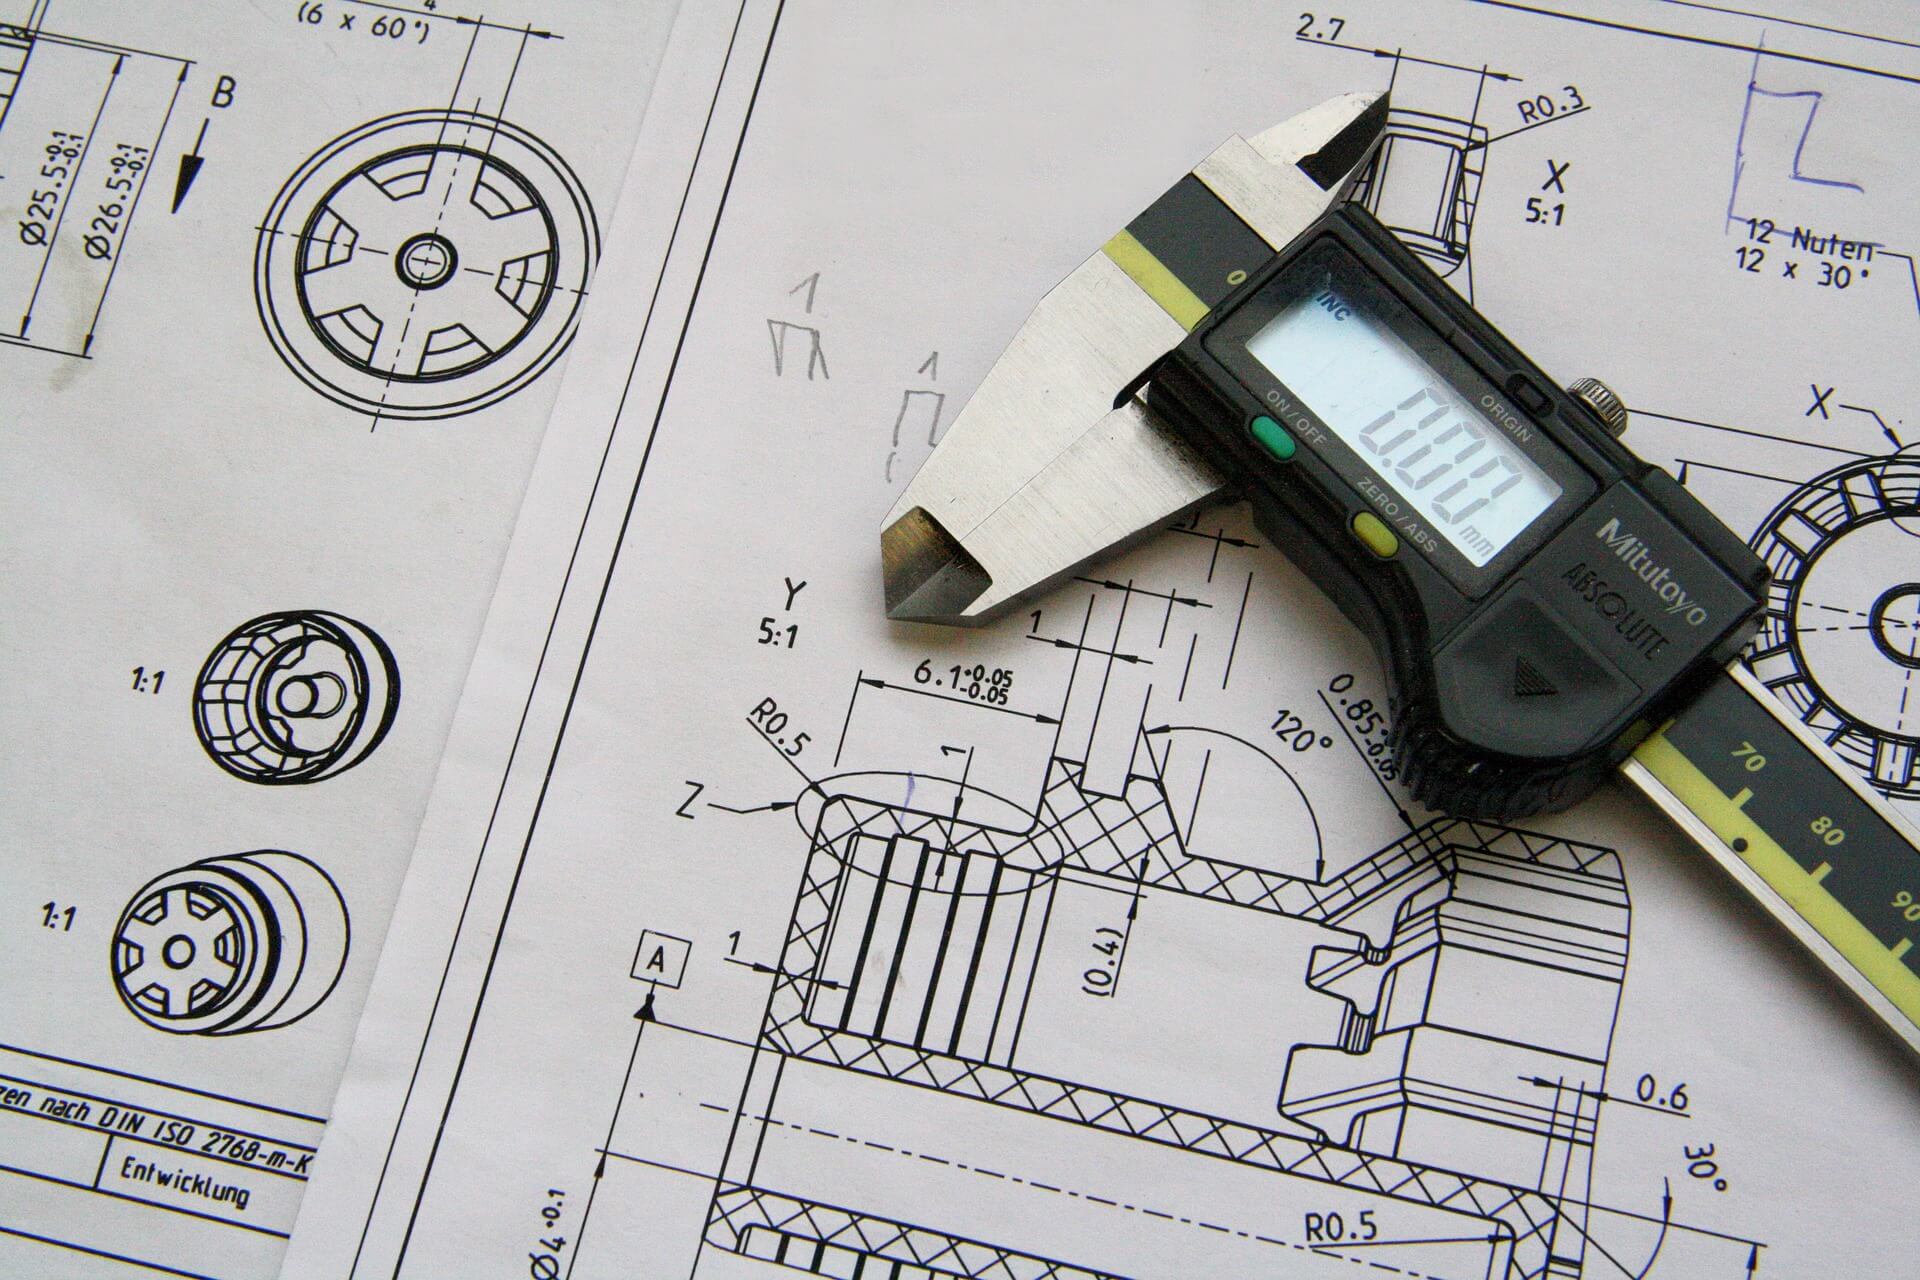
Caliper Calibration
While you might not have a problem using a tape measure that hasn’t had its accuracy verified, if you are using a precision measuring tool such as a digital, dial, or vernier caliper then its accuracy is of the utmost importance.
Even the best digital calipers need to be calibrated to perform properly.
But calibrating your calipers doesn’t have to be difficult when properly prepared. Run through our quick guide to make sure you are ready and set up to calibrate.
Environmental factors to pay attention to
The environment in which you calibrate your calipers can make a big difference in the quality and accuracy of your calibration.
Cleanliness
Contamination such as dirt, oil, etc. can completely ruin any chance you have of performing an accurate calibration.
You will want to make sure that the space where you will calibrate your caliper is well kept. Your whole shop doesn’t need to be spotless but makes sure you can carve out an area of a benchtop or surface plate where you can perform your calibration.
Wipe it down a few times to make sure you cleaned up any stray particles.
Temperature
The temperature that you perform your calibration at will affect the accuracy of the calibration. Metals expand and contract with changes in temperature and even small changes can ruin your calibration. We are dealing with tolerances of less than human hair after all.
Temperature changes affect not only your tool but also the equipment that you use to perform the calibration such as metal gauge blocks.
Ideally, you should perform your calibration as close to 68°-70° F as possible. Make sure that your tools are stabilized as well. You do not want to bring cold tools into a warm environment and immediately start calibrating them.
Lighting
This one might not immediately come to mind when making sure you are set up to calibrate. We all have spots in our garage or shop where the lighting isn’t perfect, but we struggle to get by squinting to make out a measurement.
This isn’t where you should be calibrating.
Calibration should be performed in a well-lit area where there is never any doubt about your readings.
Good lighting will ensure that you can read the digital display on your caliper or resolve the lines on the face of your dial caliper. I couldn’t even imagine trying to take a reading off a vernier caliper in bad lighting.
Let’s be real. None of us are getting any younger and the older we get, the harder it is to work in dimly-lit conditions.
Everything needed for calibration
Having the right tools and supplies available will make sure your caliper calibration goes smoothly.
Low lint task wipes
We already discussed cleanliness as the first environmental factor that should be monitored. This is for good reason. While you can get away with using some shop towels or something similar to wipe down your workbench, they shouldn’t be used for cleaning your caliper.
Lint from the towels can get into the inner workings and create errors in your measurements.
For this reason, you should use low lint task wipes for cleaning your caliper. If possible, I recommend using them to clean the area where you will be performing the calibration as well.
Tool oil
Normally liquids are the enemy of precision measuring tools such as calipers. We even discussed how oil can be a problem in our cleanliness section. This applies to dirty oil that you come across in your shop.
The kind where it has been run through the ringer and you don’t know whether it is full of metal chips, crust, or corrosion. All sorts of things that can at best mess up your measurement and at worst, damage your caliper.
That said, a light coating of tool oil can be a valuable tool to not only clean your caliper but also protect it. Take note that one of the important things to pay attention to is that I noted it as a light coating. Do not go dipping your caliper in oil, even the clean stuff.
Take a low lint task wipe and put a small amount of oil on it and wipe it on the frame of the caliper and move the body of the caliper back and forth. This will help loosen any possible built-up debris.
Following this, take another task wipe and wipe down the frame. Often you will notice some small amount of dirt and debris on your cleaning wipe. If you haven’t done this in quite some time or your tool gets a large amount of use, then you might see more.
I recommend repeating this until your cleaning wipes are free of contamination.
Gauge blocks
Last, but not least is a set of gauge blocks. The quality of gauge blocks needed will depend on your specific use case.
Working in a machine shop or making parts for customers, you should have a set of calibrated gauge blocks that are known to be accurate to check your caliper with.
If you are simply working on a project in your garage, then you might be able to get away with gauge blocks that are either uncalibrated or have not been calibrated in a long time. If your gauge blocks aren’t known to be accurate then just know that you will be playing with fire.
It is generally recommended to use standards, gauge blocks in this instance, that are 10x more accurate than what you are trying to measure. Because most measuring calipers are accurate to +/- 0.001”, you will want to ensure your gauge blocks are accurate to +/- 0.0001”. This shouldn’t be a problem because even the lower grade gauge block sets are more accurate than this.
Note: if you plan to use those same gauge blocks to check other tools such as micrometers or indicators then you may want to make sure they meet the 10x rule for those tools as well.
That’s it. Once you have all the tools in place and a proper space set up, you are ready to calibrate. Just remember that a quality calibration can take some practice to get right and the more times you do it and get practice with your tool, the more accurate you will become over time.