Working with circuit boards is a requirement for virtually all computer engineers and mechanics. All electronic goods, from computers to digital instruments and more, require PCBs (or ‘printed circuit boards’) to operate.
But have you ever wondered what equipment is required to assemble PCB? In factories around the world, there are specialized pieces of equipment that facilitate the assembly of these essential circuit boards.
Essential Equipment For PCB Assembly
This informative article will demystify PCB assembly, and outline all the vital equipment required in order to make all the sophisticated and multi-faceted motherboard components that power all of our digital technologies today.
Here is a list of essential equipment for PCB assembly:
- Solder Paste Printer: Applies solder paste to the PCB where components will be placed.
- Pick-and-Place Machine: Precisely places surface mount components onto the solder-paste-coated PCB.
- Reflow Oven: Melts the solder paste to create solder joints between components and the PCB.
- Through-hole Insertion Machine: For inserting through-hole components, which may be done by hand or with automation, depending on the volume.
- Wave Soldering Machine: Used for soldering through-hole components by passing the PCB over a wave of molten solder.
- Selective Soldering Machine: Solder through-hole components selectively without affecting nearby surface-mount components.
- Inspection Equipment: This may include:
- a. Manual Check (Magnifying Glass or Stereo Microscopes)
b. Automatic Optical Inspection (AOI) Systems: For detecting soldering and component placement errors.
c. zerX-ray Inspection Systems: For checking solder joints under components like BGAs.
Rework Stations: For desoldering and reworking components on PCBs. - Cleaning System: For removing flux residues and other contaminants post-soldering.
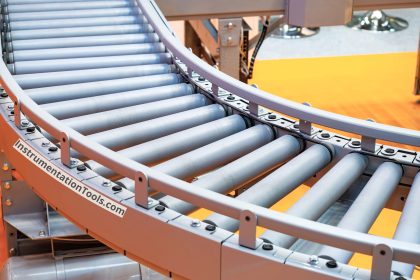
- Conveyor Systems: To move PCBs through different assembly stages.
- Dry Cabinet: For storing moisture-sensitive devices and PCBs to prevent moisture uptake before soldering.
- ESD Protection Equipment: Including ESD-safe workbenches, wrist straps, and floor mats to prevent static damage to sensitive electronics.
- BGA Rework Stations: Specifically designed for the placement and rework of ball grid array (BGA) components.
- Depaneling Equipment: To separate individual PCBs from a panel after the assembly process.
- Curing Oven: For curing adhesives or conformal coating used on PCBs.
- PCB V-scoring Machine: For creating V-shaped scores in the PCB panel that allow for easier breakaway of individual boards.
- Laser Marking System: For adding serial numbers, barcodes, or other identification marks on the PCBs.
- Component Forming Equipment: For preparing through-hole components by bending leads to the correct spacing.
Here we will discuss the main 6 important
Soldering Irons
It goes without saying that you’ll need a wide range of soldering irons for PCB assembly. If you’re unfamiliar with soldering irons, however, they’re effectively a handheld tool that’s used to heat solder, a fusible metal alloy that creates a permanent, lasting bond between metal workpieces. A soldering iron melts the solder, allowing it to flow and form a joint between two metal pieces. This is a crucial part of PCB assembly.
When solder is heated and melts, it flows into the connection between the heating element (the iron) and the workpiece, forming a permanent and durable bond once it cools and solidifies. Soldering irons are essential tools for connecting different electronic components to PCBs, namely because it’s used to attach resistors, capacitors, and other electronic components to the board, ensuring that your PCB can operate once all its components are positioned.
A Solder Paste Printing Machine
The first stage in any PCB assembly job is the application of solder paste onto the board. You can’t proceed without this step, which is why solder paste printing machines are just as vital as soldering irons.
Solder paste is a grey-colored goo made from a mixture of small bits of different metal alloys, usually lead, tin, and silver. Think of it as a glue that will hold your completed board together. Without solder paste, components wouldn’t stick to your bare circuit board.
Before you apply solder paste, however, you’ll need to put a PCB stencil over the board. A PCB stencil is a stainless-steel metal sheet that has tiny laser-cut holes in it. These allow solder paste to be applied to the areas of the board where all the connector contacts for your board components will eventually sit on the completed PCB.
A Glue Dispensing Machine
Before any component placement, however, a glue dispensing machine applies little glue dots onto your PCB. These go where the body of your components will sit – just to hold them in place until the leads and contacts are soldered to solidify the connections between individual components.
It’s imperative that glue is applied to your motherboards in precise quantities. This is important for certain types of soldering, such as wave soldering, where the force of the solder wave may dislodge larger components. Similarly, larger splotches of glue may result in your motherboard looking less than tidy. All in all, glue dispensing machines are a crucial tool for successfully assembling PCBs.
A Solder Paste Inspection (SPI) Machine
SMD soldering issues that cause malfunctions can often be traced to cheap solder paste printing, and corner cutting. Any mistakes at this step can mean the assembly is not as reliable or robust as it should be and can mean electronic faults or even fires due to short circuits.
Therefore, a vital step in PCB assembly is to inspect that the solder paste is appropriately printed onto the board using an SPI machine. This specialized piece of equipment uses cameras to capture 3D images and evaluate the solder paste application in terms of solder volume, alignment, and height.
It can also identify unsuitable sizes, errors, and imperfections so manufacturers can correct them quickly. This machine ensures proper functioning and vital safety during many different PCB assembly methodologies.
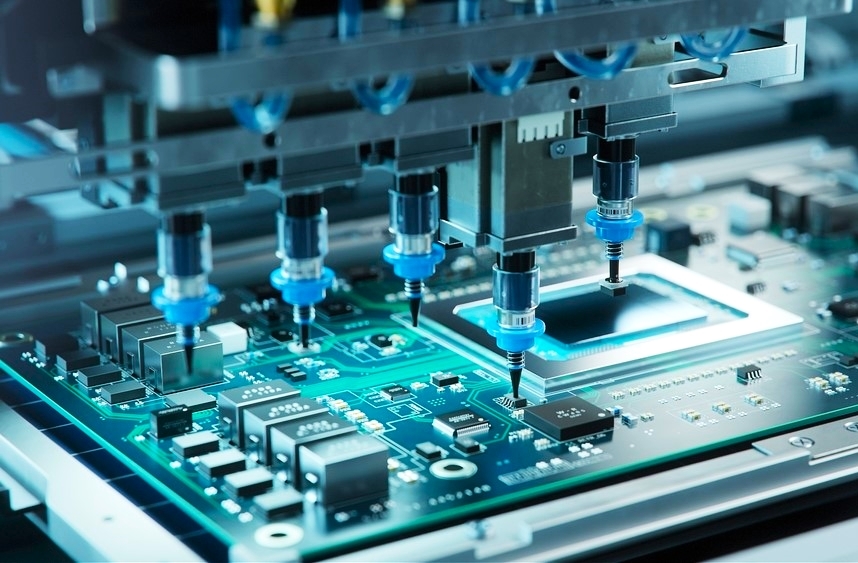
A Pick and Place Machine
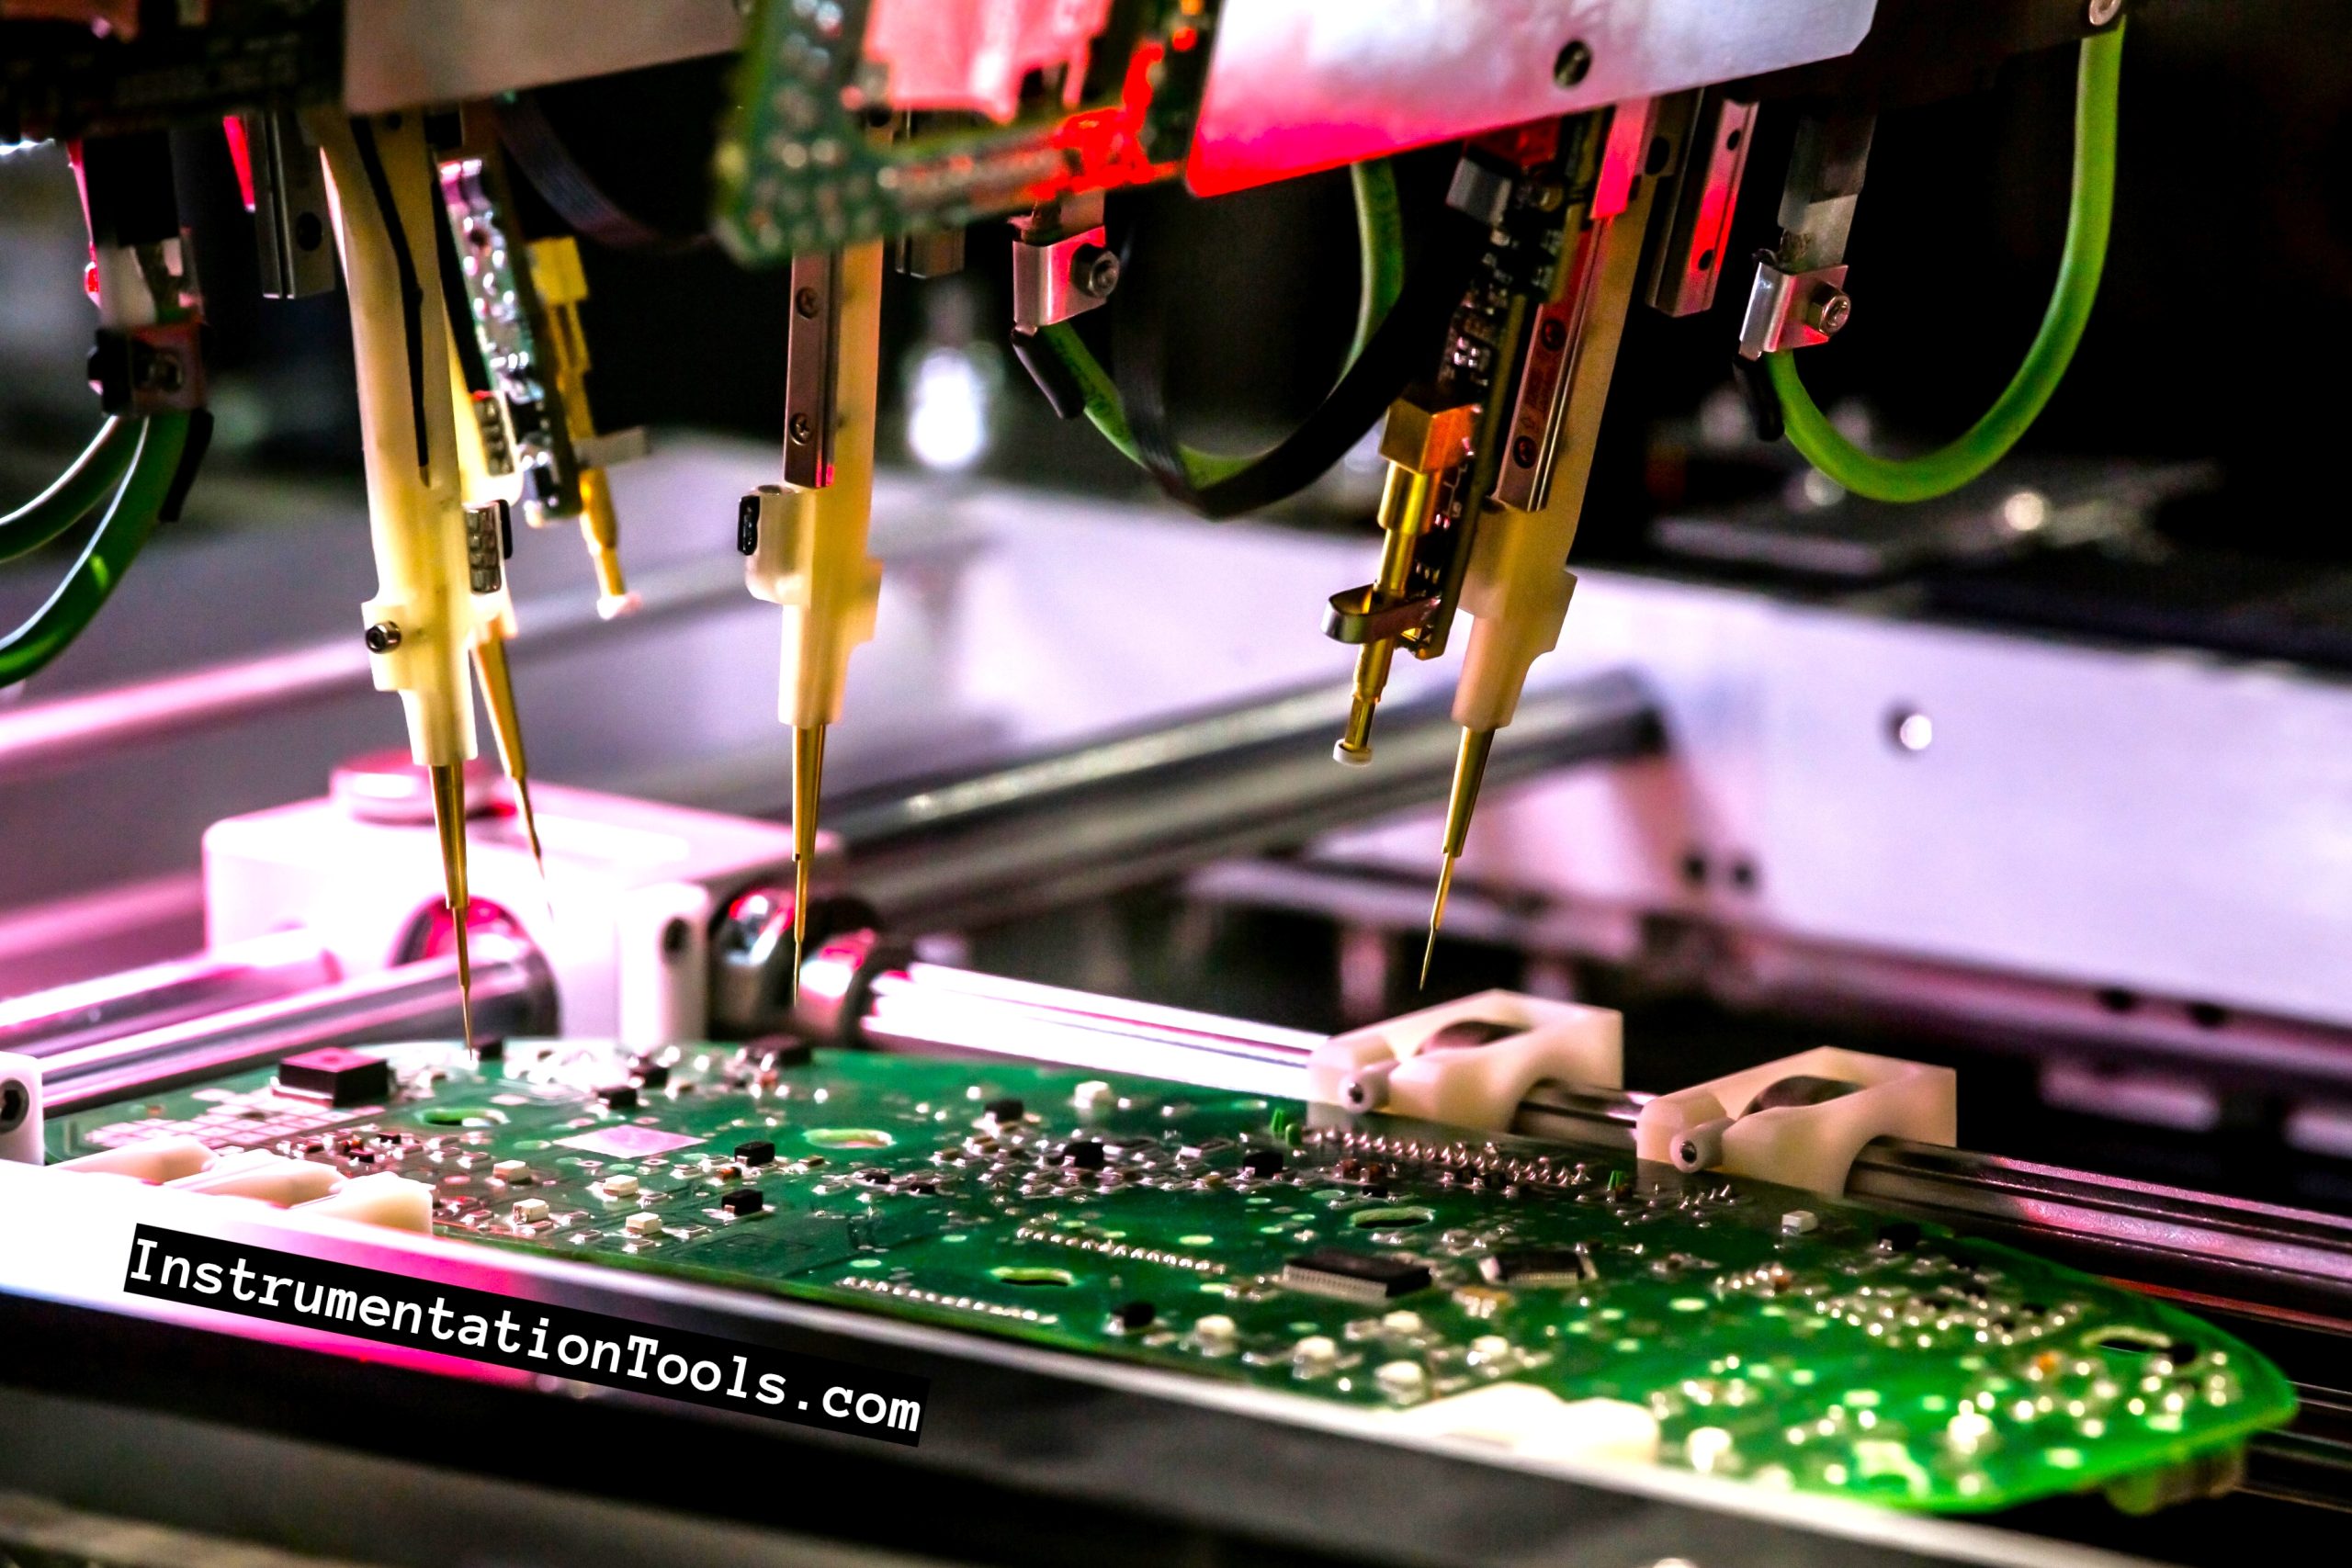
A large part of PCB manufacturing can be automated using high-tech equipment. A pick-and-place machine picks components from the assembly line and places them on the board precisely.
In years gone past, this stage was painstakingly done by hand using tweezers and took many hours to complete. However, thanks to progress in technology and equipment innovation, manufacturers can automate this vital step in the assembly process.
This machine sucks up components and places them with pinpoint accuracy on top of the solder paste in the pre-programmed positions. These machines function at high speeds, placing up to 30,000 or more components in an hour.
An Automated Optical Inspection (AOI) Machine
Last but not least, another essential piece of equipment used for PCB assembly is inspection machines. Throughout the assembly process, the PCBs are inspected and tested by manufacturers.
Automatic optical inspection system machines, in particular, can detect problems early in the production process. They use high-definition cameras to capture images of the board’s surface and build an image for expert analysis. The image that’s captured is then compared with those of a correctly built reference board.
Through this comparison process, the AOI can identify any incorrect and missing components, as well as shorts and scratches that need fixing. In other words, this machine allows engineers to identify any potential defects or differences in their PCBs and rectify them even prior to beta testing.
As you can see, all the 6 different tools outlined above have their own impact on the final design and functionality of your PCBs. Using these tools routinely can help you further develop your assembly skills and improve the quality of your own completed PCBs.
