CALIBRATION PROCEDURE FOR DIGITAL CONTROL VALVE
The below calibration procedure for Digital Control Valve. Make : Fisher, Model : DVC 6000
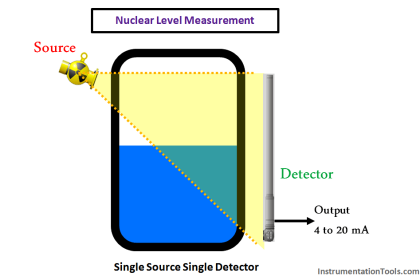
Also Read : Digital Control Valve Principle
Tools Required:
1. 375 Field communicator
2. Tools kit
3. DATA sheet
Calibration Procedure
- Take the work permit from shift in-charge
- Checking for valve accessories any damage for DVC feed back, guage, air regulator and filter
- Check the pressure regulator guage and set it according to bench set
- Check the positioner cam alignment ,cam alignment should be matched with travel length
- Operate the valve from DCS, observe the valve travelling condition , if it is not matching with our requirement then we have to connect the 375 field communicator at positioner terminal ( ie. Loop + and -)
- Switch on the communicator then select FF application in Communicator.
- Select required tag number from list ,then select transducer block and select configuration setup
- Again click basic setup enter in to setup wizard, transducer go to manual mode for performing setup
- As per data sheet , check the data’s whether it is matching or not
a) Travel length
b) Check the pressure unit (psi or kg/cm2)
c) Check actuator manufacture and model number and actuator size - Now we will go for auto calibration standard than select manual crossover adjustment
- Then check visually whether feedback arm is matching with the hole of the DVC body or not?
- Run performance tuner and check the valve operation
- Calibration over than change the valve auto mode
- Check for valve stroke after auto calibration from DCS
TroubleShooting:
- If Valve hunting is vigorously
a) Go to detail setup
b) Go to response control
c) Click travel tuning
For fisher control valve adjust travel tuning set to lower alphabet ( If setting was D we have to select C).
For other valves we have adjust proportional gain
- If Valve is over shooting
a) Go to detail setup
b) Go to response control
c) Click pressure tuning
For fisher control valve adjust pressure tuning set to lower alphabet ( If setting was D we have to select C).
For other valves we have adjust proportional gain
NOTE:
Relay – A = Double Acting
Relay –B = Reverse acting
Relay –C = Forward & Reverse acting