Learn how to work with the simulator in S7-1200 and S7-1500 CPU models of Siemens PLC programming environment for simulation.
Simulator in S7-1200 and S7-1500 PLC?
Follow the below steps to test the logic in higher-end PLC CPU models of Siemens.
Note that you must choose version 4.0 and above to work with this CPU.
Step 1:
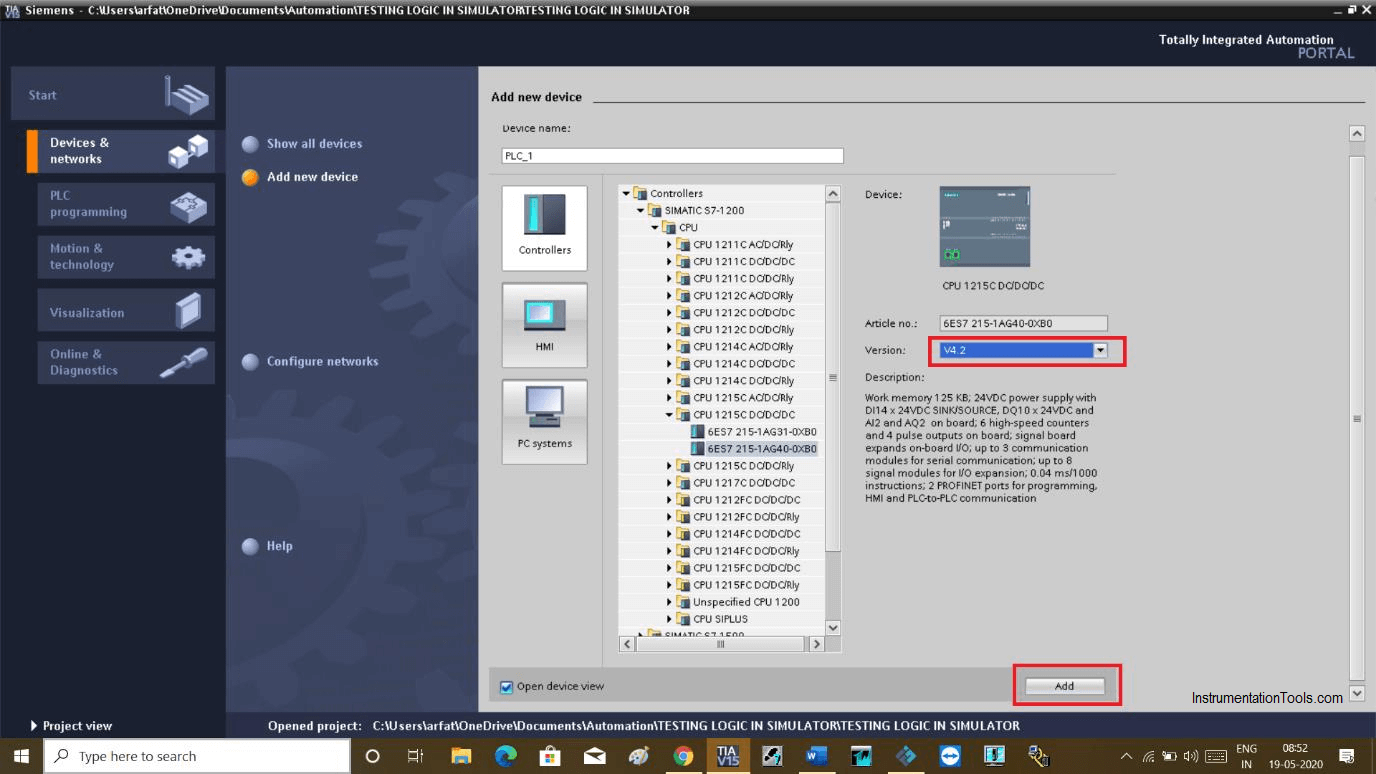
Open TIA Portal. Create a new project. Select the CPU as shown in the below window.
Choose CPU which has version 4.0 or above. Click “Add” to proceed.
Step 2:
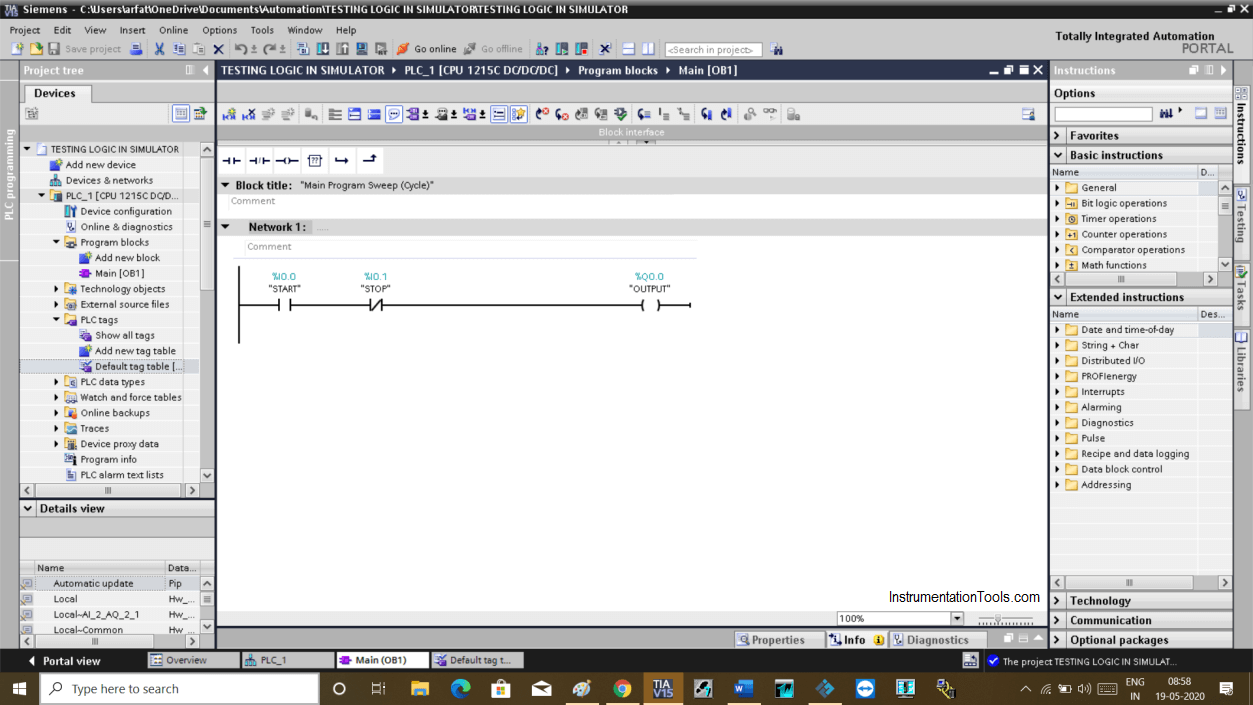
Do add the signal module. Enter into the programming environment.
Consider the following example we want to test.
Step 3:
Click on the simulator icon as shown in the below window.
Step 4:
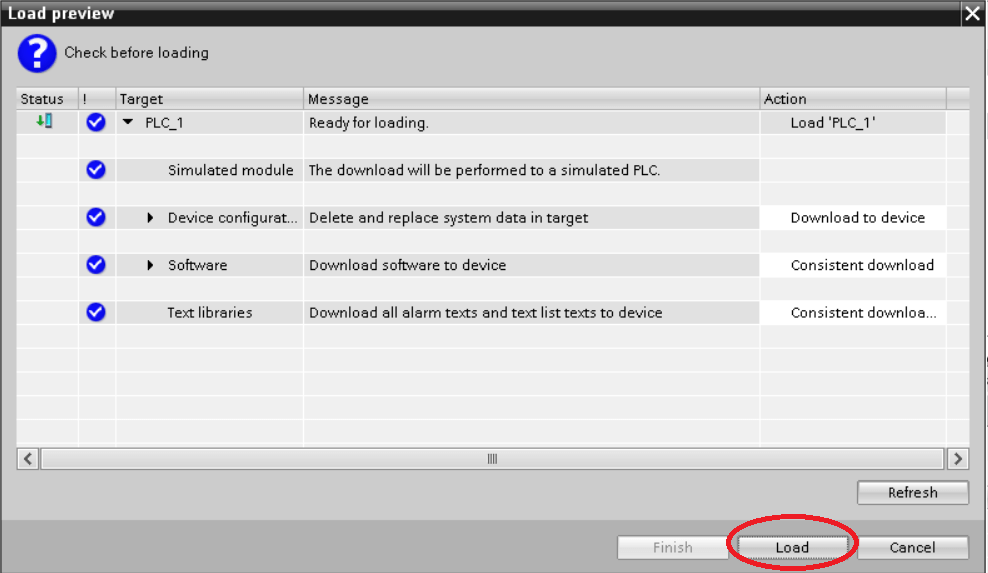
The following window will open which will compile the program. Click “load” to proceed.
Step 5:
Then following simulator window will open up.
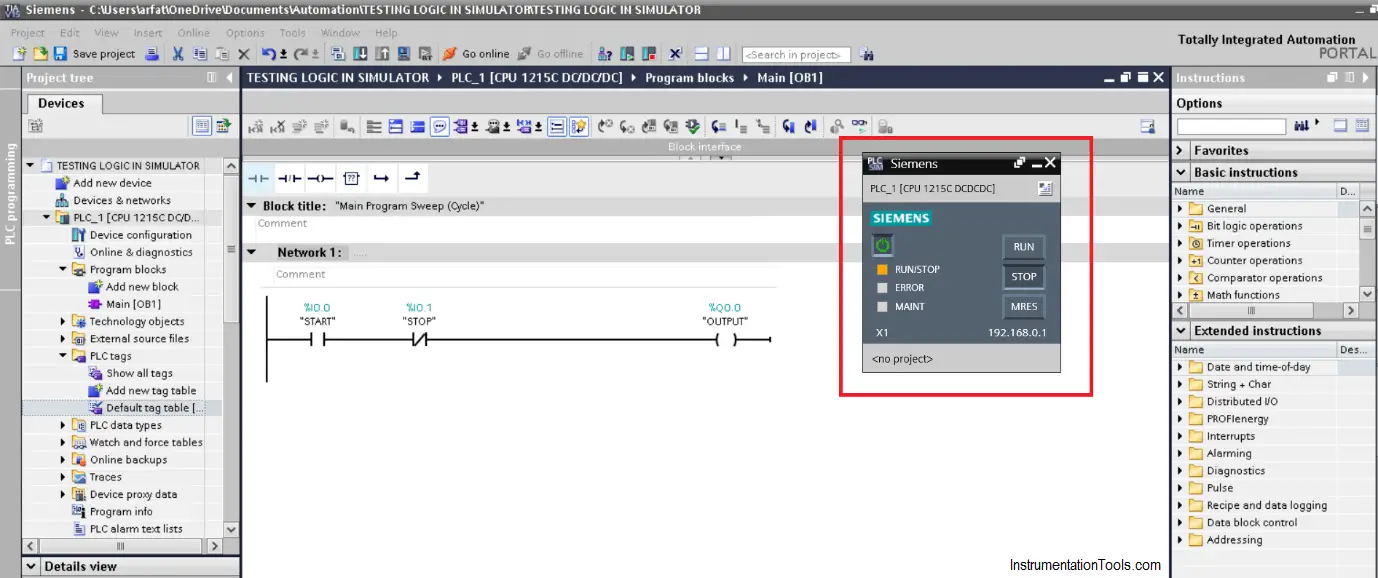
Step 6:
Click on the icon as shown in the below image.
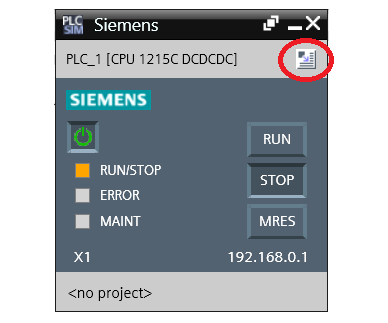
Step 7:
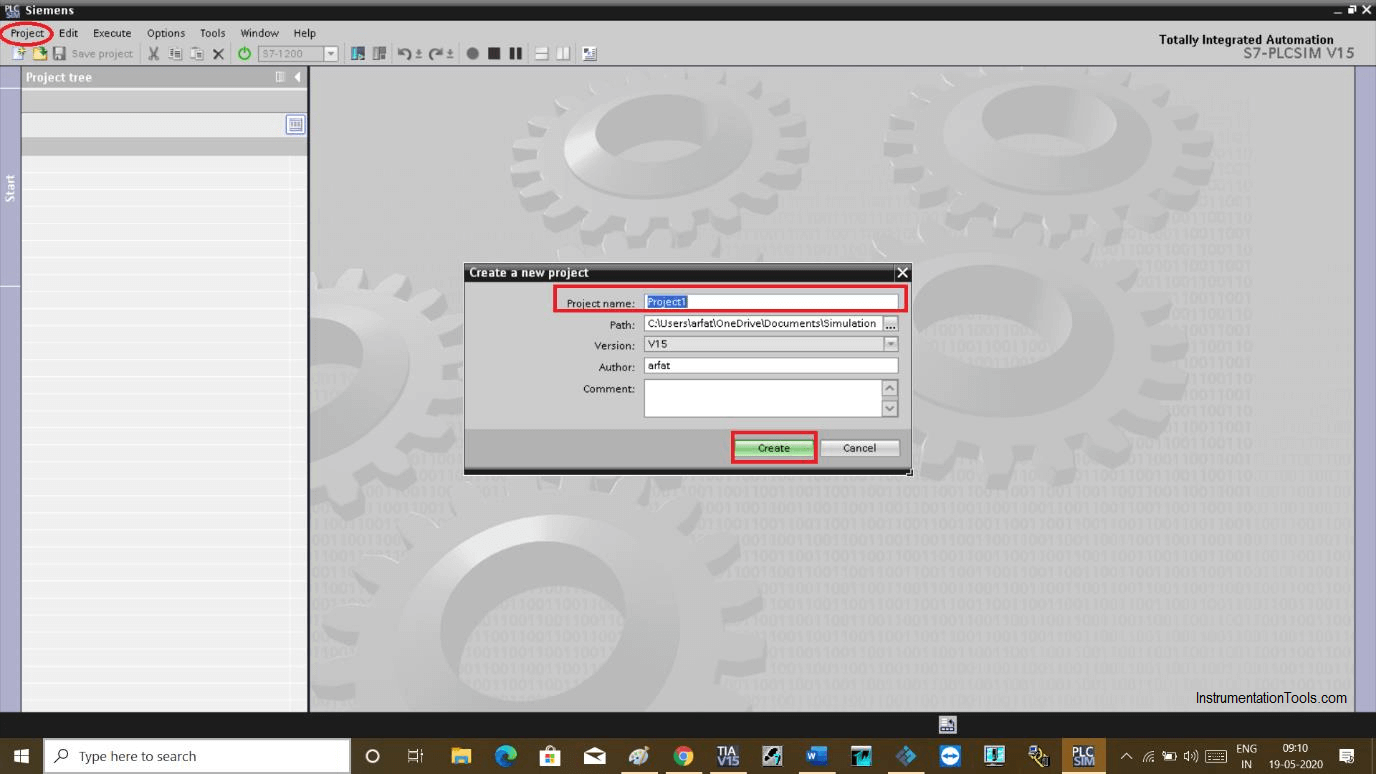
A new window will open. Here, we have to create a project so it can host a simulator.
Step 8:
Click on the project and create a new project. Give any name and hit “create” to proceed.
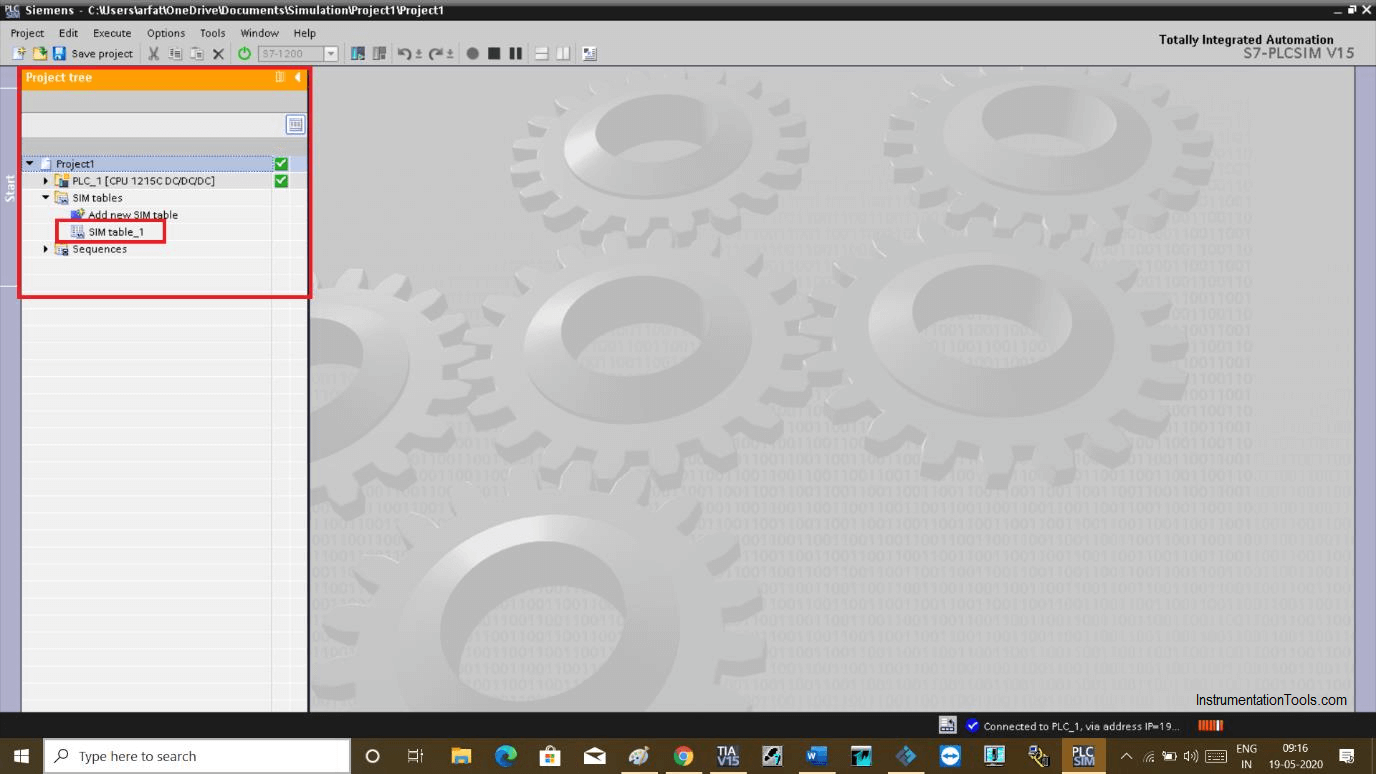
Step 9:
The following option will be added to this window as shown in below figure.
Expand “SIM table” and double click on “SIM table_1”.
Step 10:
SIM table is added to this window.
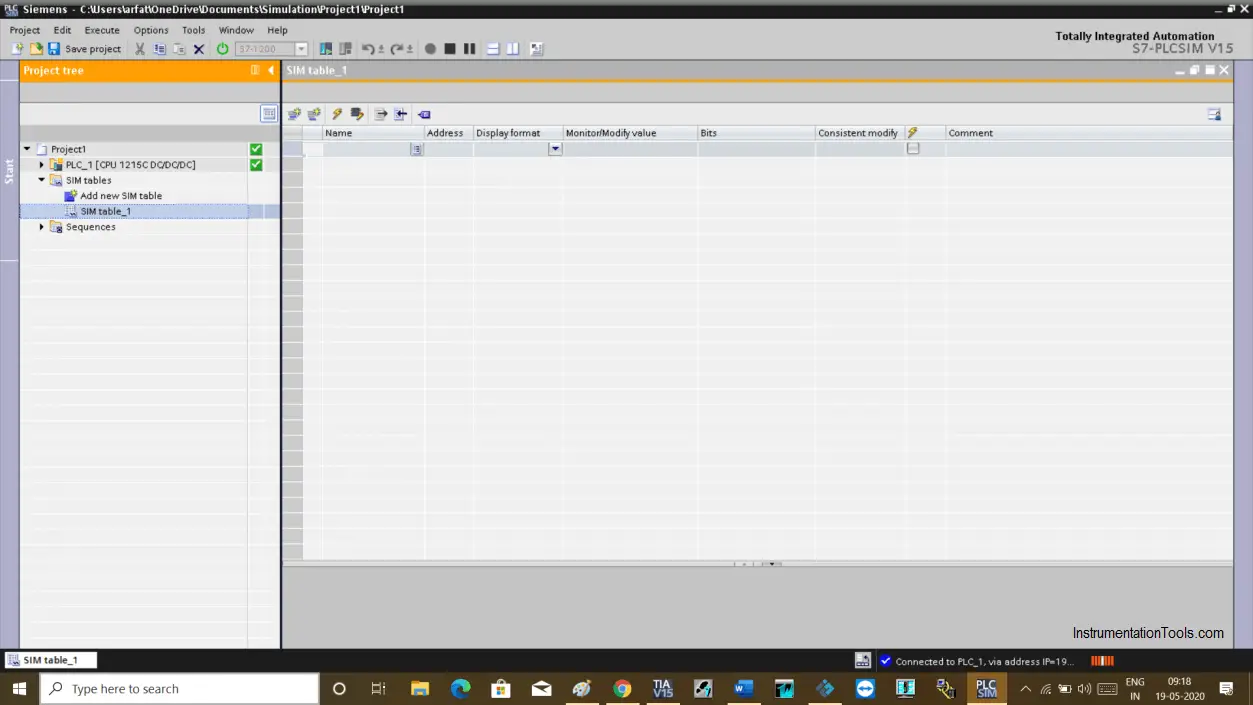
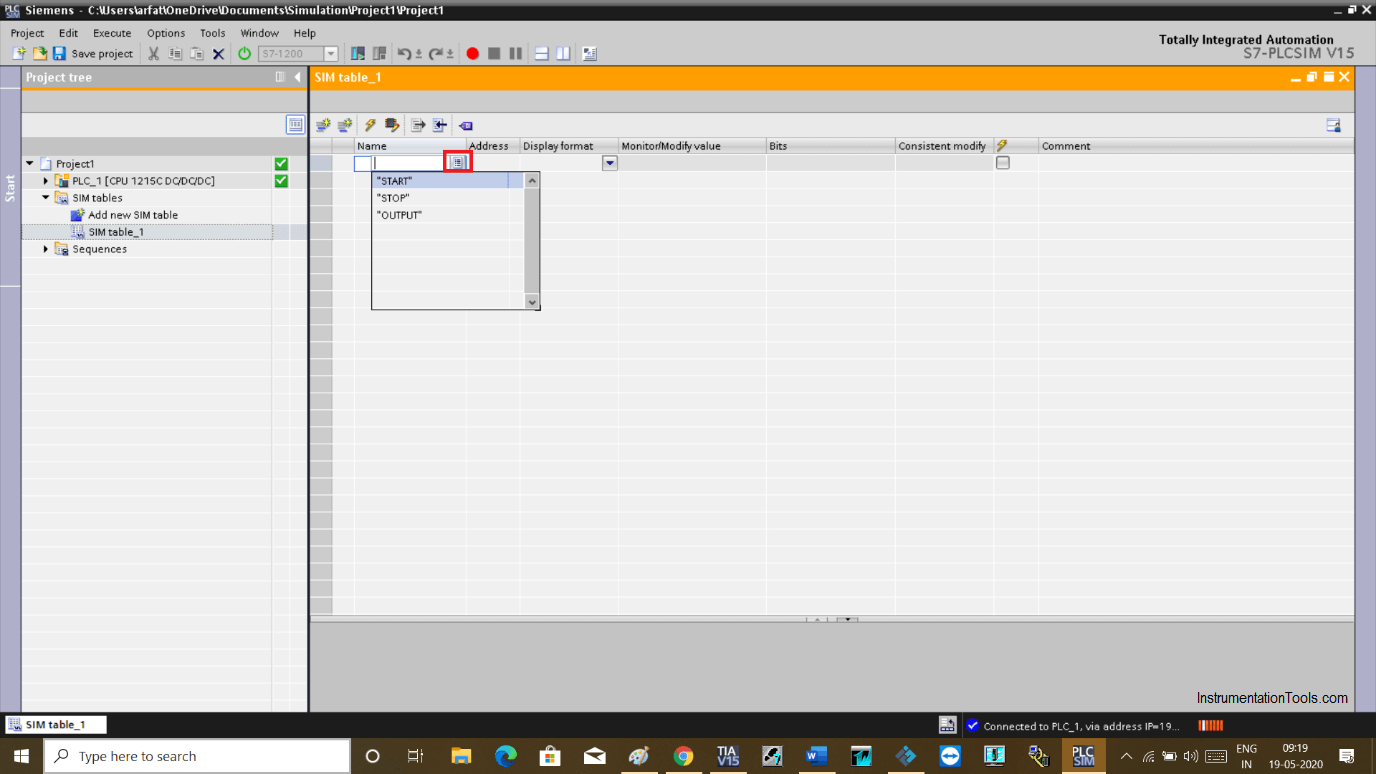
Step 11:
Click on icon represent in the red square. Add three tags to the list.
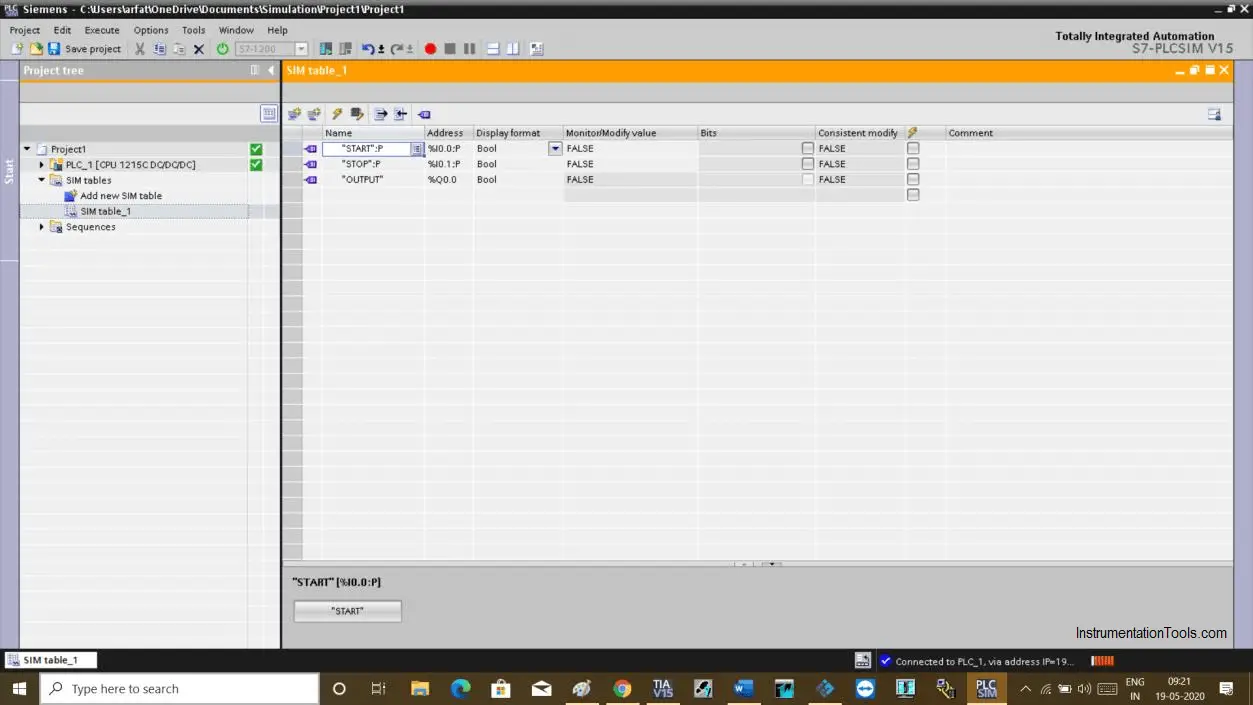
Step 12:
Tags that we have used in the program are added now.
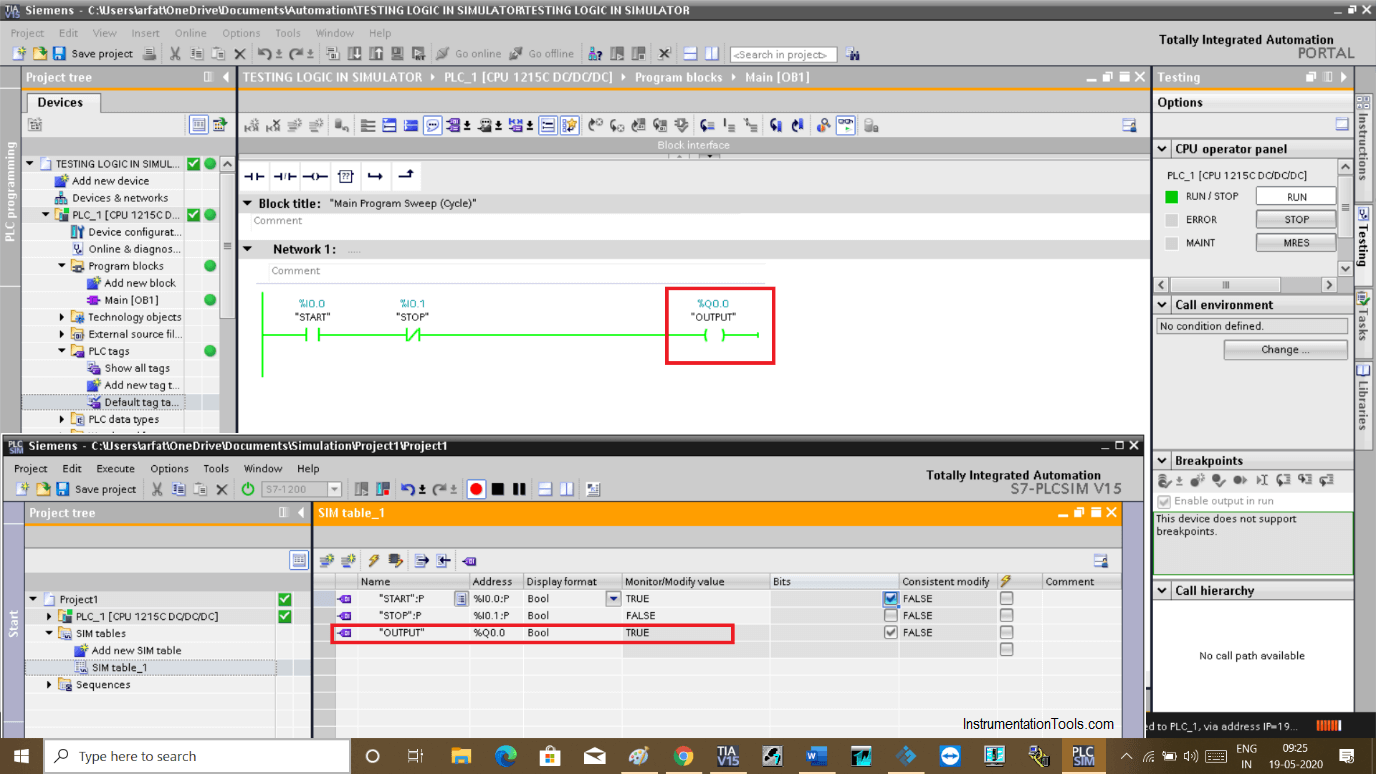
Step 13:
Go back to the programming environment and test the logic.
Put simulator in start mode. Pressing START will turn ON the output.
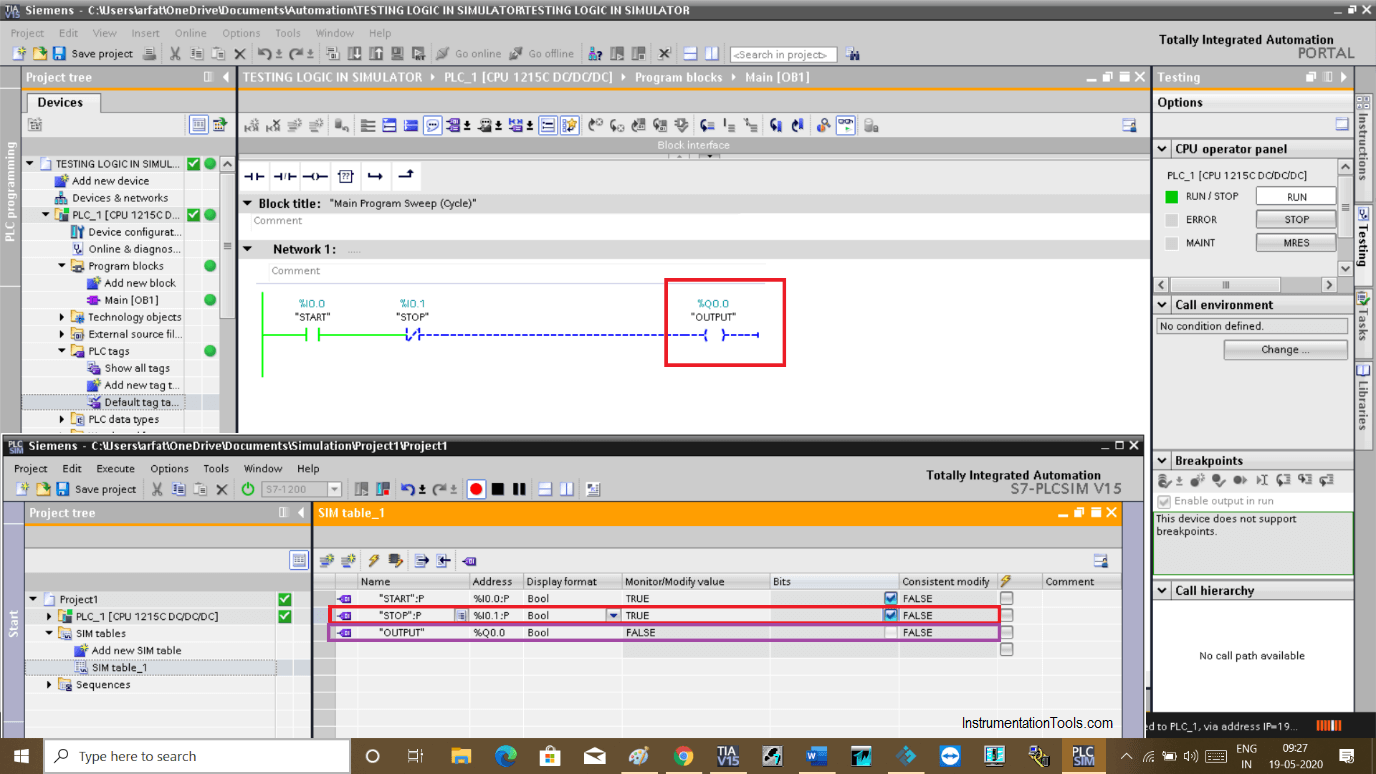
Step 14:
Pressing STOP will turn OFF the output.
Author: Suhel Patel
If you liked this article, then please subscribe to our YouTube Channel for PLC and SCADA video tutorials.
You can also follow us on Facebook and Twitter to receive daily updates.
Read Next:
- RSLogix 500 PID Instruction
- Siemens S7 300 CPU Status
- How to tune a PID Controller
- Download Free PLC software
- Upload Siemens PLC Program